 Save
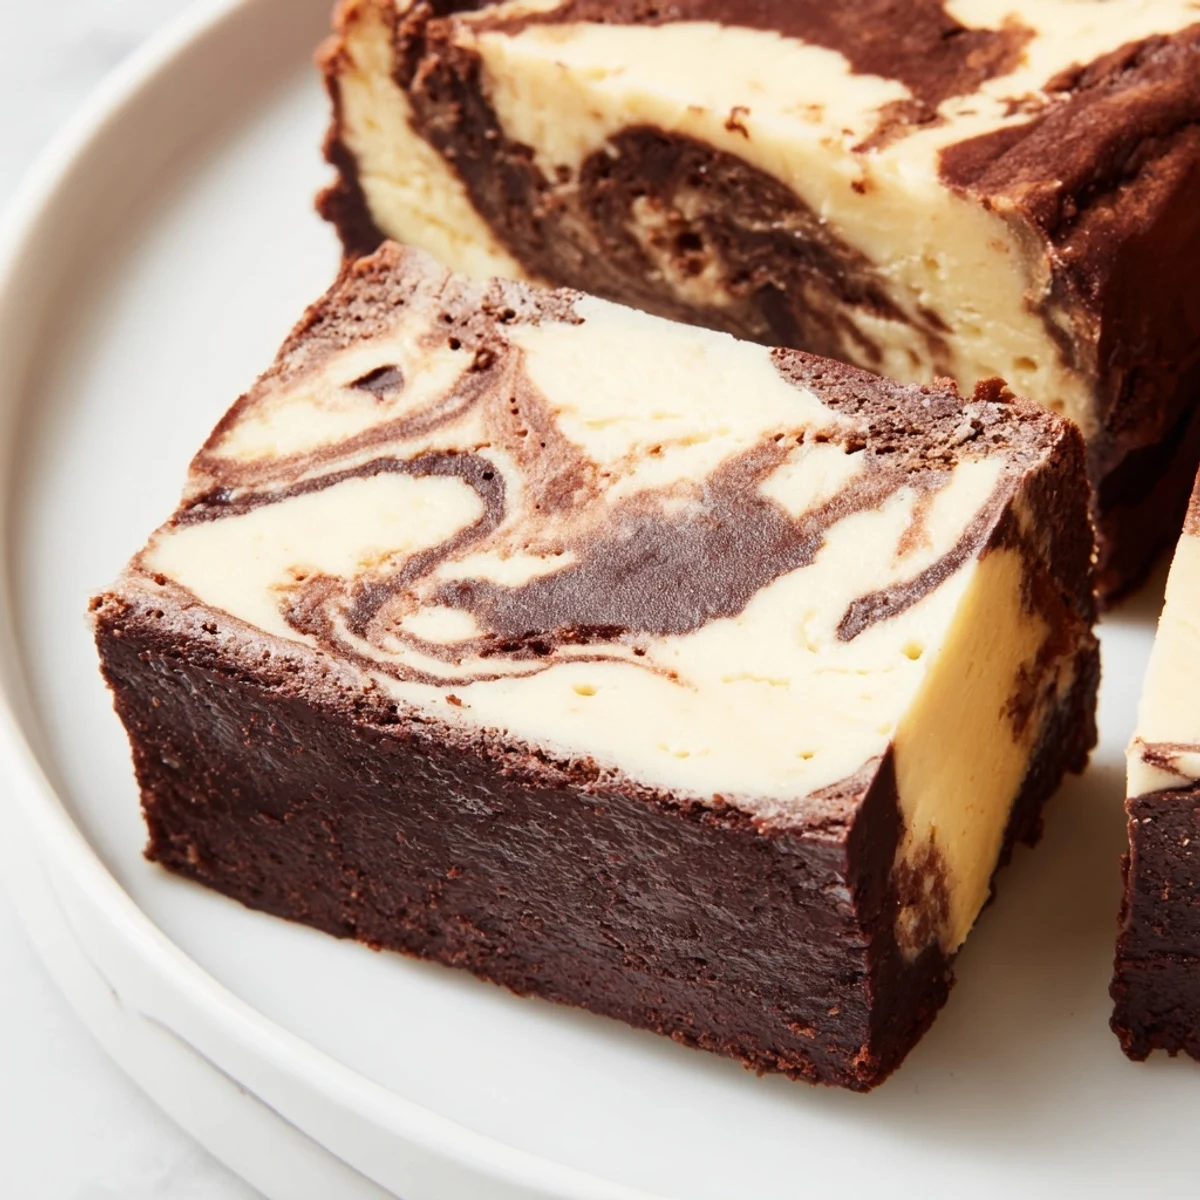
Save These indulgent bars combine the best of both worlds: a dense, chocolatey brownie base enriched with sourdough discard, topped with a creamy cheesecake layer. The tanginess from both the cheesecake and fermented sourdough creates a sophisticated flavor profile that cuts through the richness.
The marble effect creates beautiful swirls while ensuring each bite delivers all three components. Chilling before slicing is essential for clean, neat bars that showcase the distinct layers. The sourdough adds subtle complexity and moisture, making these more interesting than traditional brownies.
The batter hit the bowl with a dull thud and the kitchen smelled like fermented promise, warm butter, and something I could not quite name. Sourdough discard had been staring at me from the fridge for three days, and dumping it into brownie batter felt either brilliant or desperate. One bite later, with a cold glass of milk and a streak of cocoa on my wrist, I knew this was never going back to the compost bin.
I brought a tray of these to a neighbor who had just had knee surgery, expecting her to pick at one politely and send the rest back. She texted me that night asking if I was hiding a bakery in my garage, and three days later she called again asking for the recipe by name.
Ingredients
- 115 g unsalted butter, melted: Use good butter here because its the backbone of the fudgy texture.
- 150 g granulated sugar (brownie layer): This amount keeps things sweet without cloying, balancing the sourdough tang perfectly.
- 2 large eggs (brownie layer): Room temperature eggs blend more smoothly into the warm butter and sugar mixture.
- 100 g sourdough discard (unfed): Straight from the fridge is fine, just stir it loosen it first so it mixes in evenly.
- 1 tsp vanilla extract (brownie layer): A generous teaspoon rounds out the cocoa and adds warmth.
- 60 g all-purpose flour: Go light on the folding here because overworked flour makes cakey brownies instead of fudgy ones.
- 40 g unsweetened cocoa powder: Sift it to avoid bitter little clumps that ruin an otherwise perfect bite.
- 1/4 tsp fine sea salt: Do not skip this because salt is what makes chocolate taste like itself.
- 200 g cream cheese, softened: Leave it out for an hour or microwave in ten second bursts until it presses easily under your finger.
- 60 g granulated sugar (cheesecake layer): Just enough to sweeten the tang without making it taste like frosting.
- 1 large egg (cheesecake layer): Binds the cheesecake layer so it sets with a silky, sliceable finish.
- 1/2 tsp vanilla extract (cheesecake layer): A smaller amount here lets the cream cheese shine through.
Instructions
- Prep the oven and pan:
- Heat the oven to 175 degrees C (350 degrees F) and line a 20 x 20 cm pan with parchment, leaving the edges hanging over like handles so you can lift the whole slab out later.
- Build the brownie batter:
- Stir melted butter and sugar in a big bowl until they look like wet sand, then whisk in the eggs, sourdough discard, and vanilla until the mixture is glossy and smooth.
- Fold in the dry goods:
- Sift the flour, cocoa, and salt directly into the bowl and fold gently with a spatula, stopping the moment you no longer see white streaks.
- Whip the cheesecake layer:
- In a separate bowl, beat the cream cheese and sugar until completely smooth with no lumps, then mix in the egg and vanilla until silky.
- Layer and swirl:
- Spread roughly three quarters of the brownie batter in the pan, pour the cheesecake mixture over the top, dollop the remaining brownie batter in spoonfuls, and drag a skewer through in figure eights to create that gorgeous marble pattern.
- Bake until just set:
- Bake for 32 to 36 minutes, pulling them out when the center gives only the faintest wobble and a toothpick comes out with moist crumbs clinging to it.
- Chill and slice:
- Cool completely in the pan, then refrigerate for one to two hours before using a sharp knife to cut into sixteen tidy bars.
 Save
Save The second time I made these, my partner stood in front of the open fridge at midnight eating them straight off the parchment paper with a fork, and I realized some recipes just become part of the household language.
Chilling Makes All the Difference
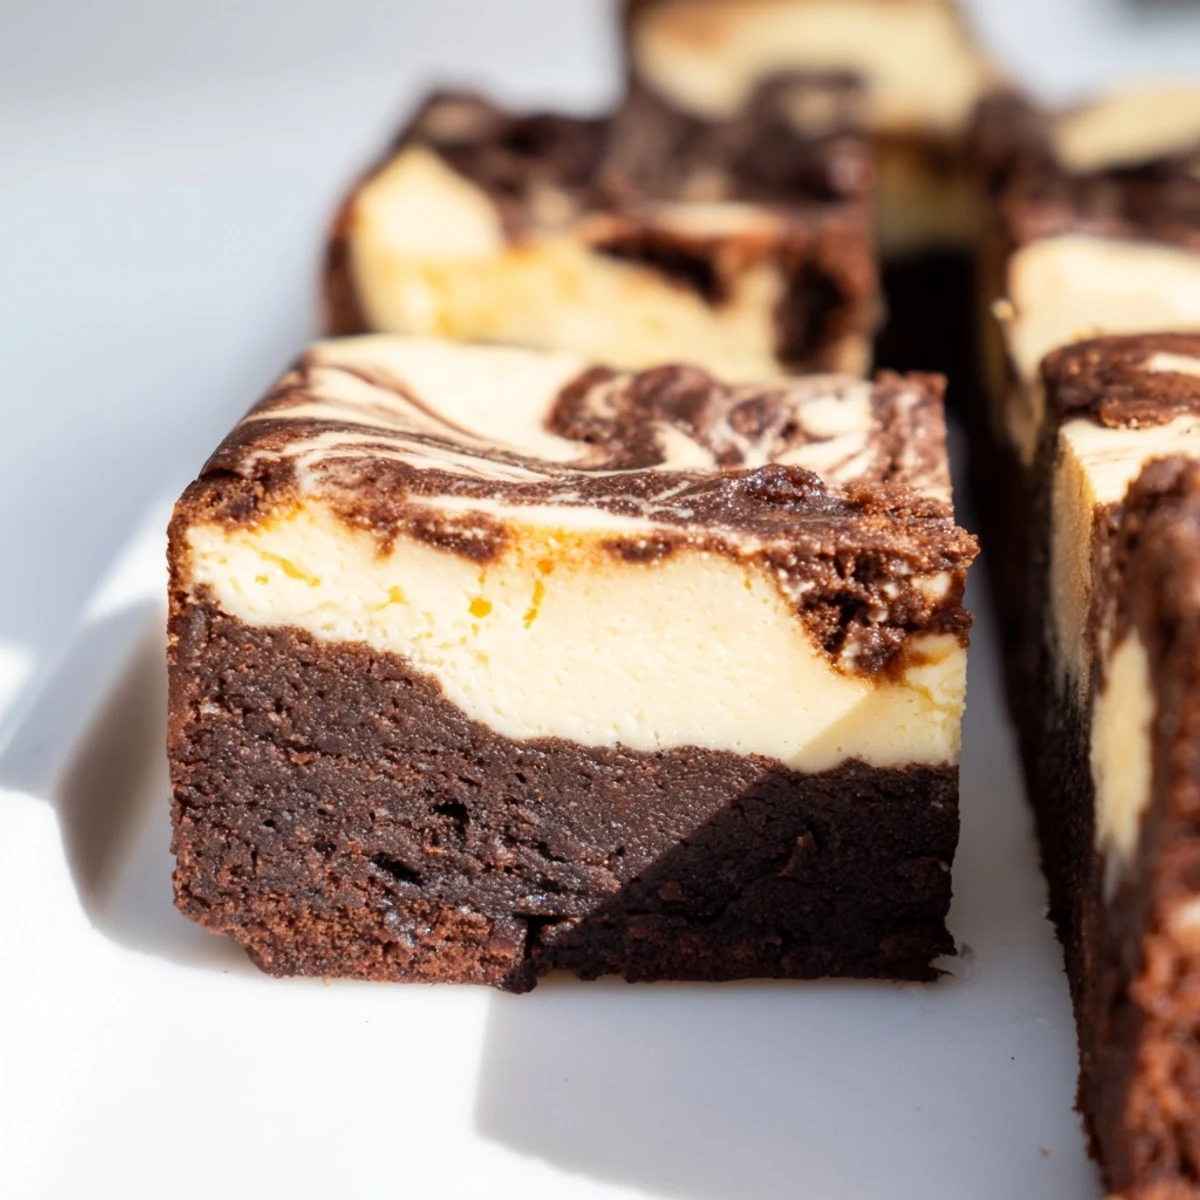
Patience is the hardest ingredient here because the bars taste fine warm but transform into something extraordinary after a night in the fridge. The cheesecake layer firms up, the brownie base becomes dense and fudgy, and the flavors settle into each other like old friends catching up.
Swirling Without Overthinking It
Your marble pattern does not need to look like a magazine cover because the swirls bake into something beautiful no matter what. I have done careful figure eights and lazy zigzags, and every single pan disappeared just as fast.
Making It Your Own
Once you have the base recipe down, it invites small experiments that keep things interesting in the kitchen.
- Toss a handful of chocolate chips into the brownie batter for pockets of melted chocolate in every bite.
- Swap the vanilla extract for espresso powder to deepen the cocoa flavor without adding coffee taste.
- Always taste your sourdough discard first because an extremely acidic batch will punch through more aggressively.
 Save
Save Keep a stash in the freezer and you will always be fifteen minutes away from something that makes a Tuesday feel like a celebration.
Recipe Questions
- → Can I use active sourdough starter instead of discard?
-
Yes, active starter works perfectly. Just reduce any additional liquid slightly since active starter has more hydration than unfed discard. The flavor will be slightly more tangy.
- → Why add sourdough to brownies?
-
Sourdough discard adds moisture, subtle tang, and complexity that balances the intense chocolate flavor. It also helps create a fudgier texture while reducing food waste.
- → How do I know when they're done baking?
-
The center should barely jiggle when shaken, and a toothpick inserted should come out with moist crumbs—not wet batter or completely dry. Overbaking will result in cakey rather than fudgy bars.
- → Can I freeze these bars?
-
Absolutely. Wrap individual bars tightly in plastic wrap, then place in a freezer-safe container. They'll keep for up to 3 months. Thaw overnight in the refrigerator for best texture.
- → What's the best way to achieve clean marble swirls?
-
Use a skewer or thin knife to gently swirl through both layers just once or twice in an S-pattern. Don't over-swirl or the layers will blend together completely rather than creating distinct marbling.
- → Can I make these gluten-free?
-
Yes, substitute the all-purpose flour with a 1:1 gluten-free flour blend that contains xanthan gum. The texture will be slightly different but still delicious.
