 Save
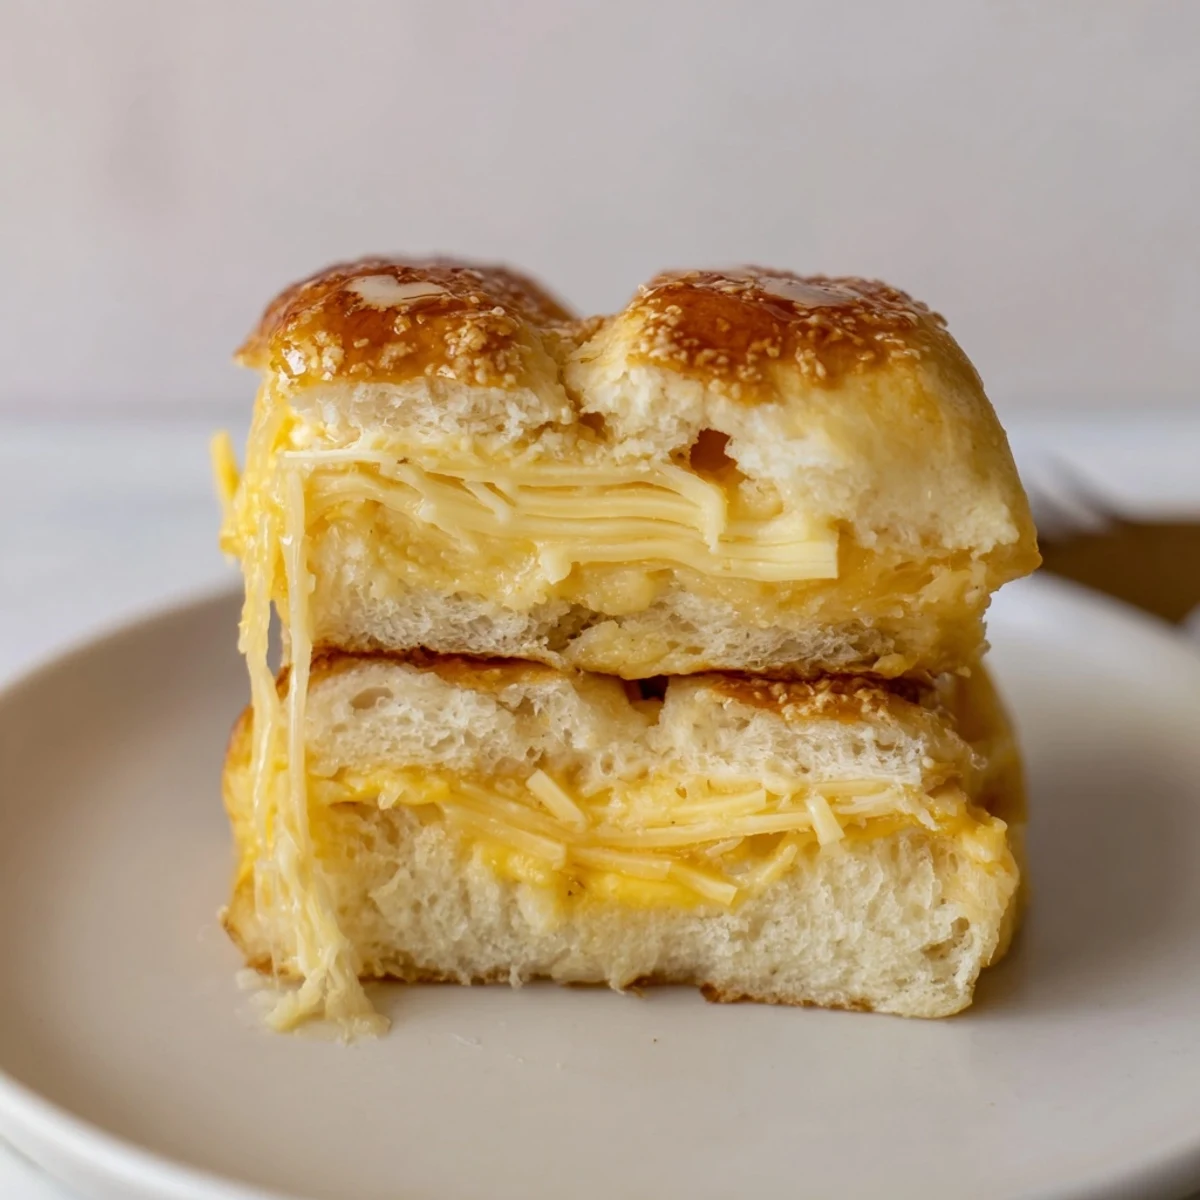
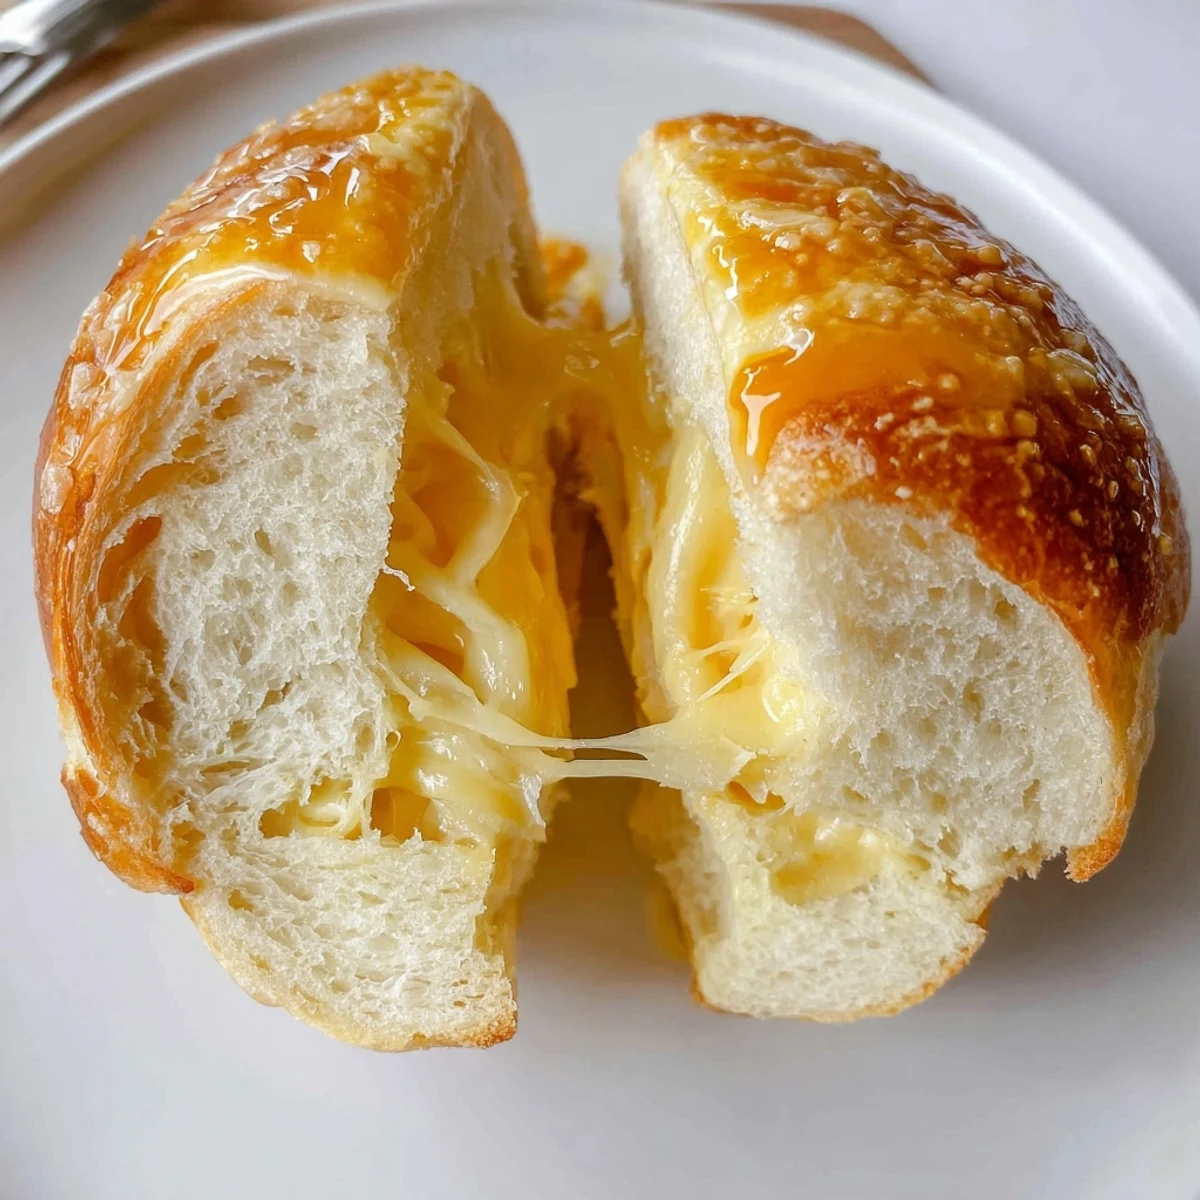
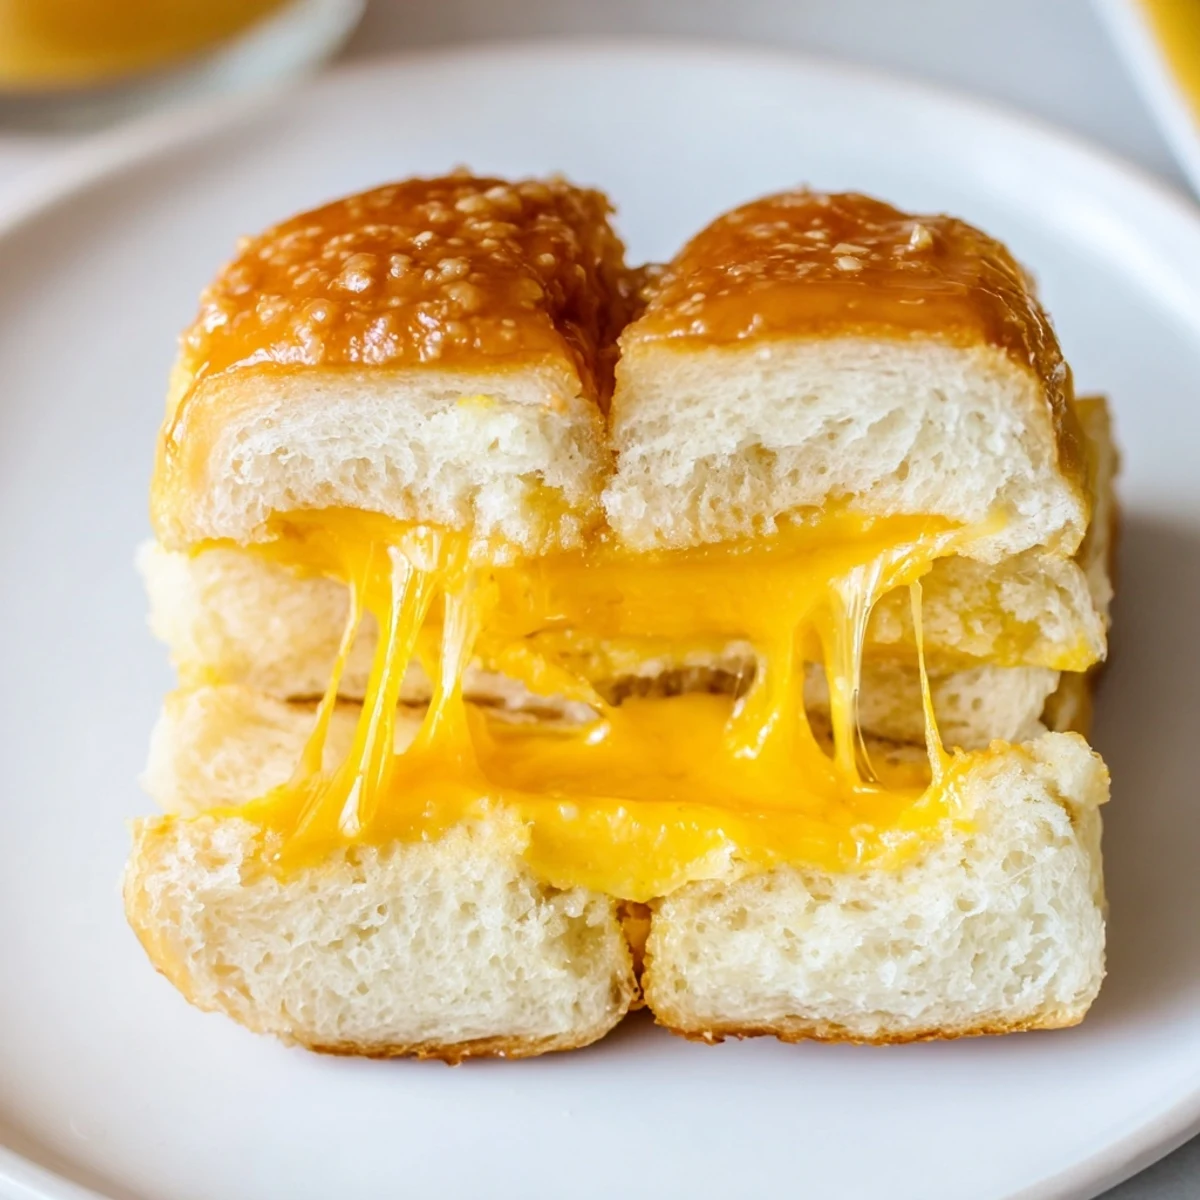
Save These bite-sized grilled cheese sandwiches start with a 12-count block of sweet Hawaiian rolls split horizontally. Layer sliced cheddar and optional deli ham on the bottom half, replace the top, then brush with melted butter mixed with mustard, honey and garlic powder. Bake at 350°F for 10–15 minutes until cheese melts and tops are golden; let rest 2 minutes, slice and serve warm.
When the kitchen smells like toasty bread and sizzling butter, you just know everyone will drift in to see what's cooking. The first time I made these mini grilled cheese Hawaiian rolls, it was less about following a recipe and more about feeding a sudden crew of hungry friends on game night. Hawaiian rolls have this natural sweetness that instantly elevates an ordinary grilled cheese, and before I even pulled them from the oven, I could hear impatient laughter from the next room. Somehow, sharing these warm, cheesy bites made the evening feel instantly celebratory.
Last spring, I brought a tray of these to my neighbor's backyard potluck, expecting them to be just another appetizer. Suddenly, even the kids were clambering to grab seconds, and the adults joked about forming a line for refills. There was this fun chaos as folks debated whether ham or extra cheddar was the best addition.
Ingredients
- Hawaiian sweet rolls: Their soft, pillowy texture soaks up butter beautifully and makes every bite just a touch sweet.
- Sliced cheddar cheese: I’ve found that medium cheddar melts smooth without getting greasy or stringy—freshly sliced from the deli section is even better.
- Unsalted butter, melted: Brushing melted butter over the tops gives the rolls that signature golden finish and irresistible aroma.
- Deli ham or turkey (optional): For non-vegetarians, a layer of savory deli meat adds depth without overpowering the cheese.
- Dijon or yellow mustard (optional): Mixing a little mustard with the butter brightens the flavor—just a dab will do.
- Honey (optional): A drizzle of honey turns each bite into a sweet-salty surprise; my tip is to use it sparingly.
- Garlic powder (optional): Sprinkle on top before baking for a gentle savory kick and the aroma of garlic bread.
Instructions
- Warm up and prepare:
- Set your oven to 350°F (175°C) and line a baking sheet with parchment—crinkling it almost feels like prepping for art class.
- Layer the rolls:
- Use a serrated knife to slice the rolls in one clean motion; keeping them together means all the filling tucks in neat.
- Time for cheese (and friends):
- Lay down your cheddar in an even layer over the bottom half, and if you like, sneak in a few slices of ham or turkey for extra bite.
- Assemble the tops:
- Gently place the top half of the rolls back, pressing lightly so nothing slips out of place.
- Mix up your butter brush:
- If you’re using, stir mustard, honey, and garlic powder into the melted butter, then brush it over every roll until glossy.
- Into the oven:
- Bake for 10 to 15 minutes—the kitchen will fill with buttery, cheesy aromas and the tops will turn that perfect golden brown.
- Finish and serve:
- Let everything cool for a couple minutes (good luck waiting), then slice between the rolls to make cute little sandwiches and dig in while they're warm.
 Save
Save There was a rainy afternoon when my little cousin and I made a tray just for ourselves. We watched the butter melt through the bread and giggled at our cheese-pulling contests, a kitchen mess never feeling more worth it. Moments like that are exactly why I keep these ingredients on hand.
Switching Up the Cheese Game
Experimenting with provolone or pepper jack keeps these sandwiches exciting each time. Sometimes I'll even layer a couple kinds of cheese together when I'm feeling bold, or toss in caramelized onions if there's a jar in the fridge.
Great With Classic Dips
It's hard to beat these with a bowl of tomato soup for dunking—each bite soaks up just the right amount. Warm marinara, honey mustard, or even ranch also turn these snacks into a full meal.
Making Them Ahead and Serving Tips
When prepping for parties, these can be assembled in advance—just brush on the butter and store covered, then bake before guests arrive. Cutting them with a gentle back-and-forth motion keeps each sandwich looking perfect and mess-free.
- Keep a spare batch in the freezer, just in case.
- Let the baked rolls rest for two minutes before cutting to minimize hot cheese accidents.
- Keep napkins close, because that melty cheese is bound to get everywhere (and that's half the fun).
 Save
Save No matter the reason or the season, there never seem to be leftovers when these are on the table. I hope your kitchen fills up with laughter and the kind of buttery, cheesy smells that bring everyone closer.
Recipe Questions
- → Can I use other cheeses?
-
Yes. Swap cheddar for Swiss, provolone, pepper jack, or a blend to change the flavor and meltiness. Firmer cheeses may require slightly longer baking for full melt.
- → How do I keep the tops from burning?
-
Brush the tops evenly with the butter mixture and bake at 350°F. If tops brown too quickly, tent loosely with foil for the last few minutes while the cheese finishes melting.
- → Can I prepare these ahead of time?
-
Assemble the sandwich block and refrigerate until ready to bake. Brush with the butter glaze just before baking to ensure golden, glossy tops.
- → What are good serving suggestions?
-
Cut into individual minis and serve warm with tomato soup, pickles, or a simple green salad. They also pair well with mustard or a honey-mustard dipping sauce.
- → Any tips for adding fillings?
-
Keep fillings thinly sliced and not too bulky so the roll halves fit back together and heat evenly. Caramelized onions, cooked bacon, or sliced tomatoes add great flavor without sogginess.
- → How can I make them vegetarian-friendly?
-
Omit deli meat and choose flavorful cheeses or add grilled vegetables like mushrooms or roasted peppers for a hearty vegetarian option.
