 Save
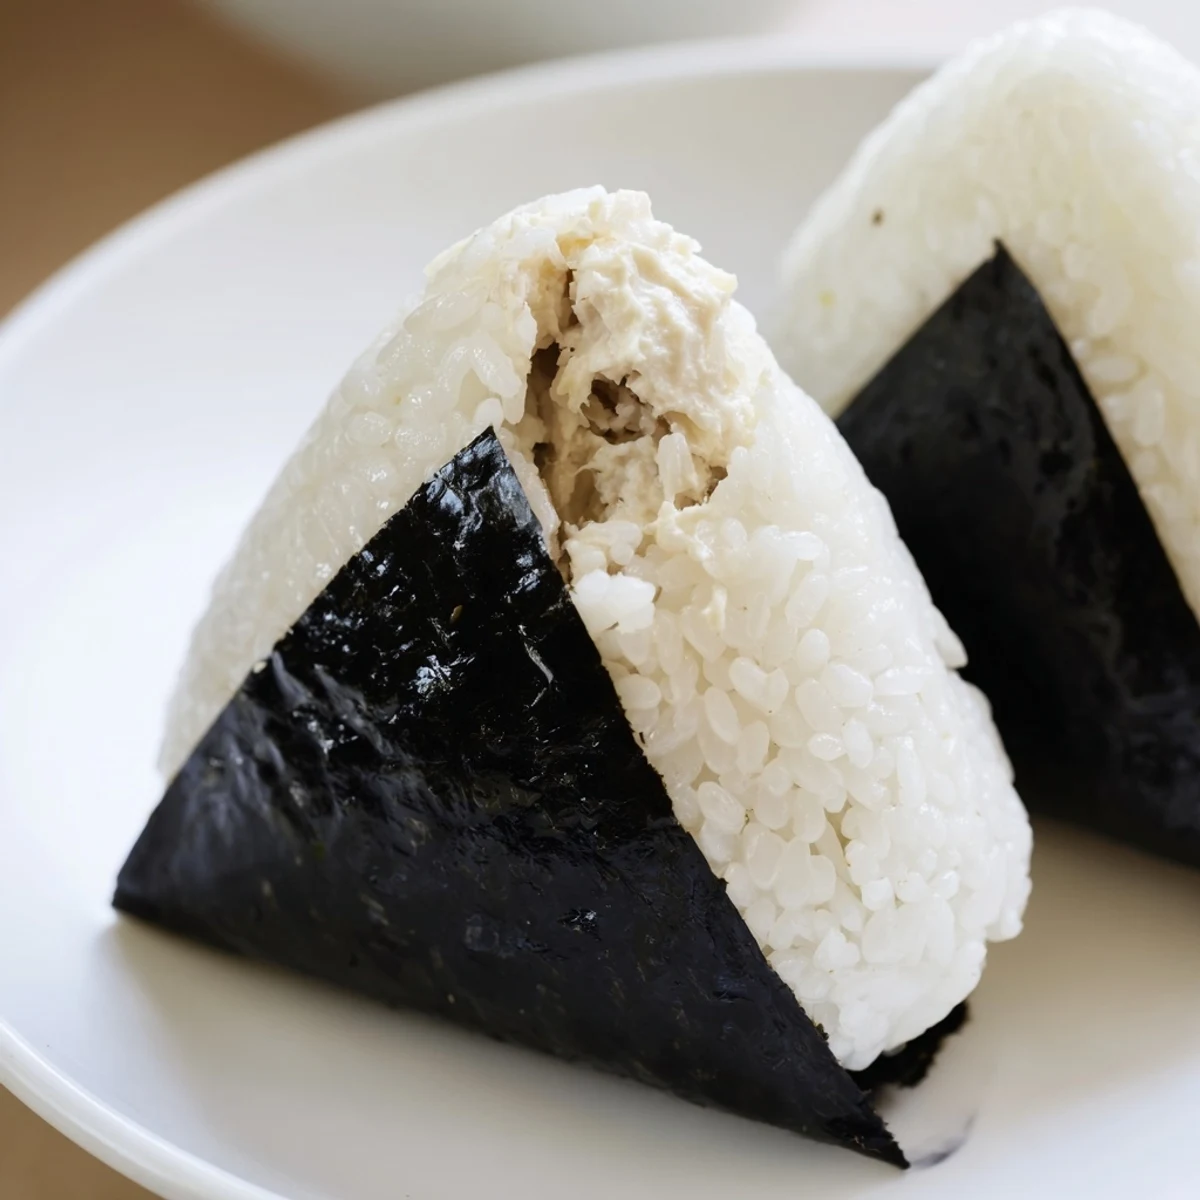
Save Create traditional Japanese rice balls filled with a creamy tuna and mayonnaise mixture. These handheld delights combine perfectly seasoned short-grain rice with a savory center, wrapped in nori for easy eating. Popular in bento boxes and as convenient snacks, they're simple to prepare with basic pantry ingredients.
The convenience store around the corner from my old apartment in Tokyo had a glass case full of onigiri, and I would always grab the tuna mayo one without hesitation, still cold from the refrigerator, tearing the plastic wrapper open on the walk home. Something about that creamy, savory center tucked inside seasoned rice felt like a small gift I deserved after a long day. Back in my own kitchen, I started making them myself on lazy Sunday afternoons when I wanted something satisfying but refused to turn on the stove for more than a rice cooker cycle.
I once packed six of these for a hiking trip and my friends devoured every single one before we reached the trailhead, sitting in the parking lot with rice stuck to our fingers, laughing at how our grand outdoor plans had been hijacked by snack time.
Ingredients
- 2 cups Japanese short-grain rice: This is nonnegotiable because long-grain or jasmine rice will crumble and refuse to hold its shape no matter how hard you press.
- 2 1/2 cups water: Measured precisely for the right texture, slightly less than you might expect because the rice needs to be firm enough to mold.
- 1 can tuna in water, drained: Oil-packed works too, but water-packed keeps the filling from becoming greasy when mixed with mayonnaise.
- 3 tablespoons Japanese mayonnaise: Kewpie is the gold standard here, its extra egg yolks and touch of rice vinegar creating a richness that regular mayo simply cannot replicate.
- 1 teaspoon soy sauce: Just enough to deepen the savory character without overpowering the delicate tuna flavor.
- 1/4 teaspoon ground black pepper (optional): A gentle warmth that rounds out the filling, though purists may skip it entirely.
- 1/2 teaspoon salt: Used on your hands during shaping, this seemingly small amount seasons the outside of each rice ball perfectly.
- 6 small sheets nori, cut into strips: The seaweed wrap adds crunch and that unmistakable ocean aroma that makes onigiri feel complete.
Instructions
- Clean the rice:
- Rinse the rice under cold running water, swirling it gently with your fingers, and repeat until the water turns from cloudy to almost completely clear, then drain thoroughly.
- Cook the rice:
- Combine the rinsed rice and measured water in a rice cooker or heavy-bottomed pot and cook according to your usual method, then let it rest with the lid on for ten minutes so the grains firm up slightly.
- Mix the filling:
- While the rice rests, break up the drained tuna in a bowl and fold in the mayonnaise, soy sauce, and pepper until you have a thick, creamy mixture that holds together when scooped.
- Prep your hands:
- Wet both palms with cool water and rub a pinch of salt across them, feeling the slight grit dissolve as you coat your skin to keep the warm rice from sticking stubbornly to your fingers.
- Shape the onigiri:
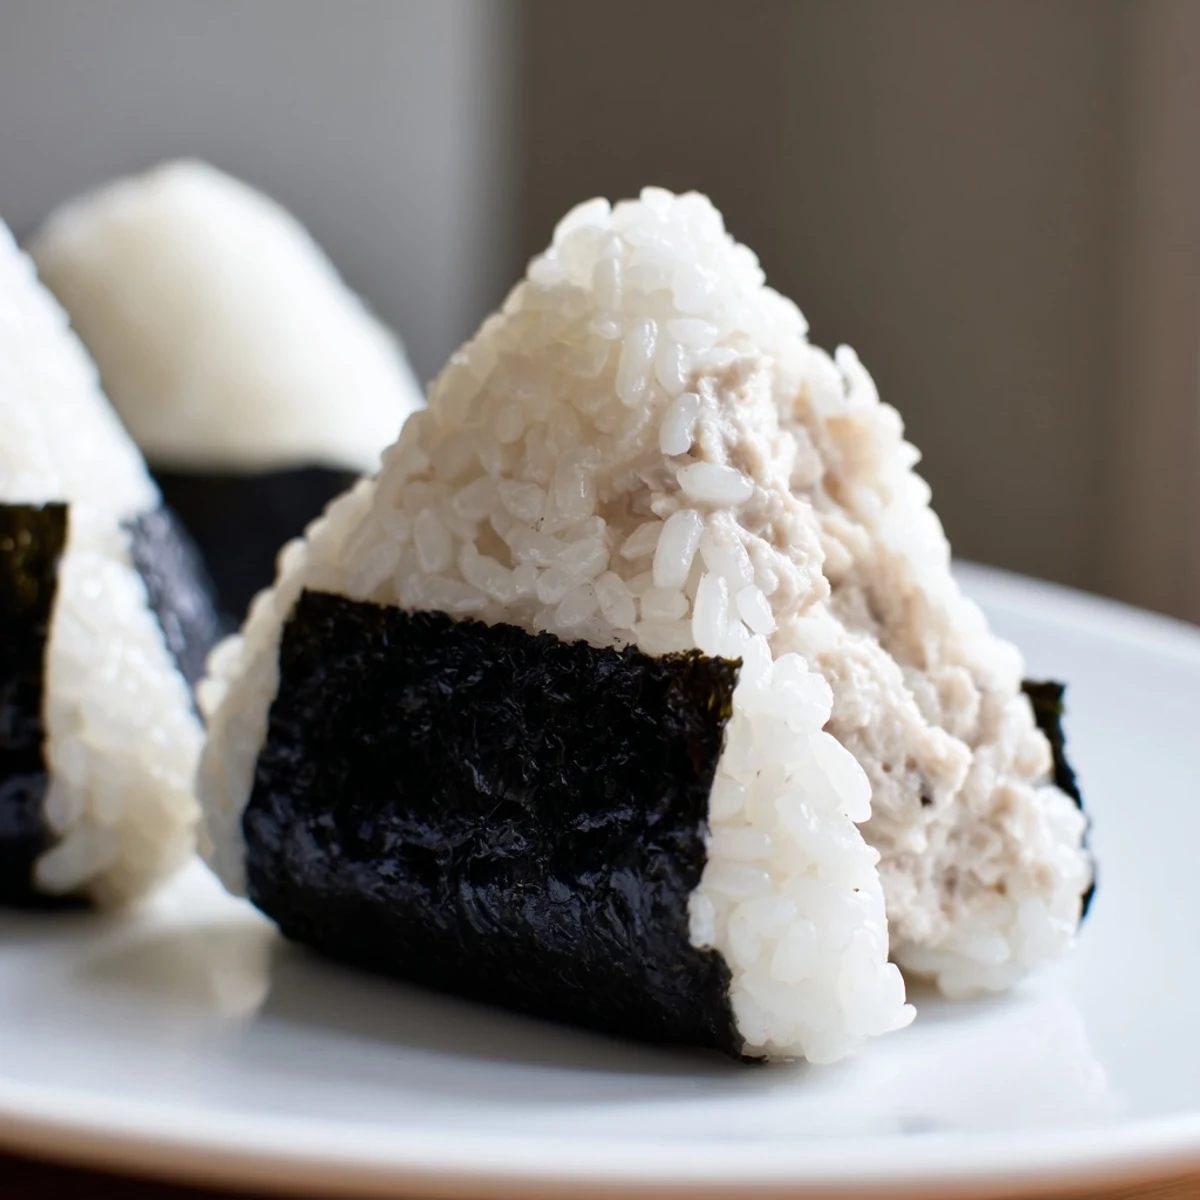
- Scoop roughly half a cup of warm rice into one hand, press a shallow well into the center, spoon in a generous tablespoon of tuna mayo, and fold the rice over the filling while gently pressing into a triangle or oval shape.
- Wrap and finish:
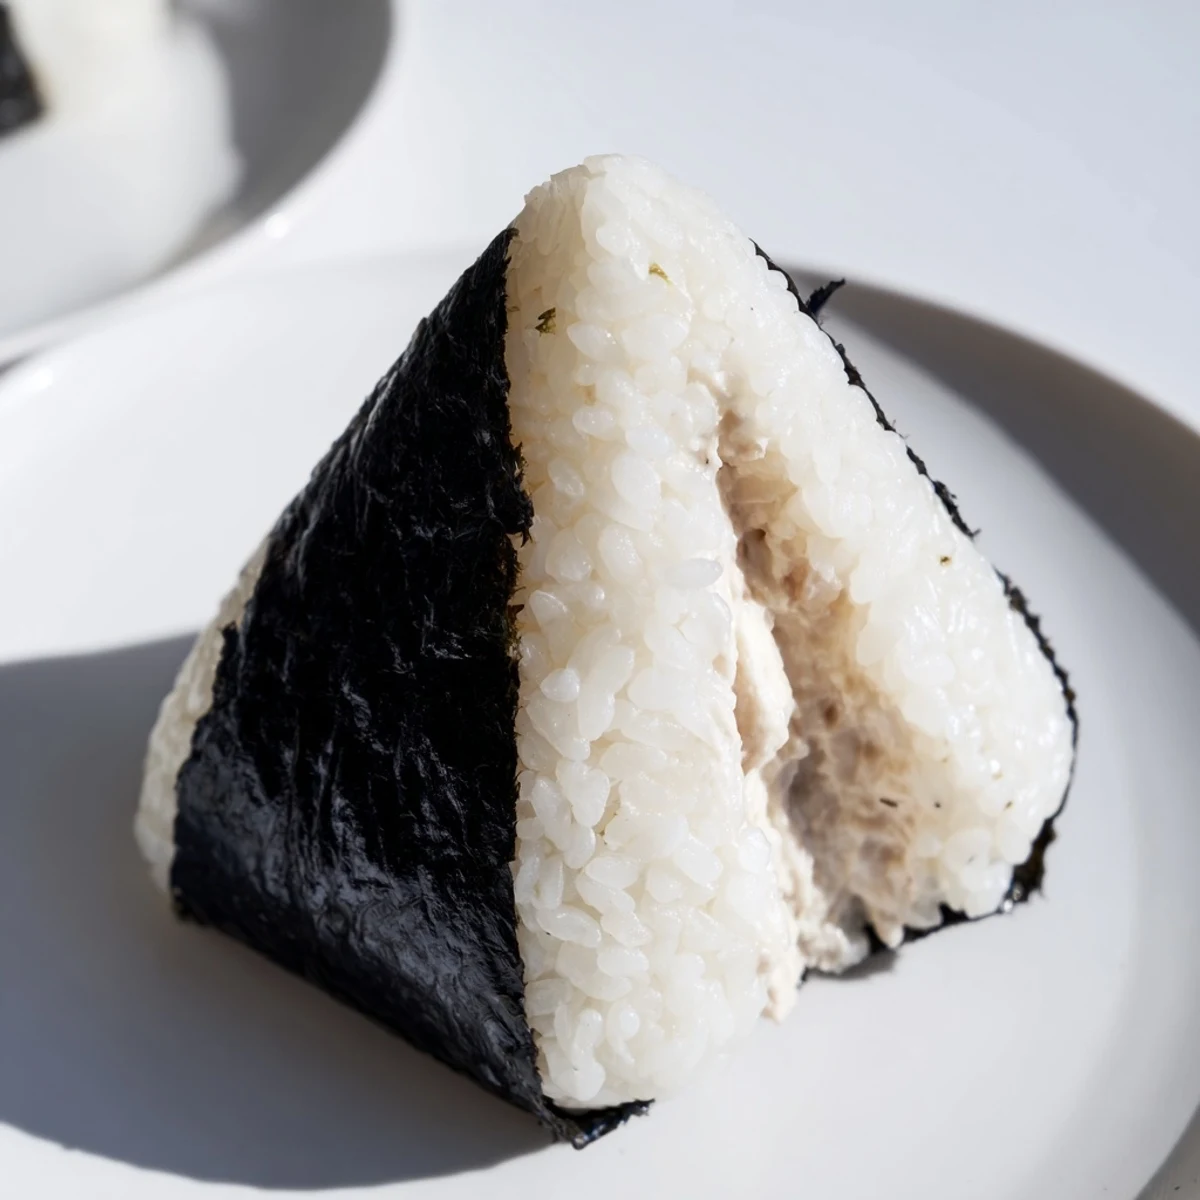
- Press a strip of nori against one side of each rice ball, the moisture from the rice will soften it just enough to cling, and repeat until all six are wrapped and ready to eat.
 Save
Save There is something quietly meditative about pressing warm rice into shapes with your bare hands, feeling the grains compress and hold, a kitchen ritual that connects you to countless home cooks who have done the exact same thing for generations.
Getting Creative with the Filling
A handful of chopped scallions folded into the tuna mixture adds a bright, oniony bite that cuts through the richness beautifully. A few drops of toasted sesame oil will transform the entire flavor profile into something deeper and more aromatic. I sometimes add a spoonful of pickled ginger for a tangy punch that surprises people in the best way.
Storing for Later
These are at their absolute best within a few hours of making them, when the rice is still slightly warm and the nori has a crisp snap to it. If you must save them, wrap each one tightly in plastic and refrigerate for up to twenty-four hours, though the seaweed will soften and lose its crunch. Let them come closer to room temperature before eating because cold rice loses much of its charm.
A Few Last Thoughts
Onigiri is less about perfection and more about the comfort of making something nourishing with your own two hands. The triangle will never look as tidy as the store-bought version, and that is exactly the point.
- If your hands get too sticky while shaping, just rinse them and reapply salt.
- Regular mayonnaise works in a pinch, though the flavor will be milder and less tangy.
- Always check your soy sauce label if cooking for someone who needs gluten-free.
 Save
Save Grab a can of tuna, cook some rice, and let your hands get a little messy, these humble rice balls are proof that the simplest things in the kitchen are often the most satisfying.
Recipe Questions
- → What type of rice works best for onigiri?
-
Japanese short-grain rice is essential because its sticky texture holds the triangular shape together. Medium-grain rice can work in a pinch, but long-grain varieties won't bind properly.
- → Can I make these ahead of time?
-
Yes, onigiri can be prepared up to 24 hours in advance. Wrap tightly in plastic wrap and refrigerate. Let them come to room temperature before serving for the best texture and flavor.
- → What's the difference between Japanese and regular mayonnaise?
-
Japanese mayonnaise like Kewpie uses egg yolks instead of whole eggs and includes rice vinegar, creating a richer, creamier, and slightly tangier flavor profile than Western mayonnaise.
- → How do I prevent the rice from sticking to my hands?
-
Wet your hands with cold water and lightly salt them before shaping. The water creates a barrier while the salt seasons the rice. You can also use plastic wrap as a barrier.
- → Can I freeze onigiri?
-
Yes, wrap individual onigiri tightly in plastic wrap and freeze for up to one month. Thaw in the refrigerator overnight. Note that nori should be added after thawing to maintain its crisp texture.
- → What other fillings can I use?
-
Popular alternatives include umeboshi (pickled plum), cooked salmon with miso, grilled eel, tarako (cod roe), or simple salted salmon. The possibilities are endless based on your preferences.
