 Save
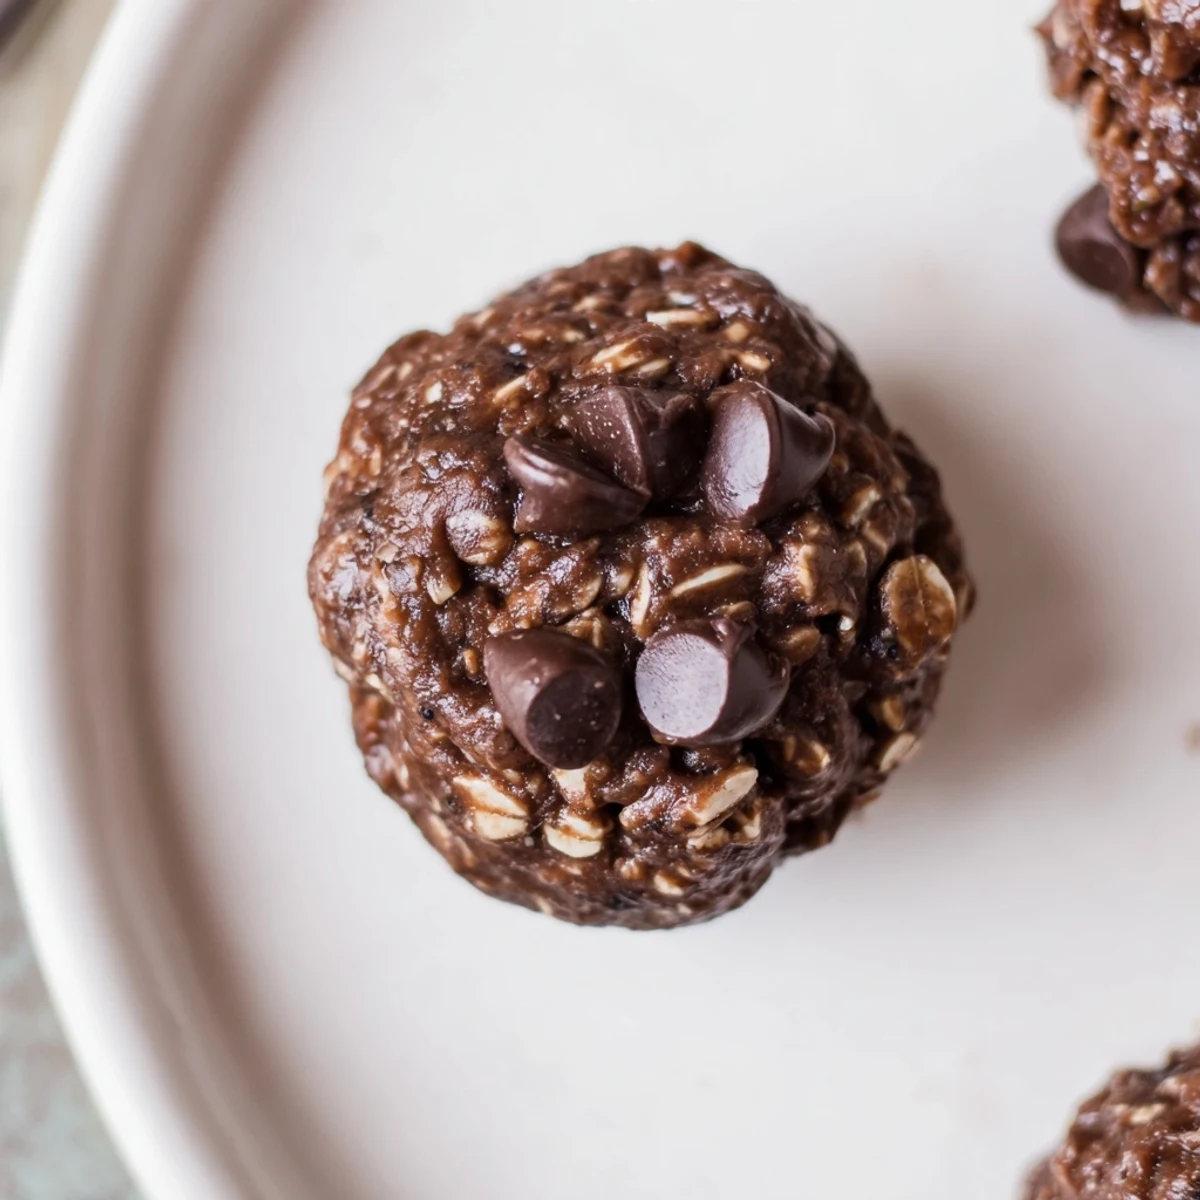
Save Blend rolled oats, chocolate protein powder, and cocoa in a food processor until coarse. Add maple syrup, nut butter, milk, and vanilla; pulse to a sticky dough. Stir in dark chocolate chips, roll into 12 even balls, and chill 30 minutes for best texture. No baking needed. Swap nut butter for sunflower seed butter for a nut-free option.
The first time I blitzed oats and chocolate protein for these brownie bites, my kitchen filled with the kind of rich, cocoa aroma that promises a treat. What I didn’t expect was how addictive the dough was before it even hit the fridge—I couldn’t help swiping tastes off the spatula. Sometimes the best recipes begin as quick fixes for snack cravings that sneak up after a gym session. It’s amazing how a handful of pantry basics transform into fudgy, energizing bites.
Last spring, I made a batch of these for a hiking trip with friends—we ended up sharing them halfway up the trail, laughing over who could eat theirs in the messiest one-bite style. The little bites were smeared with chocolate on our hands, but no one minded a bit. Funny how food can turn a pit stop into a group moment. I think they fueled our best photo session on that hilltop.
Ingredients
- Rolled oats: They add hearty texture and, after pulsing, act as a gluten-free base if you double-check the label.
- Chocolate protein powder: This isn’t just for the protein—the powder gives that brownie effect and a silky chew.
- Unsweetened cocoa powder: Trust me, using a good quality cocoa brings out a deeper chocolate flavor without extra sugar.
- Pure maple syrup or honey: Natural sweetness keeps things sticky and blendable—I switch depending on what’s open in the cupboard.
- Natural peanut butter or almond butter: For that essential richness—I stick to peanut for classic taste, almond if I’m feeling fancy.
- Milk of choice: Go for your favorite—I’ve tried oat and cow’s milk, both work for moisture and mildness.
- Vanilla extract: Even a small splash makes the chocolate flavor feel like dessert-shop level.
- Dark chocolate chips: The melty bits are the little surprise in every bite and a nice texture break.
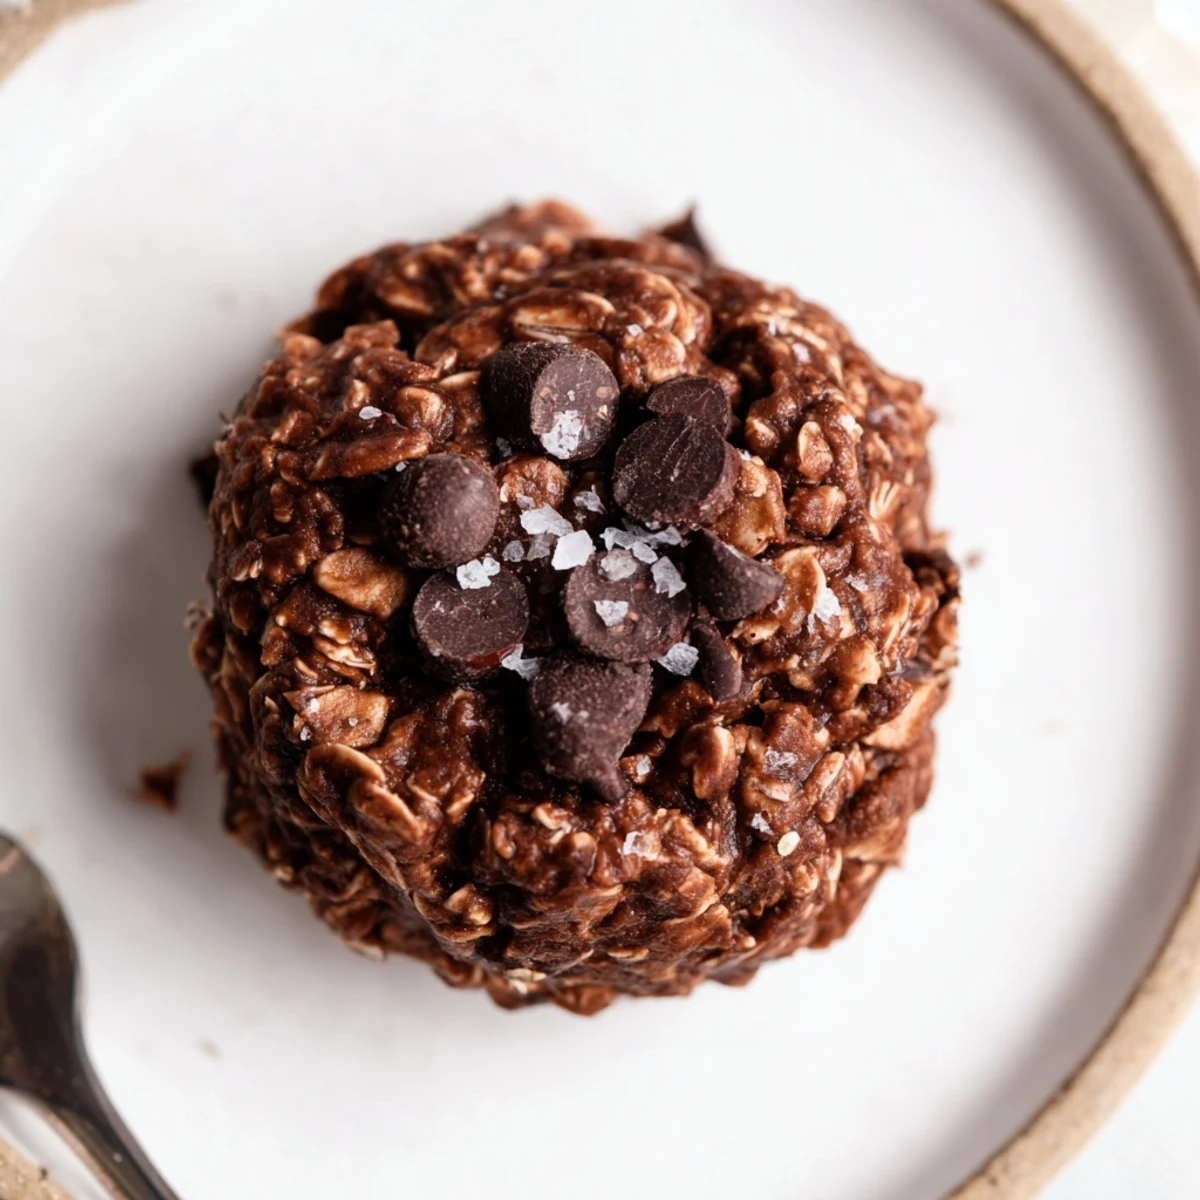
- Fine sea salt: Just enough to balance and sharpen all the sweet, chocolatey notes.
Instructions
- Whirl the oats:
- Add oats to your food processor, pulse until you see a coarse, floury texture, and catch a whiff of their nutty scent.
- Mix in the drys:
- Toss in the protein powder, cocoa, and a pinch of sea salt; pulse a few times until the cocoa clouds up and everything looks deep brown.
- Bring it together:
- Add maple syrup, nut butter, milk, and vanilla; blend until the dough gathers and holds together—add tiny splashes more milk if needed.
- Fold in chocolate chips:
- Scoop the sticky dough into a bowl and use a spatula or your hands to fold in chocolate chips, listening for the little snaps as they mix in.
- Shape the bites:
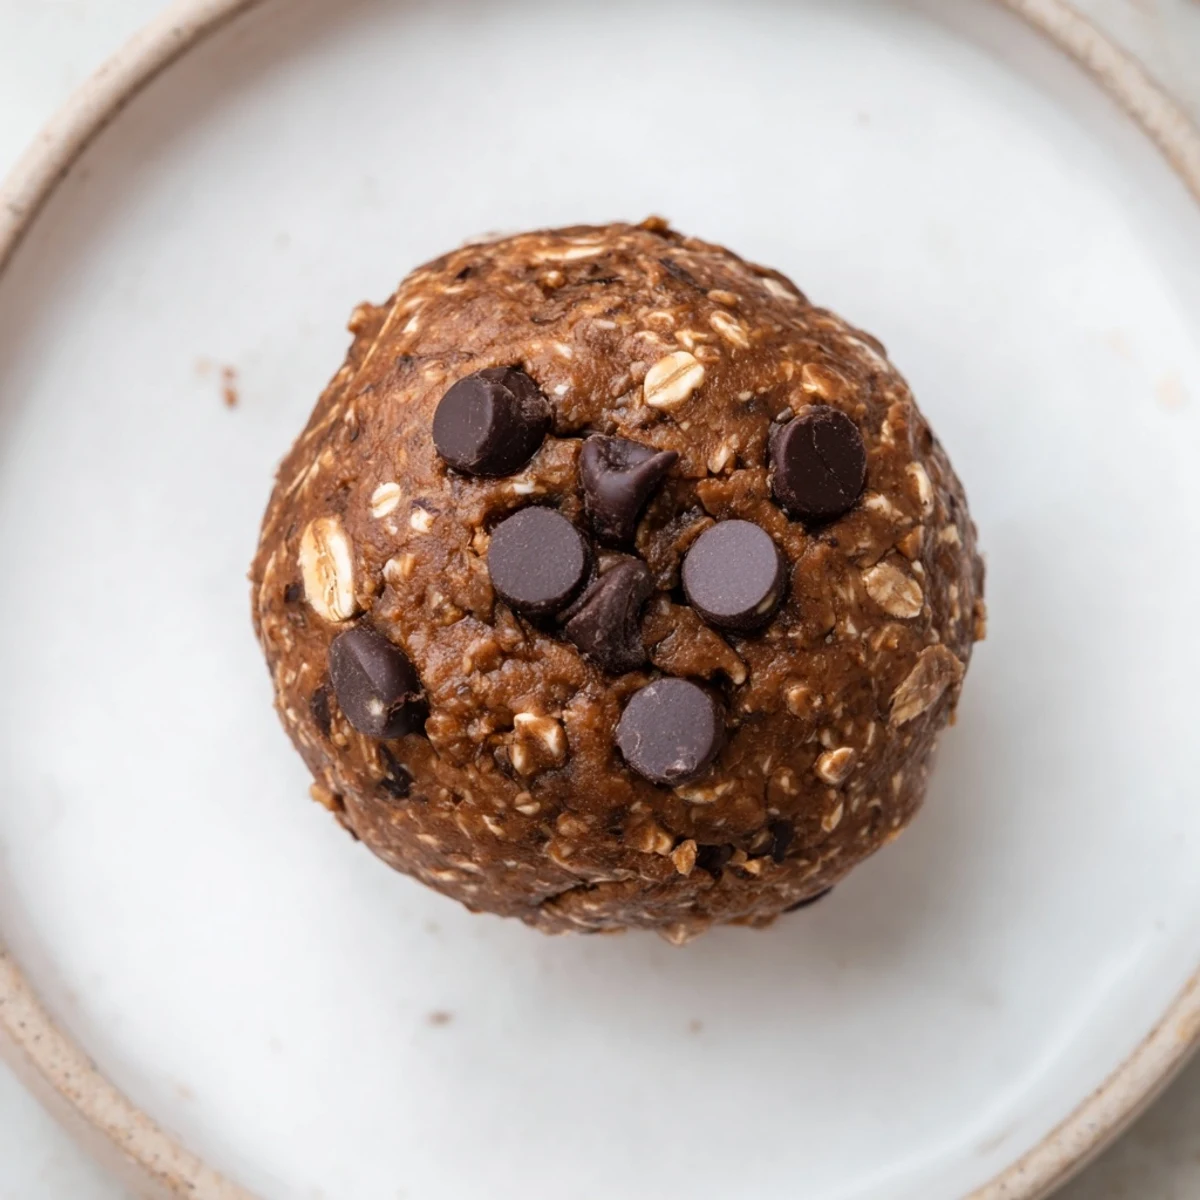
- Roll the dough into balls (about a tablespoon each), feel the dough squish and hold, and line them up on parchment for easy chilling.
- Chill for texture:
- Slide the tray in the fridge for at least thirty minutes—the bites firm up and pack the best chew after a rest.
 Save
Save The first time my neighbor tried these, she walked back with an empty container and the most earnest thumbs-up I’ve ever seen over a snack. Seeing someone else’s delight made me realize food can be a love language, even when it’s something as simple as a bite-sized protein treat.
Ingredient Swaps and Add-Ins to Try
Kitchen curiosity led me to toss in shredded coconut one afternoon, and it turned the bites into a tropical pick-me-up. For nut-free friends or school snacks, sunflower seed butter and dairy-free chocolate work without changing the fudgy texture. Chopped walnuts or pecans add crunch, and sometimes I sneak in a dash of cinnamon for warmth.
Storing and Meal Prep Tips
These bites like to keep in an airtight container in the fridge, where they stay firm and snack-ready for up to a week. If you’re prepping ahead, they freeze surprisingly well and thaw in minutes for a grab-and-go treat. I often double the batch for busy weeks since they disappear faster than you’d think.
Making Them Kid-Friendly and Allergy-Aware
I’ve learned to swap out ingredients for picky eaters and allergy needs without sacrificing flavor or chew. Kids seem to love rolling the dough as much as snacking, and it’s a mess we can all clean up together.
- Always scan protein powder and oat labels for hidden gluten.
- Use sunflower seed butter for a totally nut-free version.
- A sprinkle of mini chocolate chips adds fun and sweetness that kids adore.
 Save
Save However you customize them, these brownie protein bites never last long around here—they’re my favorite way to satisfy a chocolate craving and sneak in a little goodness. Here’s hoping they become a snack-time classic in your kitchen, too.
Recipe Questions
- → How do I achieve a fudgy texture?
-
Use a balanced ratio of nut butter and maple syrup and pulse until the mixture clumps. If too dry, add milk a teaspoon at a time. Chilling firms the bites and enhances the fudgy mouthfeel.
- → Can I use different protein powders?
-
Yes. Chocolate or vanilla powders work well. Plant-based powders may absorb more liquid, so you may need slightly more milk or syrup to reach a sticky dough.
- → How can I make them nut-free?
-
Replace peanut or almond butter with sunflower seed butter and check that chocolate chips are nut-free. This maintains texture while avoiding tree nut allergens.
- → What is the best way to store these bites?
-
Keep in an airtight container in the refrigerator for up to 7 days. For longer storage, freeze on a tray then transfer to a freezer-safe container for up to 3 months.
- → Can I change the add-ins?
-
Absolutely—fold in chopped nuts, shredded coconut, or dried fruit for texture. Reserve a few chocolate chips to press on top for a finished look.
- → How should I portion them for consistent servings?
-
Use a tablespoon or small cookie scoop to roll 12 even balls. Each portion is roughly 105 calories and provides about 6 g of protein, depending on ingredients used.
