 Save
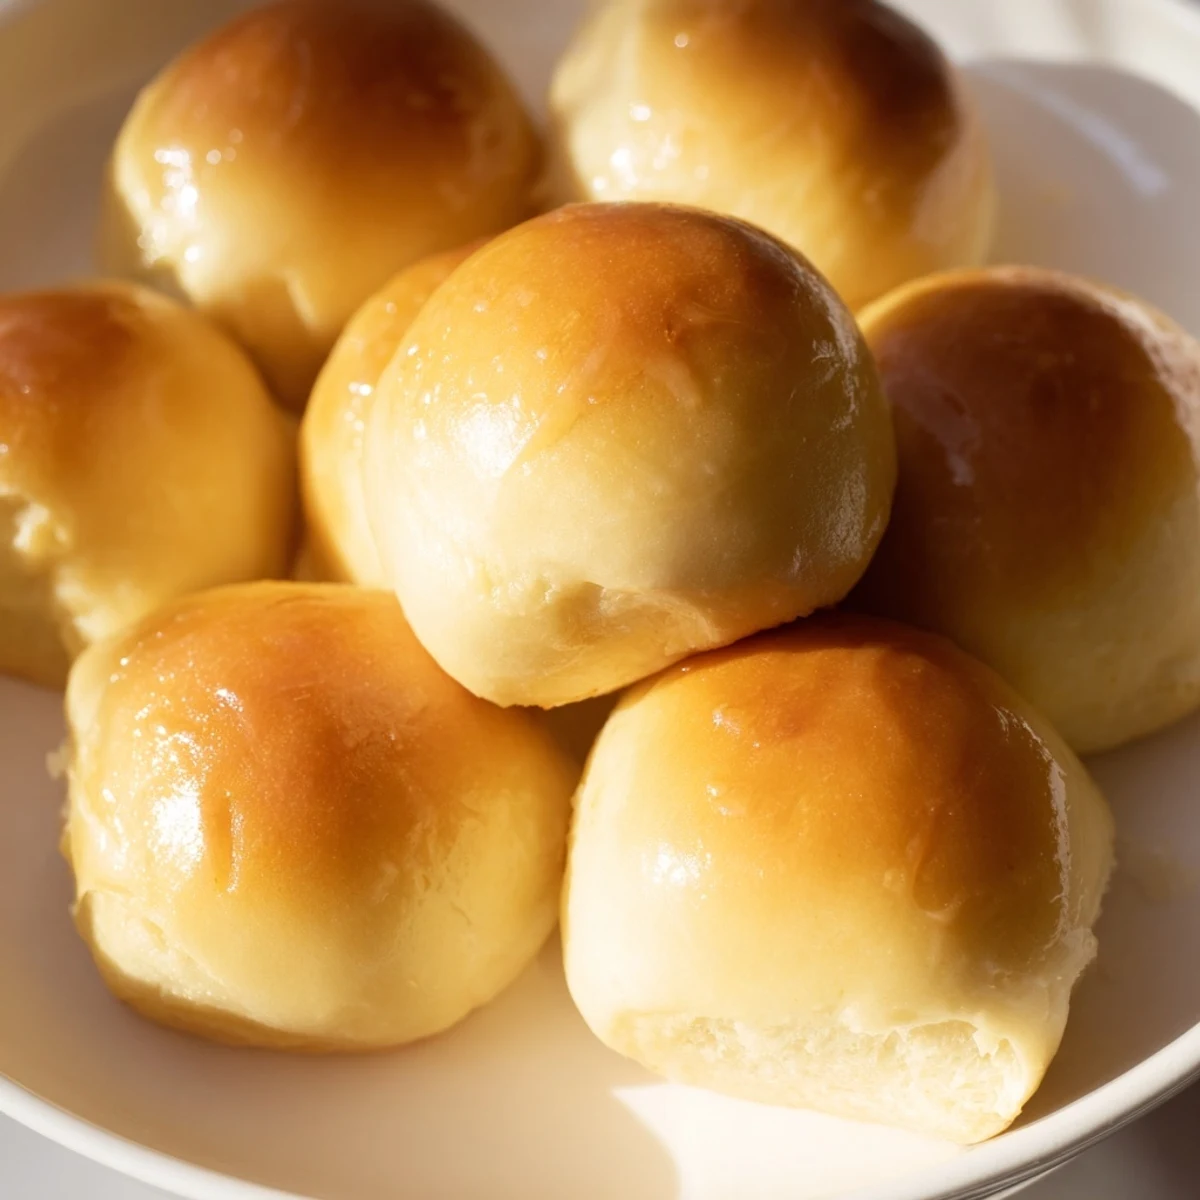
Save These vegan dinner rolls are tender and fluffy, boasting a rich buttery flavor without dairy. Using simple pantry staples like plant-based milk, melted vegan butter, and active dry yeast, the dough develops a soft, elastic texture after kneading and rising. Baking until golden brown creates irresistibly light rolls with a golden crust. Brushing with melted vegan butter enhances their rich aroma and taste. Perfect as a side for any meal, these rolls offer a satisfying, dairy-free alternative with a soft crumb and light texture.
The smell of yeast blooming in warm almond milk still takes me back to rainy Sunday afternoons in my tiny first apartment. I was determined to prove to my skeptical family that vegan baking could yield something just as comforting and pillowy as traditional rolls. That first batch came out of the oven slightly lopsided but disappeared within minutes at dinner.
I brought these to Thanksgiving last year and watched my uncle, a confirmed butter devotee, reach for his third roll. When my cousin asked what made them so good, I just smiled and said it was my secret ingredient, which turned out to be nothing more than patience and good almond milk.
Ingredients
- Unsweetened almond milk: The subtle nutty flavor complements the yeast beautifully and creates a tender crumb that water alone cannot achieve
- Vegan butter: Use a high quality block style butter rather than tub margarine for the best flavor and texture in both the dough and brushing
- Organic cane sugar: Feeds the yeast and helps create that gorgeous golden brown crust we all want in a dinner roll
- Active dry yeast: Make sure your yeast is fresh by checking the expiration date since stale yeast is the most common reason for failed bread
- All purpose flour: Bread flour would work too but AP gives these rolls a softer more delicate texture perfect for dinner
- Fine sea salt: Do not skip this as it balances the sweetness and deepens the overall flavor profile
Instructions
- Wake up the yeast:
- Heat your almond milk until it feels pleasantly warm on your wrist like a perfect baby bottle, then stir in the melted butter and sugar until dissolved. Sprinkle the yeast on top and walk away for ten minutes until you see a foamy layer forming on top.
- Bring the dough together:
- Add the flour and salt to your yeast mixture and stir with a wooden spoon until you have a shaggy dough that pulls away from the sides of the bowl.
- Knead with intention:
- Turn the dough onto a floured surface and push it away from you with the heel of your hand, fold it back over, and repeat for about eight minutes until the dough feels smooth like a baby cheek and bounces back when you poke it.
- Let it rise:
- Place your dough in an oiled bowl, cover it with a damp towel, and find the warmest spot in your kitchen to let it double in size which usually takes about an hour.
- Shape your rolls:
- Punch down the risen dough and divide it into twelve equal pieces, rolling each into a tight ball by tucking the edges underneath and placing them in your baking dish so they are touching slightly.
- Second rise:
- Cover the pan again and let the rolls puff up for thirty minutes until they look pillowy and have filled in the spaces between each other.
- Bake to golden perfection:
- Slide the pan into a 375°F oven and bake for roughly twenty minutes until the tops are golden brown and they sound hollow when you tap them.
- The finishing touch:
- Brush the hot rolls immediately with melted vegan butter and let them cool for just a few minutes before tearing into them.
 Save
Save My daughter now asks to help shape the dough balls every time I make these. Her tiny hands create imperfect spheres that bake into the most charming misshapen rolls, and honestly those are the ones everyone fights over at dinner.
Making Them Ahead
You can shape the rolls and refrigerate them overnight in the baking dish covered tightly with plastic. Let them sit at room temperature for about an hour while the oven preheats before baking.
Flavor Variations
Sometimes I fold roasted garlic cloves and fresh rosemary into the dough during the last minute of kneading. Other times a handful of nutritional yeast creates the most savory version that even dedicated cheese lovers appreciate.
Serving Suggestions
These rolls are the perfect vehicle for sopping up gravy or stew juices. I love serving them alongside a hearty vegetable soup or using them as the base for miniature vegan sliders at parties.
- Split day old rolls and toast them under the broiler with vegan cheese
- Cube leftover rolls and bake into croutons for salads
- Store extra cooked rolls in the freezer and reheat at 350°F for ten minutes
 Save
Save There is something magical about pulling a basket of warm homemade rolls from the oven. Even after all these years of baking, watching people break bread together still feels like the ultimate expression of care.
Recipe Questions
- → Can I use different plant-based milks?
-
Yes, you can substitute almond milk with soy, oat, or cashew milk without affecting texture or flavor significantly.
- → How long should the dough rise?
-
The dough needs to rise twice: first for about 1 hour until doubled, then 30 minutes after shaping the rolls to develop a light texture.
- → What is the best way to make the rolls fluffy?
-
Kneading until smooth and letting the dough rise properly are key to achieving a soft, fluffy interior in the rolls.
- → Can I add flavors to the dough?
-
Yes, incorporating garlic powder or fresh herbs into the dough can add extra depth and aroma.
- → How should I store the rolls after baking?
-
Store cooled rolls in an airtight container at room temperature or freeze them for longer preservation. Gently reheat before serving.
