 Save
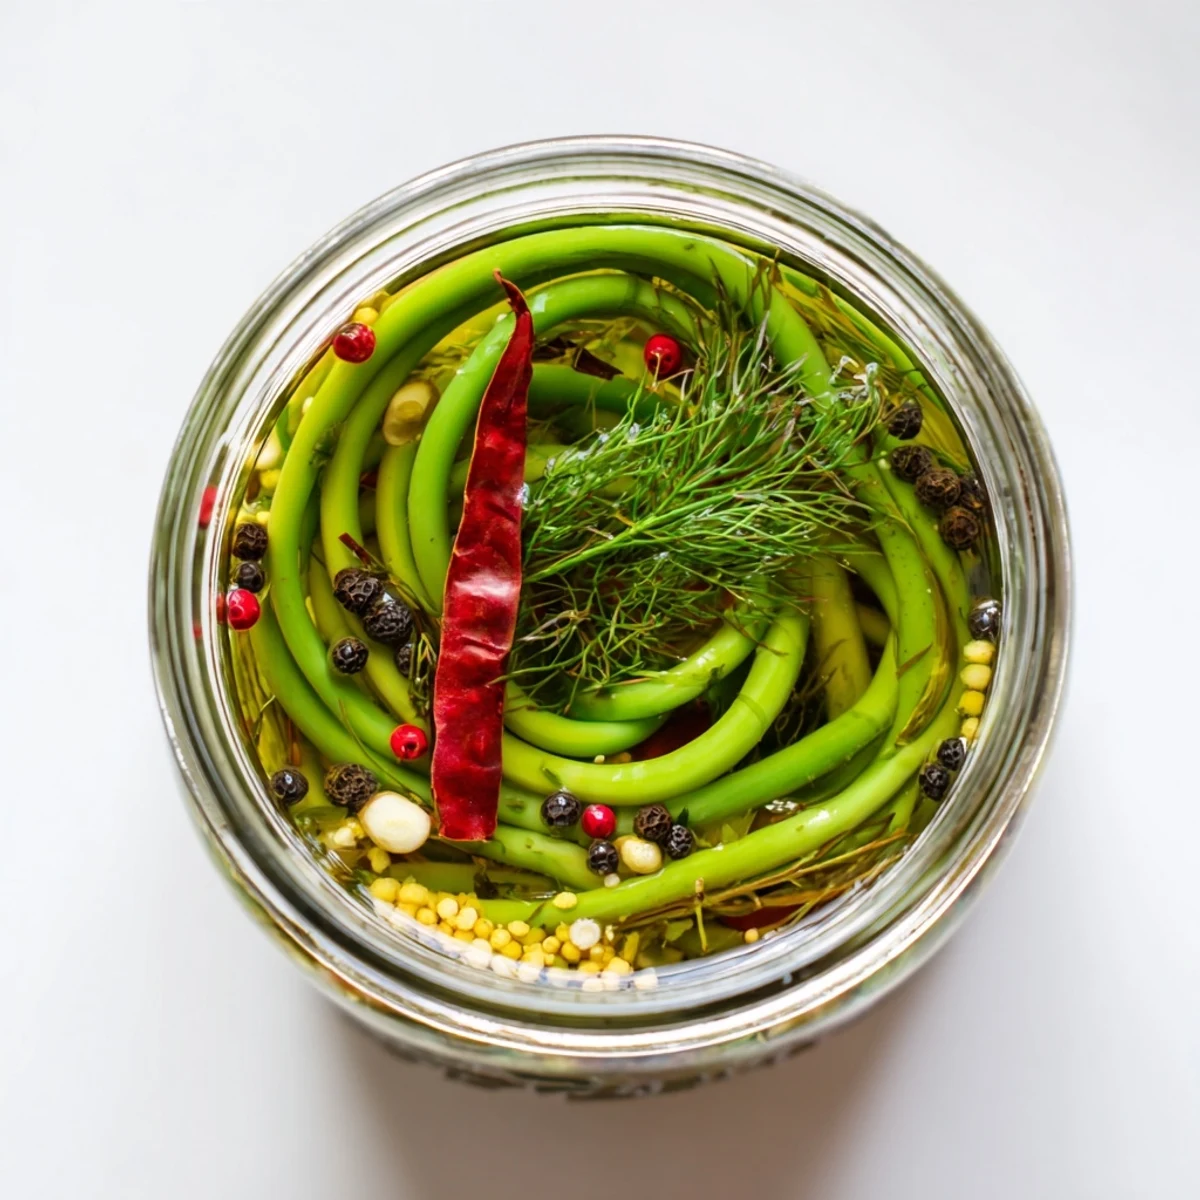
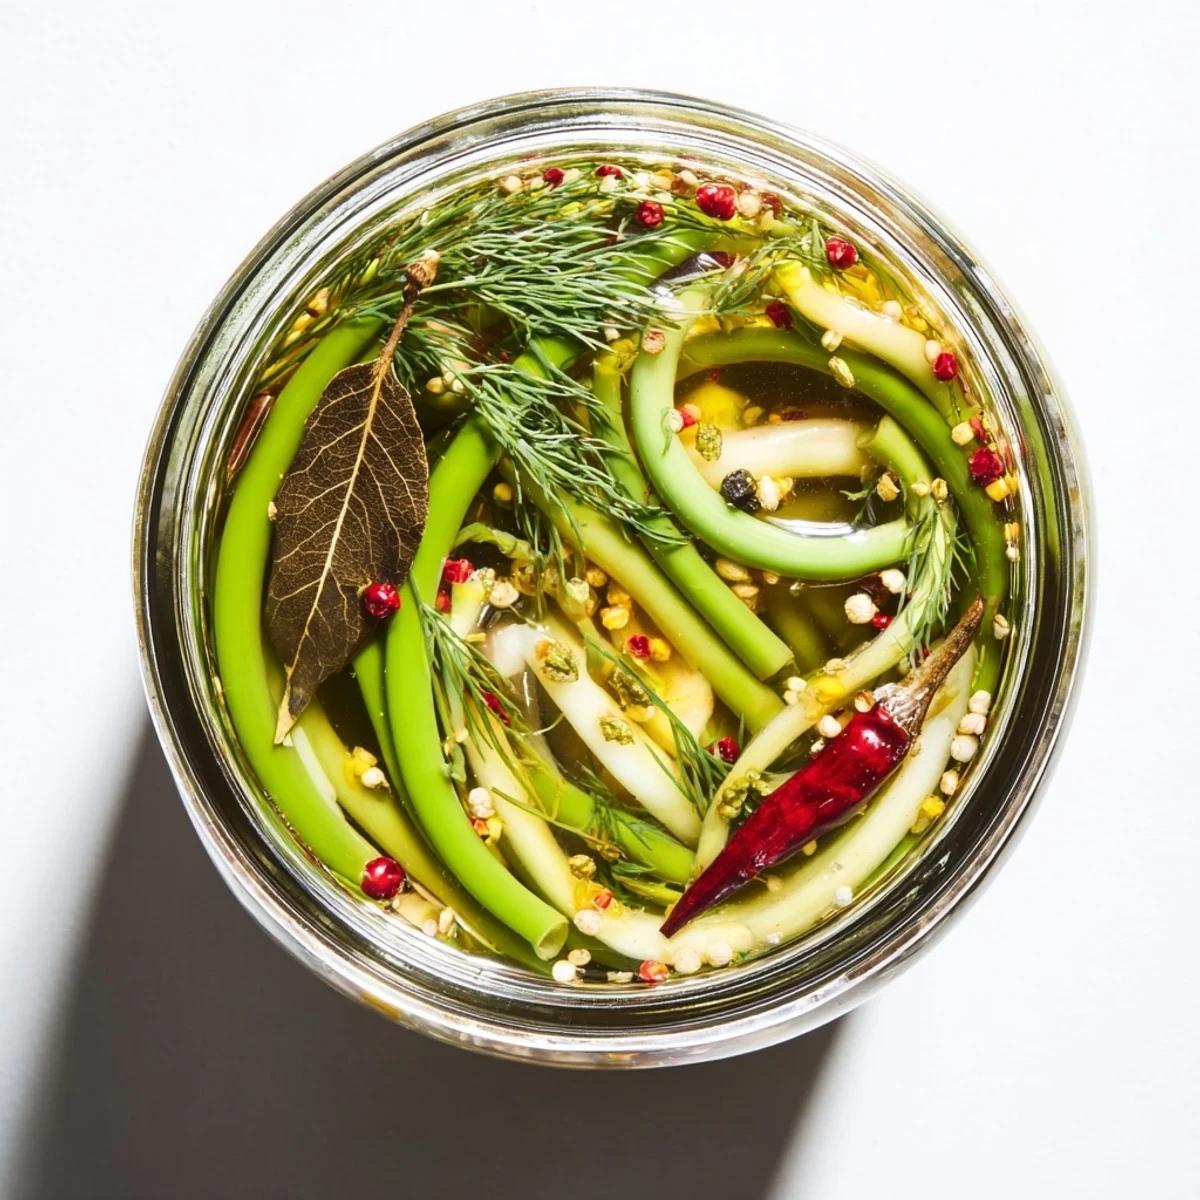
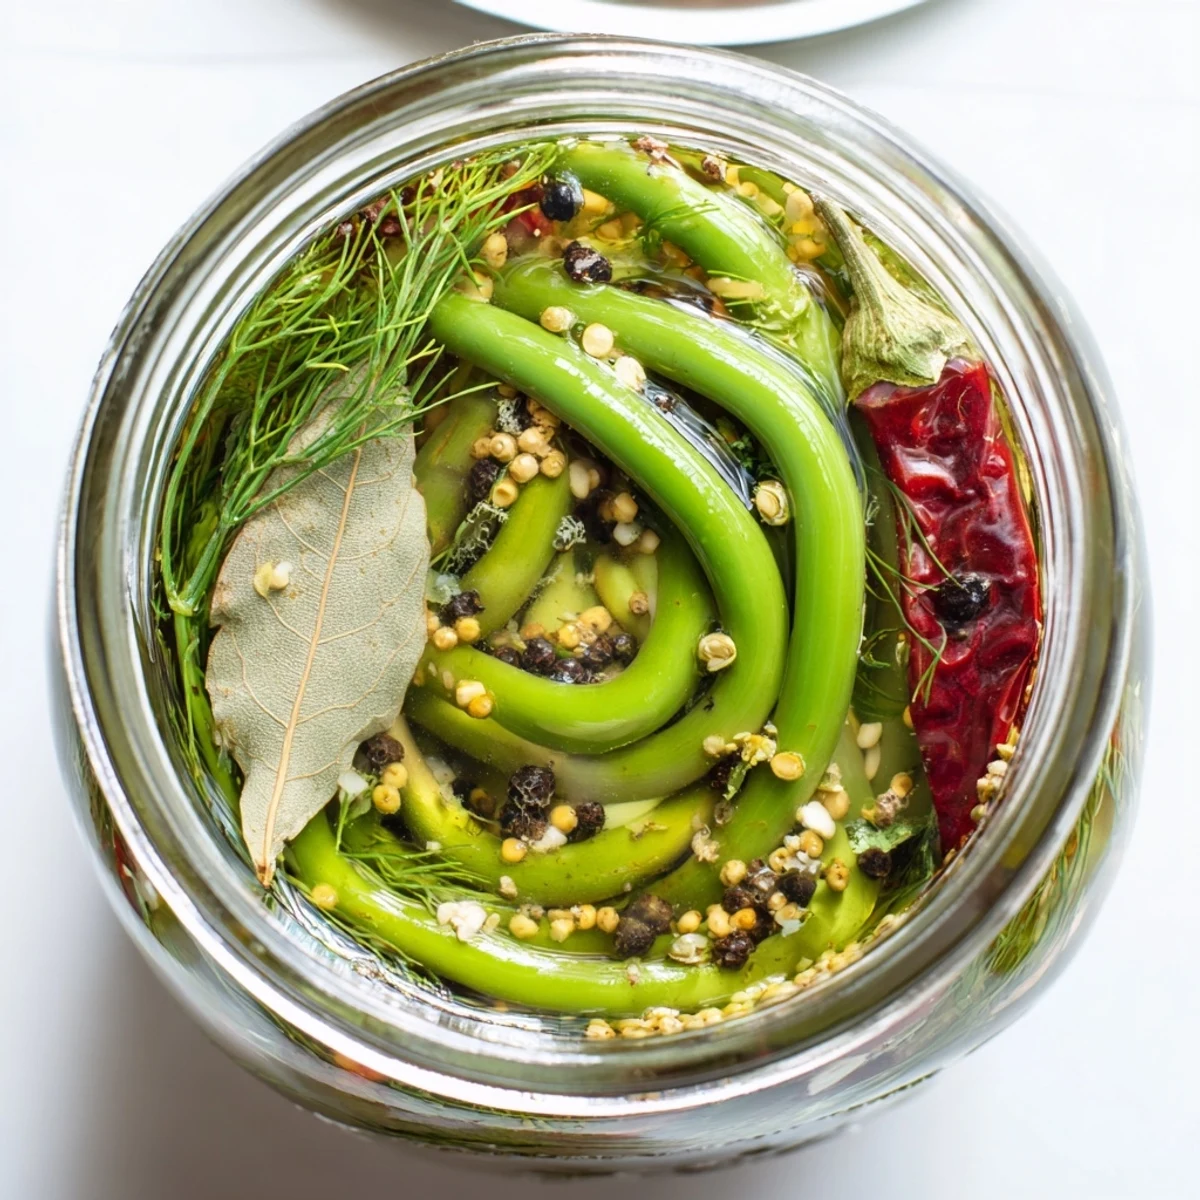
Save Create vibrant, tangy pickles from fresh garlic scapes with this straightforward method. The curly flower stalks from garlic plants pack incredible flavor that becomes even more pronounced through pickling.
A aromatic vinegar brine infused with peppercorns, mustard seeds, coriander, and dried chilies transforms these crunchy stems into a versatile condiment. The balance of tangy vinegar, subtle sweetness, and gentle heat creates an addictive pickle that improves with time.
Ready in just 25 minutes of active preparation, these scapes need at least 48 hours to develop their full flavor profile. They're excellent tucked into cheese boards, piled onto sandwiches, or enjoyed straight from the jar as a zesty snack.
The first time I saw garlic scapes at the farmers market, I had no idea what those curly green shoots were. The farmer handed me one to taste raw, and that bright, garlicky snap changed my whole summer. Now I buy them by the armful every season just to keep these jars in my fridge.
Last summer my friend Sarah cracked open a jar I had forgotten in the back of my fridge. She took one bite and immediately demanded the recipe, then proceeded to eat half the jar standing at my counter. Now I make double batches just so I have enough to share.
Ingredients
- Garlic Scapes: Look for tight, firm curls without any yellowing or soft spots at the farmers market
- Distilled White Vinegar: Pickling salt is non-iodized and prevents cloudy brine
- Granulated Sugar: Balance the tang with just enough sweetness to round out the heat
- Kosher Salt: The flakes dissolve easily and provide consistent seasoning
- Black Peppercorns: Freshly cracked gives the best aromatic punch
- Mustard Seeds: Yellow or brown both work beautifully
- Coriander Seeds: Crush them slightly to release their citrusy perfume
- Red Pepper Flakes: Adjust up or down based on your heat tolerance
- Dried Chilies: Whole chilies look stunning and infuse gentle heat
- Bay Leaves: Remove before serving or leave as a rustic garnish
- Fresh Dill: Adds an herbal brightness that pairs perfectly with garlic
Instructions
- Sterilize your jars:
- Run everything through the dishwasher or boil in hot water for 10 minutes while you prep
- Prep the scapes:
- Trim the woody ends and cut them to jar height, curling them like snakes to fit snugly
- Load the jars:
- Divide the scapes, dill sprigs, and dried chilies between your two sterilized jars
- Add the spices:
- Split the peppercorns, mustard and coriander seeds, red pepper flakes, and bay leaves evenly
- Simmer the brine:
- Bring vinegar, water, sugar, and salt to a boil until the granules disappear completely
- Pour and seal:
- Carefully fill each jar with hot brine, leaving half an inch of headspace, then screw on lids
- Wait patiently:
- Let them cool on the counter before refrigerating, then wait at least 48 hours before diving in
 Save
Save My neighbor requested these for her annual summer potluck after tasting them at my house. Now every July I find myself on her porch with a cooler full of jars, watching people crowd around the condiment table like it is the main event.
Getting the Right Crunch
Younger scapes stay crisper longer than mature ones. If you find scapes that have started forming bulbs at the top, they are still delicious but will have a softer texture.
Playing with Heat Levels
Start with half the red pepper flakes if you are unsure. You can always add more next batch, but you cannot take heat out once it is in the jar.
Serving Ideas That Shine
Chopped scapes make incredible additions to potato salads and grain bowls. The brine works as a quick pickle liquid for thinly sliced cucumbers or radishes too.
- Tuck whole scapes alongside grilled fish for a bright acidic contrast
- Mince them into deviled egg filling for unexpected zing
- Add chopped pieces to your next bloody mary for a savory garnish
 Save
Save There is something deeply satisfying about seeing those green curls lined up in the fridge, ready to transform an ordinary meal into something worth lingering over.
Recipe Questions
- → What are garlic scapes?
-
Garlic scapes are the curly, green flower stalks that emerge from hardneck garlic plants in late spring. Farmers remove them to direct energy back into bulb growth, creating a brief seasonal delicacy. They taste like milder, sweeter garlic with a texture similar to asparagus or green beans.
- → How long do these pickled scapes last?
-
When properly sterilized and refrigerated, these pickled garlic scapes stay fresh for up to one month. The vinegar brine creates an acidic environment that preserves them naturally. Always use clean utensils when removing portions from the jar to prevent contamination.
- → Can I adjust the spice level?
-
Absolutely. The heat comes from red pepper flakes and dried chilies, both easily adjustable. For mild pickles, omit the dried chilies entirely and reduce pepper flakes to 1/4 teaspoon. To amp up the fire, double the pepper flakes or add fresh sliced jalapeños to each jar.
- → When can I start eating them?
-
These pickled scapes need at least 48 hours in the refrigerator to develop their signature tangy flavor. However, patience pays off—the flavors continue to deepen and meld over time. Many people find they reach peak deliciousness after one week of curing.
- → What can I serve them with?
-
These versatile pickles shine on charcuterie boards alongside cheeses and cured meats. They add crunch and zest to sandwiches, burgers, and salads. Try them chopped into potato salad, atop grilled fish, or as a garnish for bloody marys. Their tangy heat complements rich, fatty foods beautifully.
- → Can I use different vinegars?
-
White distilled vinegar works best for its clean, neutral flavor that lets the spices shine. Apple cider vinegar adds fruity notes but darkens the color slightly. Rice wine vinegar offers milder acidity. Avoid balsamic or malt vinegar as their strong flavors would overpower the delicate scapes.
