 Save
Save Elevate your dessert with these exquisite chocolate-covered pears. Gently poach firm pears in a fragrant syrup with vanilla and cinnamon until tender. Once cooled, melt premium dark chocolate with butter to create a silky coating.
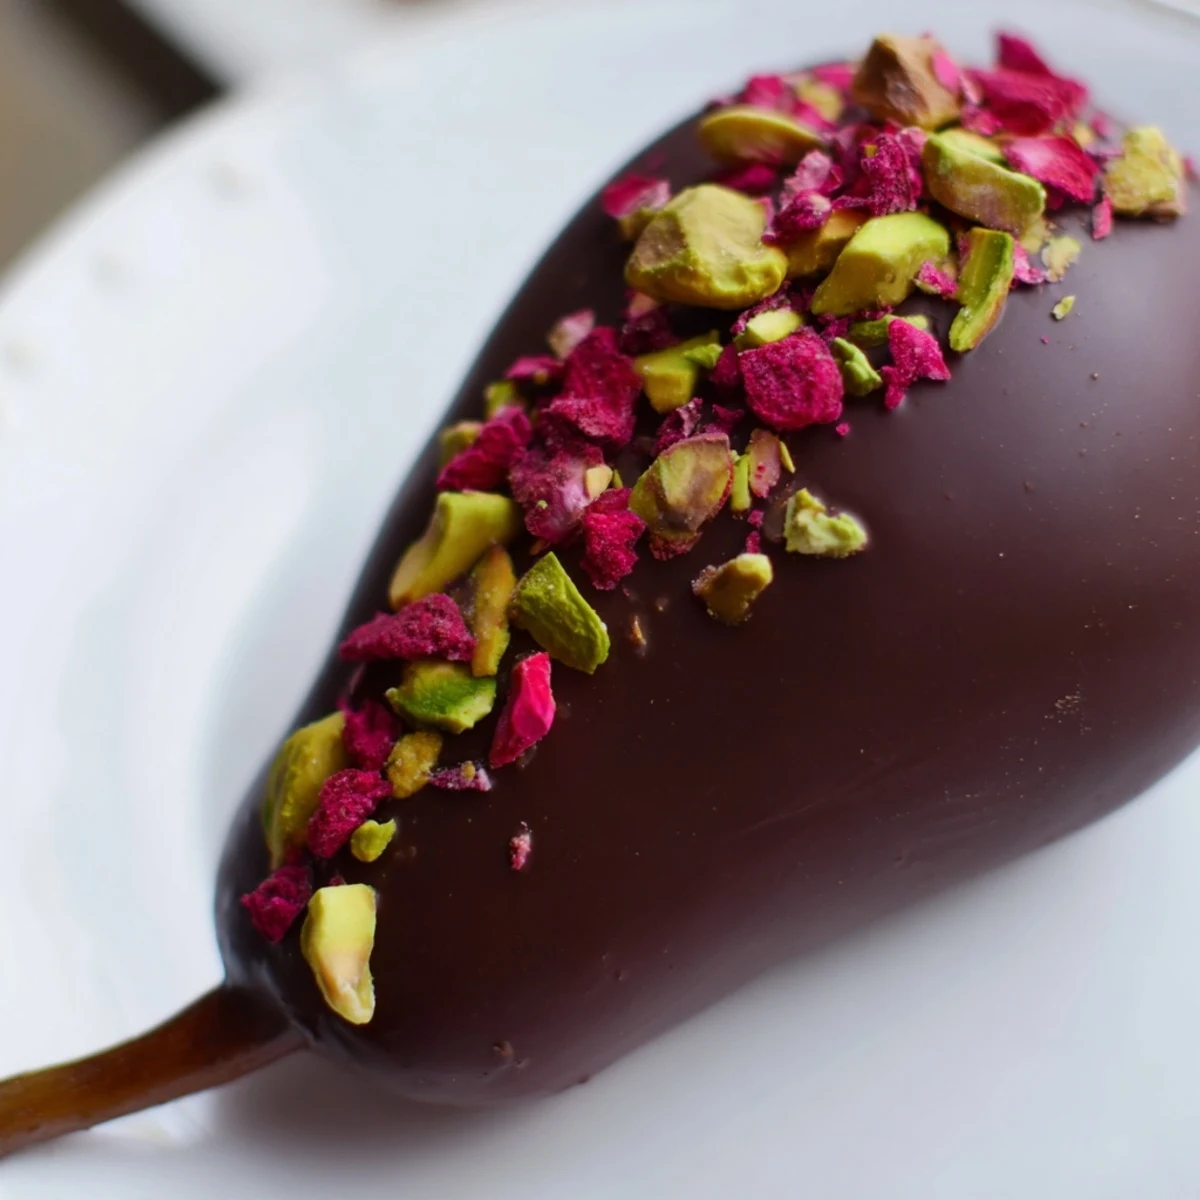
Carefully dip each pear into the chocolate, ensuring even coverage. Add garnishes like pistachios or raspberries before chilling to set. This impressive, yet straightforward dessert offers a delightful contrast of soft fruit and crisp chocolate, perfect for any romantic dinner or special occasion.
The air had that crisp, late autumn feel, perfect for something cozy but elegant. I was flipping through an old cookbook, looking for a dessert that felt special without being overly fussy. That's when these chocolate-covered poached pears practically jumped off the page, promising a touch of romance that even a Tuesday evening could appreciate. The thought of those warm spices mingling with dark chocolate was just too inviting to pass up.
One chilly evening, after a particularly satisfying dinner party, I brought these out. My friend Sarah, usually one to scrutinize every detail, took a bite, closed her eyes, and just hummed with contentment. It was such a quiet, genuine reaction, far more gratifying than any extravagant compliment. That's when I knew this recipe had found its permanent place in my repertoire.
Ingredients
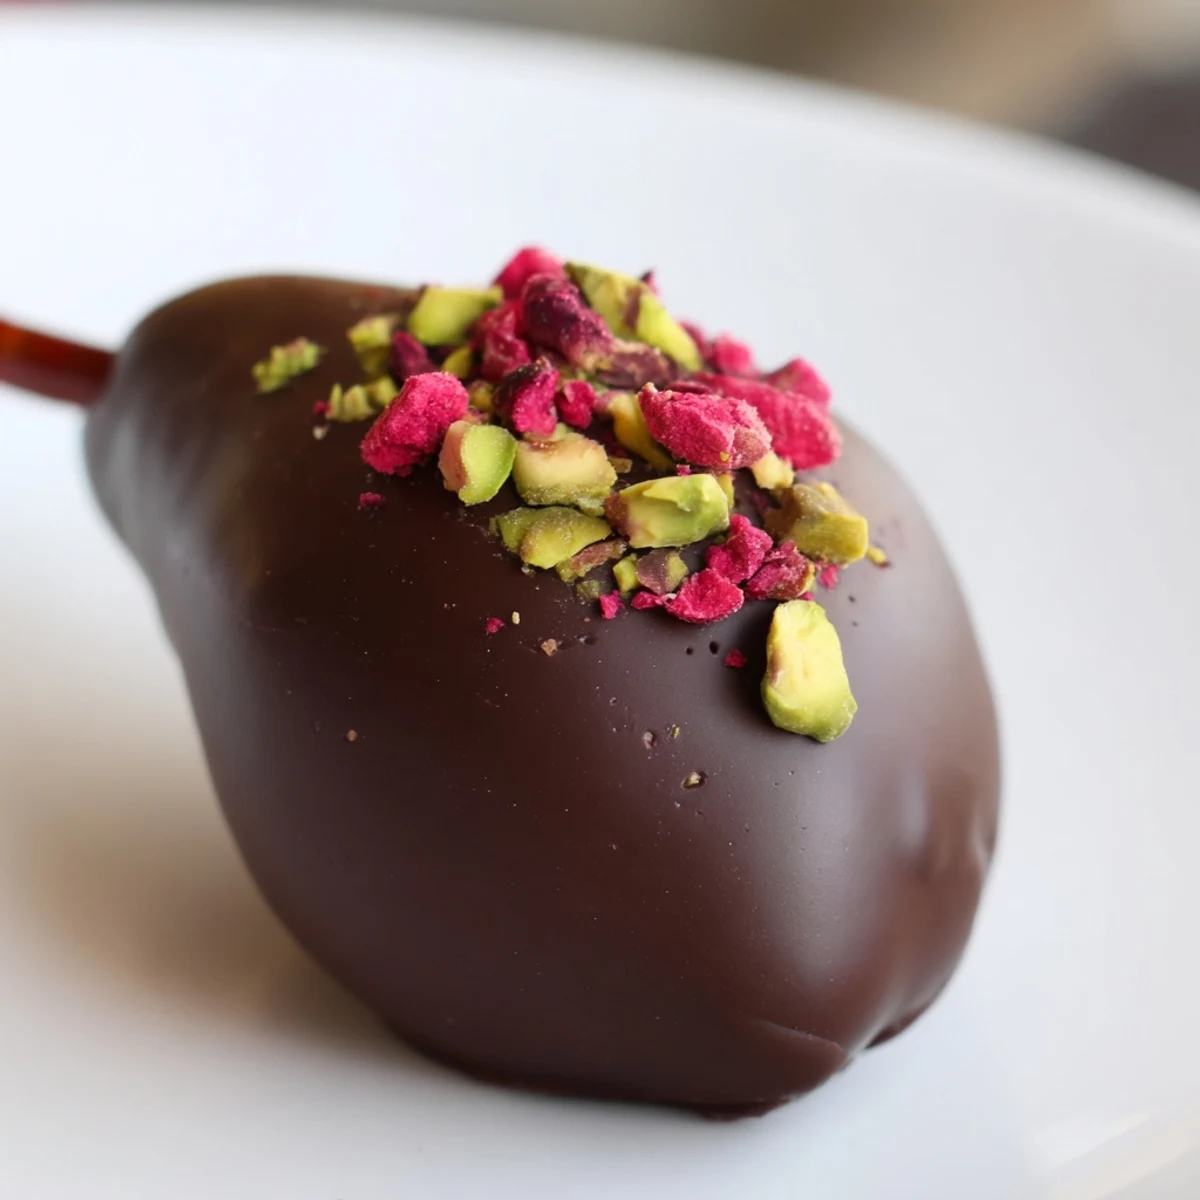
- Pears: Opt for Bosc or Anjou; their firm texture holds up beautifully to poaching without turning to mush, and leaving the stems intact makes for a stunning presentation.
- Poaching Syrup: Don't skip the vanilla bean if you can help it; its subtle fragrance elevates the entire dish, creating a warm, inviting aroma that fills your kitchen.
- Dark Chocolate (70% cocoa): Use the best quality chocolate you can find, as it's a star ingredient here; the butter helps create that irresistible, glossy finish.
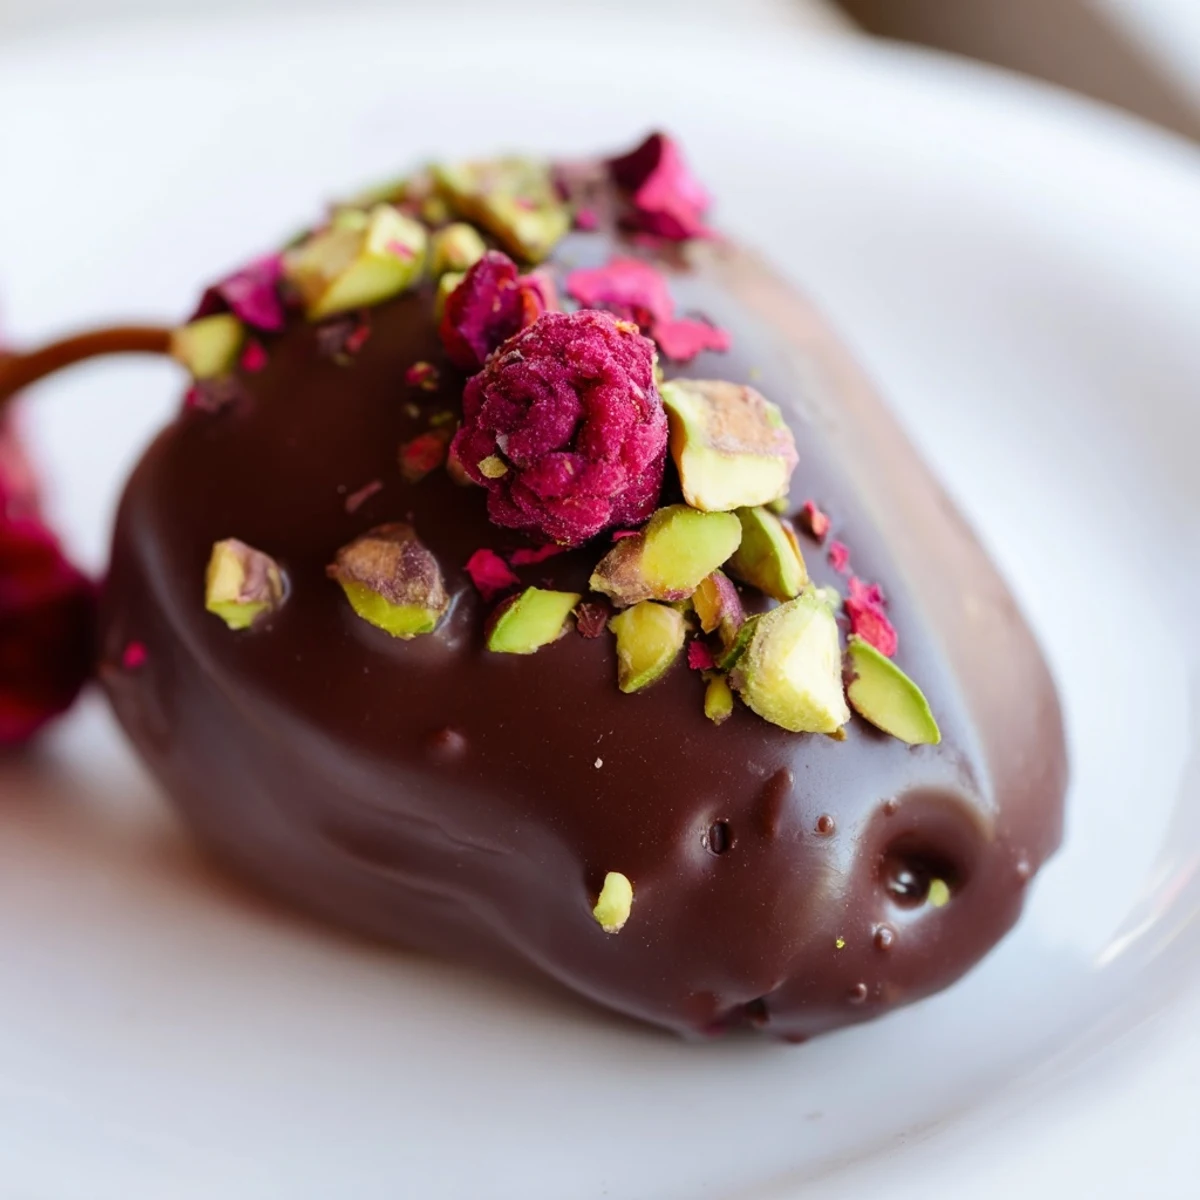
- Garnish: A sprinkle of something vibrant, like freeze-dried raspberries or bright green pistachios, adds a lovely pop of color and texture that makes each pear even more enticing.
Instructions
- Give Your Pears a Head Start:
- Gently peel your pears, making sure to leave those elegant stems intact; then, give them a quick rub with lemon juice all over to prevent any unsightly browning.
- Simmer Them to Perfection:
- In a saucepan, whisk together the water, sugar, vanilla bean, and cinnamon stick, bringing it to a gentle simmer until the sugar completely dissolves. Carefully place your peeled pears into this fragrant liquid and let them poach for 15-20 minutes, turning them occasionally until they're tender when pierced but still hold their shape beautifully; then, lift them out, drain, and let them cool down completely.
- Create the Silky Coating:
- Set a heatproof bowl over a pot of simmering water – a double boiler setup – and combine your chopped dark chocolate and butter. Stir constantly until you have a gloriously smooth, glossy mixture, then remove it from the heat and let it cool just slightly so it's not too hot for dipping.
- The Grand Finale Dip:
- Holding each pear by its stem, carefully plunge it into the melted chocolate, swirling gently to ensure a full, even coat. Place your newly chocolate-clad pears onto a parchment-lined tray and, if you’re feeling fancy, sprinkle your chosen garnish over them before the chocolate has a chance to set.
- Let Them Chill Out:
- Transfer the tray to your refrigerator for at least 30 minutes, giving the chocolate ample time to firm up beautifully.
- Serve with a Flourish:
- For the absolute best texture, let your pears sit at room temperature for about 10 minutes before serving, allowing the chocolate to soften just slightly.
 Save
Save Now, whenever a special occasion rolls around, or even just a particularly gloomy Tuesday needs a lift, these pears are my go-to. They’ve become a silent tradition, a little sweet ritual that signals a moment of indulgence, a pause in the rush. It’s funny how something so simple can carry so much quiet meaning.
Finding Your Perfect Pear
Choosing the right pear for this recipe is half the battle; you want one that's ripe enough to be flavorful but still firm to the touch, capable of holding its shape through the gentle simmering. I once tried to use some overly soft, very ripe pears, and they completely disintegrated in the poaching liquid, turning my elegant dessert dreams into a pear sauce reality. Learn from my mistake: a slight give, but no squish, is what you're aiming for.
Chocolate Chemistry on a Budget
While the recipe calls for good-quality dark chocolate, you don't need to break the bank for fancy couverture; just ensure it's a brand you enjoy eating on its own. The butter addition in this recipe actually helps with the gloss and flow of the chocolate, mimicking some of the effects of tempering without the fuss. This little trick ensures your coating looks professional and sets beautifully, even if you’re just using a standard baking bar.
Creative Twists & Serving Suggestions
This recipe is a fantastic canvas for playful experimentation once you have the basic technique down. I've often played around with infusing the poaching liquid with star anise or a fresh ginger slice for a different aromatic profile. For those who enjoy a little kick, a tiny splash of Grand Marnier or a coffee liqueur in the melted chocolate adds an unexpected layer of sophistication. Don't be afraid to make it your own.
- Try serving these with a dollop of crème fraîche instead of whipped cream for a tangier contrast.
- For an impressive display, arrange them on a platter with a dusting of cocoa powder around the base.
- Leftovers, if you have any, are delicious sliced into a yogurt parfait the next morning.
 Save
Save These Chocolate Covered Pears are more than just a dessert; they’re an experience, a little moment of quiet luxury you can easily create at home. Enjoy the process, savor the aromas, and delight in every elegant bite.
Recipe Questions
- → What kind of pears are best for poaching?
-
For poaching, it's best to use ripe but firm varieties like Bosc or Anjou pears. They hold their shape well during the cooking process and absorb the syrup's flavors beautifully.
- → How do I prevent the pears from browning after peeling?
-
After peeling, immediately rub the pears with lemon juice. The acidity from the lemon helps prevent oxidation, which is what causes the browning.
- → Can I use a different type of chocolate?
-
Absolutely! While dark chocolate offers a lovely contrast, you can certainly use white or milk chocolate if preferred. Just ensure it's good quality melting chocolate for the best texture.
- → How can I ensure the chocolate coating is smooth and even?
-
Melt the chocolate slowly over a double boiler, stirring until smooth. Ensure no water gets into the chocolate. Let it cool slightly before dipping. Hold the pear by its stem and swirl it gently to get an even, thin layer.
- → What are some good garnish ideas for these pears?
-
Chopped nuts like pistachios or almonds, freeze-dried raspberries for a pop of color and tartness, or even edible rose petals for an extra romantic touch work wonderfully. Apply them while the chocolate is still wet.
- → Can these be made ahead of time?
-
Yes, these are excellent for making ahead. You can poach the pears the day before and keep them refrigerated. Dip them in chocolate a few hours before serving and store them in the fridge until ready to enjoy, allowing them to come to room temperature briefly before serving.
