 Save
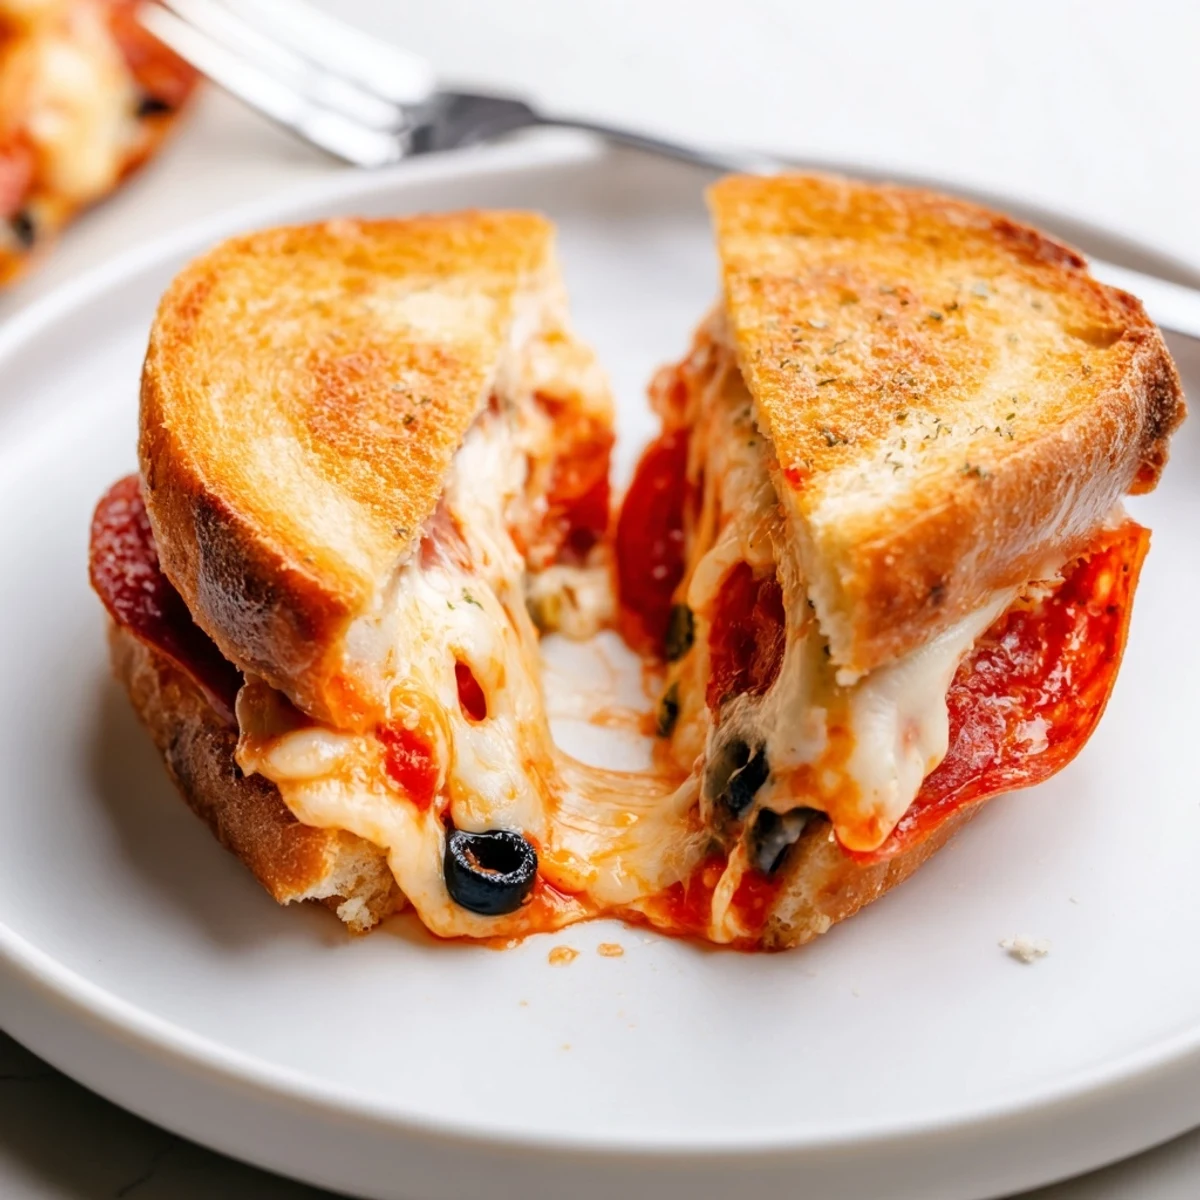
Save Ready in about 18 minutes, these pie iron pizza pockets use sandwich bread, pizza sauce and shredded mozzarella to create golden handhelds over a campfire or stovetop. Butter the bread, spread sauce, add cheese and toppings, seal and trim edges, then cook 3–4 minutes per side until crisp and the cheese is melted. Serves four; swap toppings for variety.
The first time I made these pie iron pizza pockets, I was mesmerized by the sizzle as the bread met hot cast iron over flickering flames. You can almost feel the excitement of watching cheese ooze out the edges, promising a gooey bite with just the right amount of crunch. There’s something playful about customizing each pocket, like a choose-your-own adventure, only tastier. It made our campfire gathering feel less like supper and more like a group project gone deliciously right.
I still remember handing out napkins as everyone eagerly cracked open their pie irons, steam puffing from each freshly made pizza pocket. The laughter as friends tried daring topping combinations and swapped bites made for unforgettable campsite camaraderie. We all agreed that dinner never tasted as fun as when cooked over a crackling campfire beneath the stars.
Ingredients
- Bread: Go for white or whole wheat—sturdy slices hold up best and toasts evenly in the pie iron.
- Pizza sauce: A tangy layer that soaks into the bread edges; store-bought or homemade both work, just don’t overload or it gets soggy.
- Mozzarella cheese: Shredded melts smoothly and gives you that gooey stretch—splurge for whole milk if you can for extra flavor.
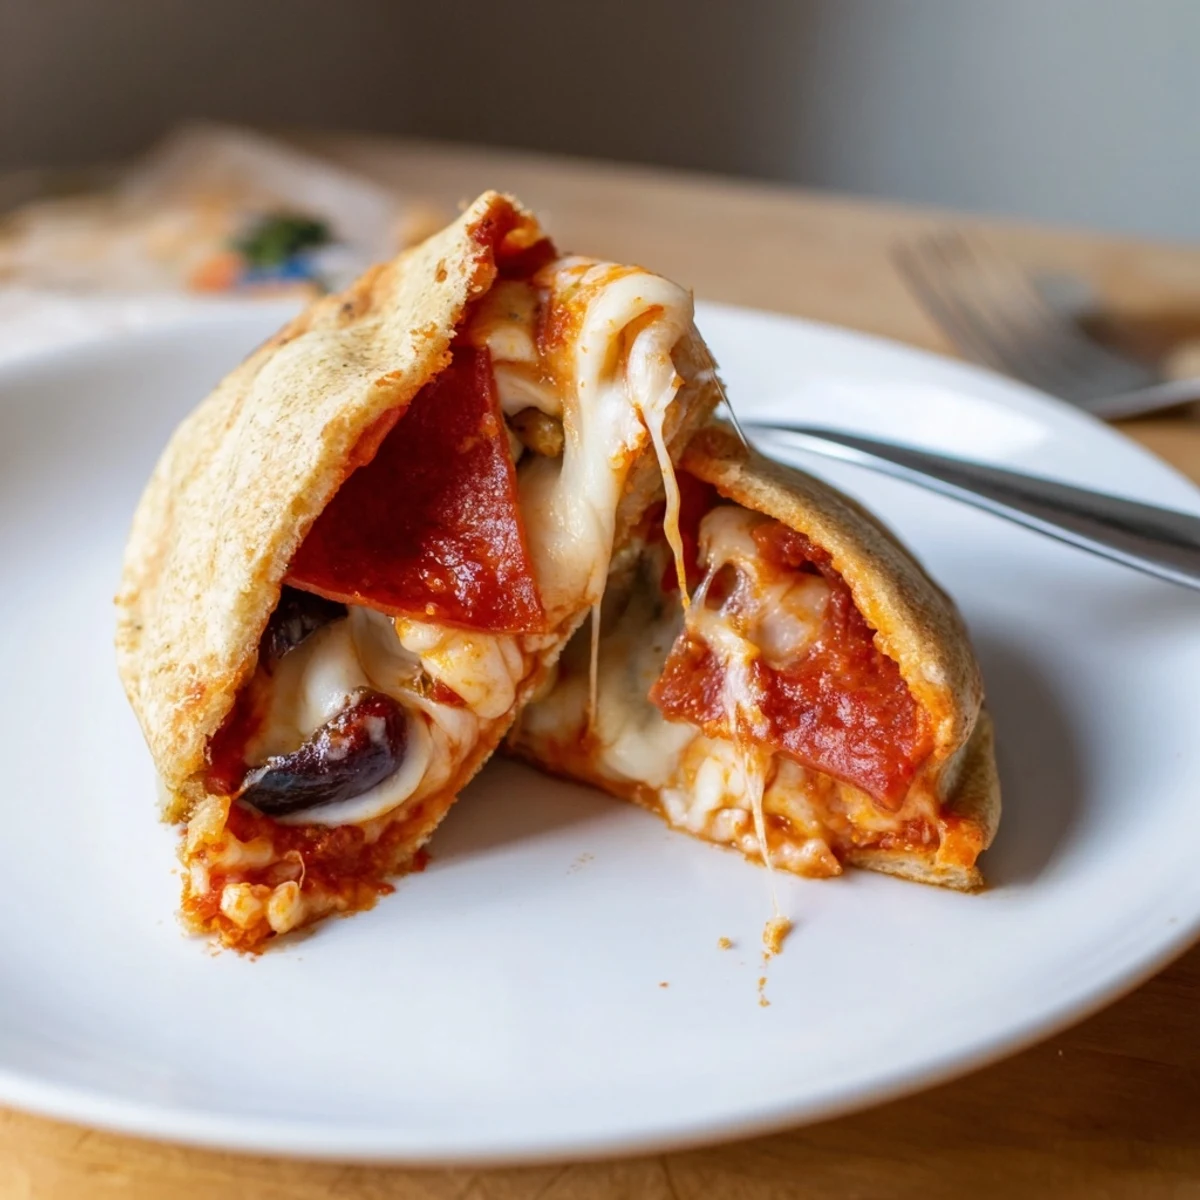
- Your favorite toppings: Sliced olives, bell peppers, mushrooms, and pepperoni are classic, but leftovers like cooked sausage or ham fit right in.
- Italian herbs: Just a sprinkle brings an herby hit that makes them smell like real pizzeria pockets.
- Butter: Brushing the bread edges ensures a crispy, golden shell that won’t stick to the iron.
Instructions
- Get the pie iron hot:
- Preheat your pie iron over the campfire or on a stovetop for 2 to 3 minutes until it’s just too warm to touch comfortably.
- Prep and butter your bread:
- Butter one side of each bread slice and lay four of them, butter side down, on a clean surface—save the rest for the tops.
- Layer sauce, cheese, and toppings:
- Spoon on pizza sauce, then follow with a generous handful of cheese and a scattering of your chosen toppings; don’t forget that sprinkle of Italian herbs if you like.
- Top and close:
- Place the remaining bread slices buttered side up to create sandwiches, then tuck each one into the waiting pie iron. Close it up tight and trim away any overhanging crusts to seal the pocket.
- Cook until golden:
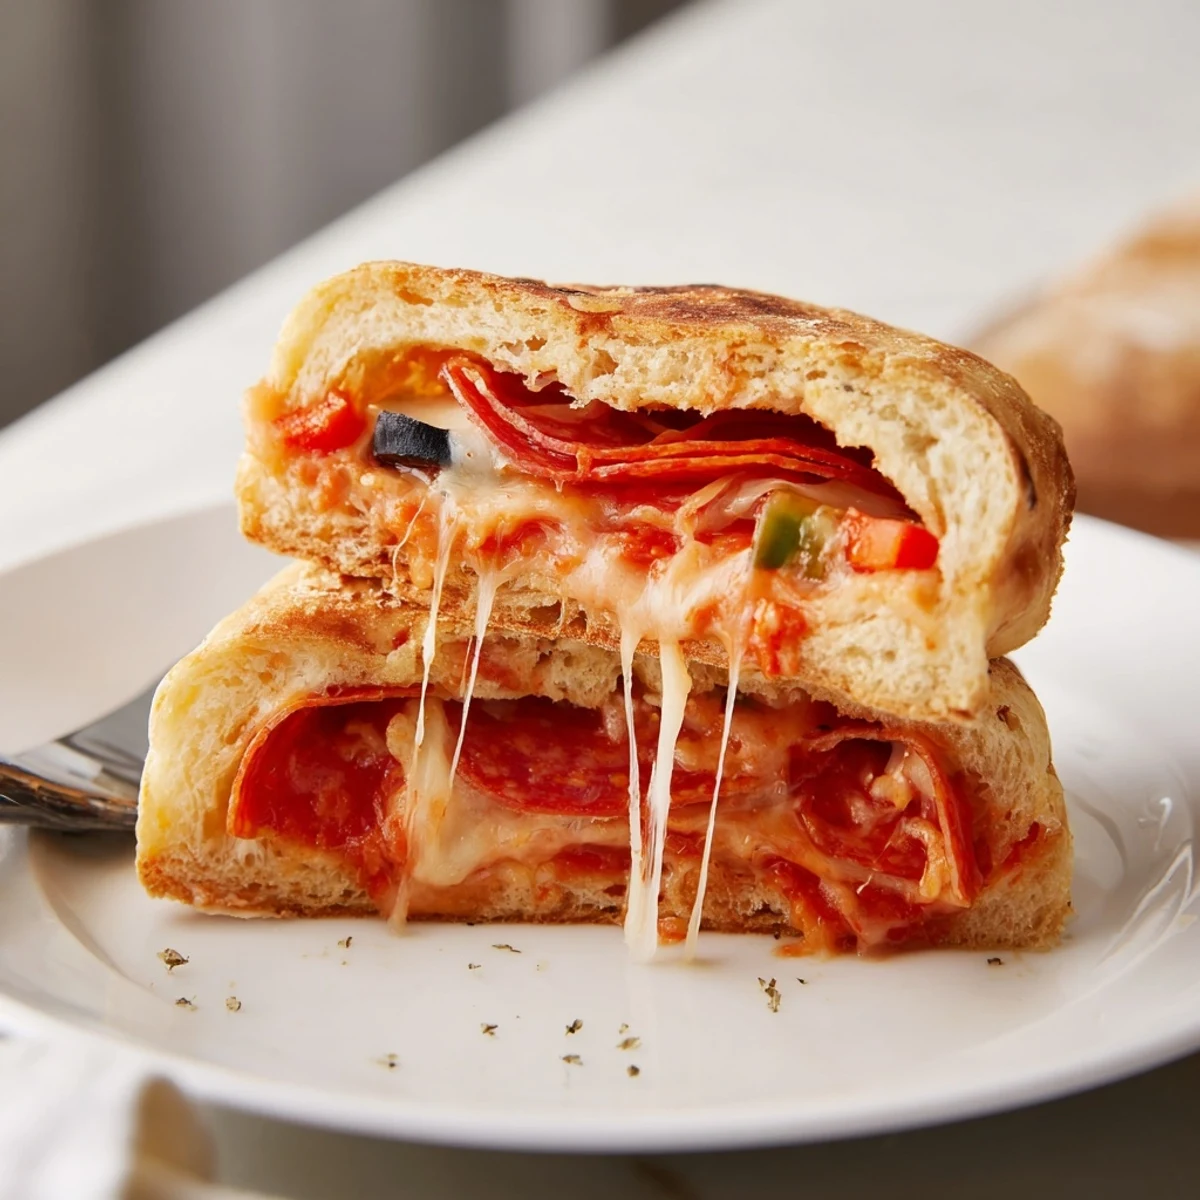
- Hold the pie iron over moderate heat for 3 to 4 minutes per side, turning once, until you can smell toasty bread and see cheese bubbling at the seams.
- Serve with care:
- Open carefully, let the pocket cool just long enough so you don’t burn your tongue, and dive in fork-free.
 Save
Save One sunset, with just enough daylight left, we crowded round to share pizza pockets and trade camp stories. As the last embers glowed, someone declared these should be a new camping tradition—and for us, they absolutely are.
Campfire Cooking Memories
Sometimes the pie iron slips into the fire a little deeper than planned, and that hint of extra char becomes the best bite. There’s nothing quite like the anticipation as you unlock the iron, hoping for perfect crispness and stringy, molten cheese.
Switching Up Fillings
Rainy day at home? Try these indoors on the stovetop and experiment with pesto, roasted veggies, or even a little leftover barbecue chicken. The possibilities are as unlimited as your fridge contents, and every pocket turns out a little different.
Make It Together (and Fix Little Mistakes)
When kids jump in to help, the toppings end up uneven and a lot of laughter follows while cheese spills everywhere. That’s part of the fun, and every “oops” just makes the memories (and crust) crispier.
- If the pocket splits, patch with a little extra bread pressed in.
- Tidy up oozed cheese quickly to keep the iron clean for next rounds.
- Trust your nose: when you smell toasted bread and bubbly cheese, it’s time to eat.
 Save
Save These pie iron pizza pockets turn ordinary evenings into tiny adventures, and everyone gets their perfect pocket fresh from the fire. Enjoy the inevitable mess and the laughter—it’s all part of the recipe.
Recipe Questions
- → How do I avoid soggy pockets?
-
Use a modest amount of sauce, pat wetter toppings dry, and trim any exposed bread before cooking. Pre-toasting the bread lightly or using slightly stale slices helps keep the crust crisp.
- → Can I cook these on a stovetop instead of a campfire?
-
Yes. Heat the pie iron over medium-low heat on the stovetop, using the same 3–4 minutes per side guideline and flipping carefully with heat-resistant tongs to achieve even browning.
- → What bread works best?
-
Standard sandwich loaf (white or whole wheat) works well; thicker slices hold fillings better. Gluten-free sandwich bread is a good swap for sensitivity, and slightly stale bread reduces sogginess.
- → Any tips for adding meats?
-
Use fully cooked meats (sausage, ham, pepperoni) to prevent undercooking and excess moisture. Compress thin slices and drain greasy pieces on paper towel before assembling.
- → How should leftovers be stored and reheated?
-
Refrigerate cooled pockets in an airtight container up to 48 hours. Reheat in a skillet or oven to restore crispness; avoid microwaving if you want to keep the exterior crunchy.
- → How can I customize fillings for different diets?
-
For vegetarian-friendly options use extra veggies, olives, or fresh basil; swap butter for plant-based spread and choose dairy-free cheese to accommodate vegan needs.
