 Save
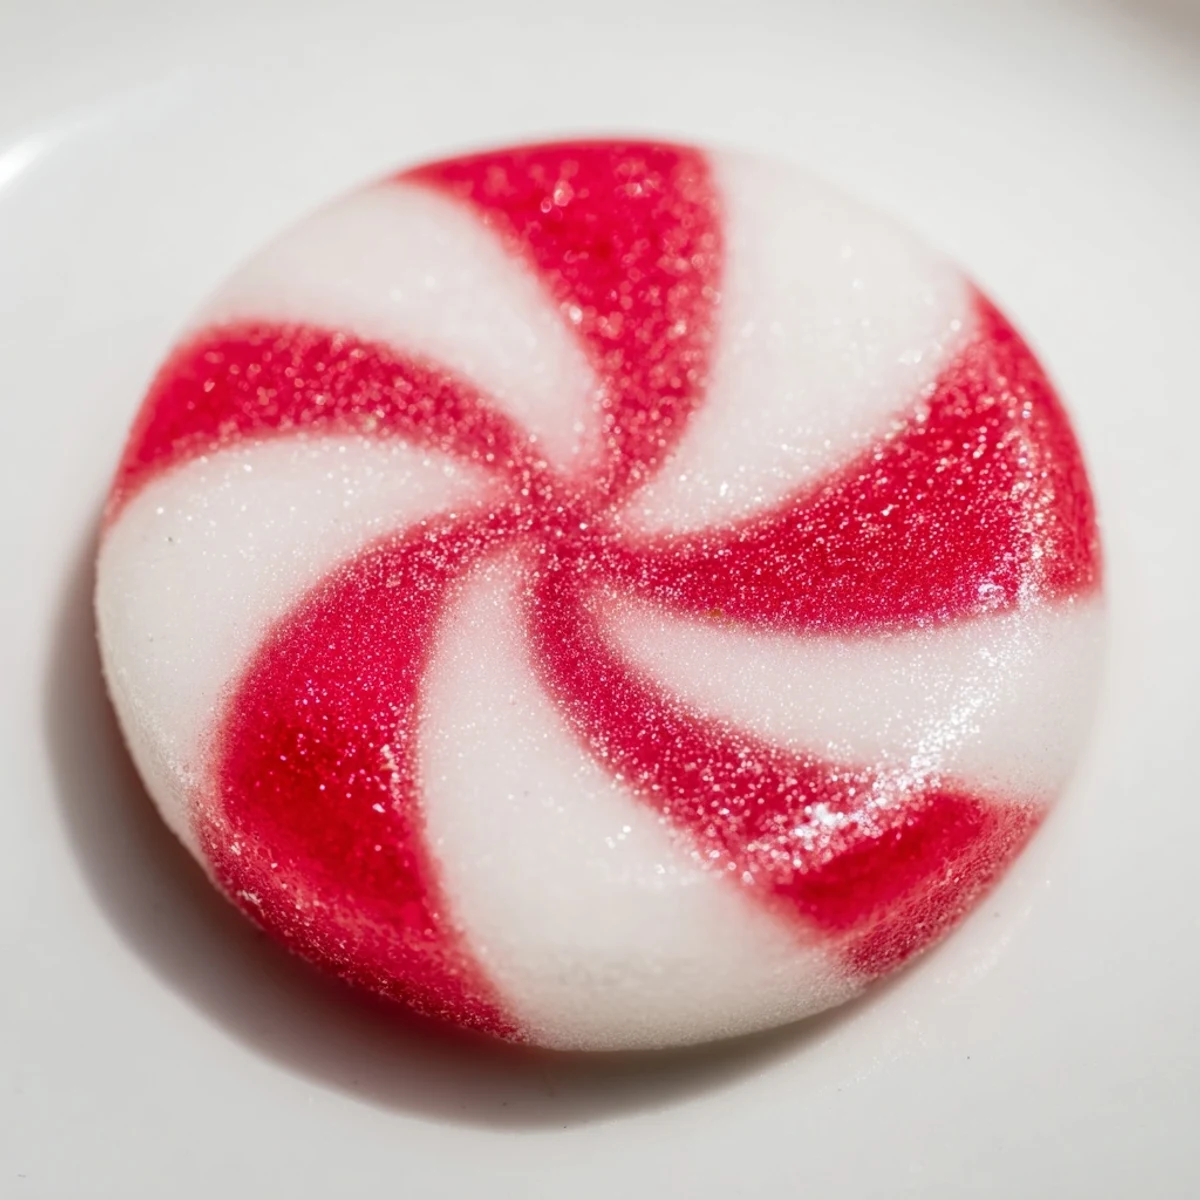
Save This confectionery guide showcases how to create classic peppermint candies with bold red and white stripes. Using sugar syrup, peppermint extract, and careful heating to the hard crack stage, each candy achieves the perfect crisp texture. The process involves pulling and twisting colored sugar ropes before cutting into bite-sized pieces. Dusting with powdered sugar prevents sticking. Ideal for festive gifting or a refreshing treat, these candies are vegetarian and gluten-free, blending traditional flavors with vibrant presentation.
The first time I made peppermint candy, my kitchen smelled like a winter wonderland—that sharp, clean peppermint scent filling every corner as the syrup bubbled away on the stove. I was convinced I'd mess it up, that candy-making was some impossible art reserved for professional confectioners, but my grandmother's voice kept echoing: if you can boil water, you can make candy. Three batches later, I had a tin of striped peppermints that looked like something from a fancy candy shop, and I finally understood what she meant.
I still remember bringing a batch of these to my office during my first holiday season at a new job, nervous about whether anyone would actually eat them. By noon, the tin was empty and people were asking for the recipe—I felt like I'd just made fifteen new friends with striped candy. That's when I realized homemade candy isn't just food; it's a conversation starter and a memory maker.
Ingredients
- Granulated sugar: This is your candy backbone—don't use powdered or brown sugar, as they'll crystallize and ruin the texture.
- Light corn syrup: The secret ingredient that keeps your candy smooth and prevents that grainy, crystallized mess that makes you want to throw everything in the trash.
- Water: Just enough to dissolve the sugar; too much and you'll never hit hard crack stage.
- Cream of tartar: A tiny amount that stops unwanted crystals from forming—basically insurance for success.
- Pure peppermint extract: Use the real stuff, not imitation; it makes a noticeable difference in flavor and makes your kitchen smell like a candy cane factory.
- Red gel food coloring: Gel holds up better to heat than liquid food coloring, so your red stays vibrant instead of turning muddy brown.
- Powdered sugar: Your finishing touch—it keeps the candies from sticking together and gives them that professional dusty appearance.
Instructions
- Prepare your stage:
- Line your baking sheet with parchment and dust it generously with powdered sugar—this is your safety net to prevent sticking. Have all your tools within arm's reach before you start heating anything.
- Combine and dissolve:
- Throw sugar, corn syrup, water, and cream of tartar into a medium heavy-bottomed saucepan and stir over medium heat until every grain of sugar disappears into the liquid. This takes about 5 minutes and you'll know it's ready when the mixture looks clear and syrupy.
- Cook to hard crack:
- Crank the heat to medium-high and stop stirring—seriously, don't touch it anymore. Watch your candy thermometer like a hawk; you're aiming for exactly 300°F, which is the hard crack stage. This usually takes 10-12 minutes and the mixture will go from pale to amber-colored.
- Add the flavor:
- The moment you hit 300°F, yank it off the heat and quickly stir in your peppermint extract—the mixture will bubble a little, which is totally normal. Work fast here because this syrup is lava-hot and hardens as it cools.
- Separate and color:
- Pour exactly half the mixture onto a greased heatproof surface (a marble slab or silicone mat works beautifully), then add red gel food coloring to the remaining half in the pot—about 4-5 drops for a vibrant red. Stir quickly to distribute the color evenly.
- Pull and fold:
- Using greased spatulas or heatproof gloves, work each portion separately, pulling and folding it back on itself over and over for about 2-3 minutes until it transforms from glossy to opaque and cools enough to handle. This is where the magic happens—the candy becomes lighter in color and easier to work with.
- Create your ropes:
- Roll each colored portion into ropes about half an inch thick, using greased hands or a work surface. If the candy gets too hard to work with, you can gently warm it by holding it under a heat lamp or warm oven for a few seconds.
- Twist the stripes:
- Take one red rope and one white rope and twist them together like you're wrapping them around each other, then stretch the twisted pair gently to even out the stripes and create a long, consistent rope. The twisting is the moment your peppermints start looking like the fancy store-bought version.
- Cut into pieces:
- Using greased kitchen scissors or a sharp knife, cut the twisted rope into 1-inch pieces, greasing your tool between cuts if it starts sticking. Work while the candy is still slightly warm—once it completely hardens, it becomes brittle and shatters instead of cutting cleanly.
- Cool and dust:
- Spread your cut candies on the prepared baking sheet and let them sit at room temperature until they're completely hard, usually about 2-3 hours. Dust them lightly with powdered sugar to prevent sticking and give them that finished look.
 Save
Save There's something almost meditative about pulling and folding warm candy, watching it transform under your hands from shiny and sticky to matte and manageable. My daughter still asks me to make these every December, not just because they taste like winter, but because she likes standing beside me while I twist the ropes, learning the rhythm of the kitchen in a way no recipe book could ever teach.
The Science of Striping
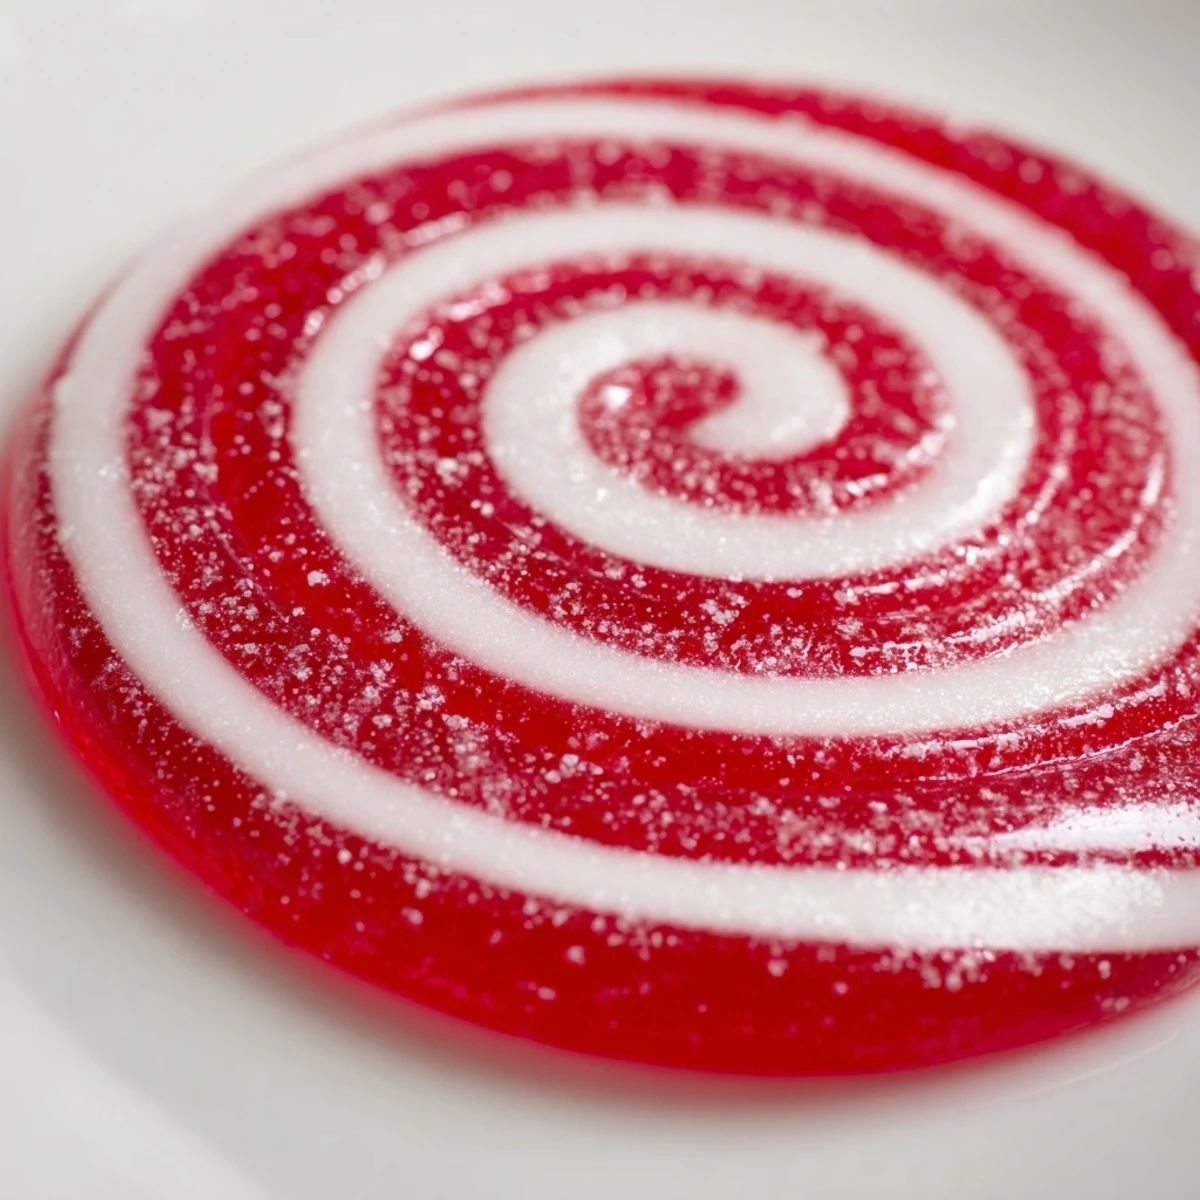
Peppermint candy works because of how sugar syrup behaves at different temperatures—the hard crack stage creates that signature snap and crispness that makes your teeth feel alive. The key is understanding that once your syrup reaches that magical 300°F, the moisture evaporates enough that the candy sets solid instead of staying chewy. The color stays vivid because gel food coloring doesn't contain water like liquid versions do, so it won't dilute your syrup or mess with your temperature calculations.
Troubleshooting Your Batch
If your candy turned out grainy or crystallized, it usually means either stray sugar crystals got into your mixture or you stirred after the initial dissolve—next time, use a wet pastry brush on the sides of the pot while it's cooking to wash down any crystals. If your stripes came out muddy or the colors didn't hold, you probably need to invest in actual gel food coloring instead of the liquid stuff from the baking aisle. If pieces stuck together, the powdered sugar coating wasn't thick enough or they were packed too tightly—more sugar and parchment between layers solves this every time.
Storage and Gifting Ideas
These candies stay perfectly fresh for about three weeks in an airtight container at room temperature, making them ideal for holiday gifting or stashing a tin in your pantry for December afternoons. I layer mine with parchment paper between each layer to stop them sticking together, and I always add a handwritten tag because homemade candy deserves a personal touch that store-bought never will.
- Pack them in a glass jar with a ribbon for an instant gift that looks like it took way more effort than it actually did.
- Keep a batch in your freezer for unexpected guests—they thaw at room temperature in minutes and taste just as good cold.
- Try making these with spearmint or cinnamon flavoring for variety, and experiment with different food coloring combinations once you've nailed the classic red and white.
 Save
Save Making peppermint candy from scratch is one of those kitchen victories that tastes like joy and feels like magic. Every batch becomes a little story—the sound of the thermometer beeping, the smell filling your house, the moment you twist those ropes together and realize you've actually made something beautiful and delicious.
Recipe Questions
- → What temperature should the sugar reach for crisp candies?
-
The sugar mixture must reach 300°F (hard crack stage) to ensure the candies become crisp and hold their shape.
- → How do you create the red and white stripes?
-
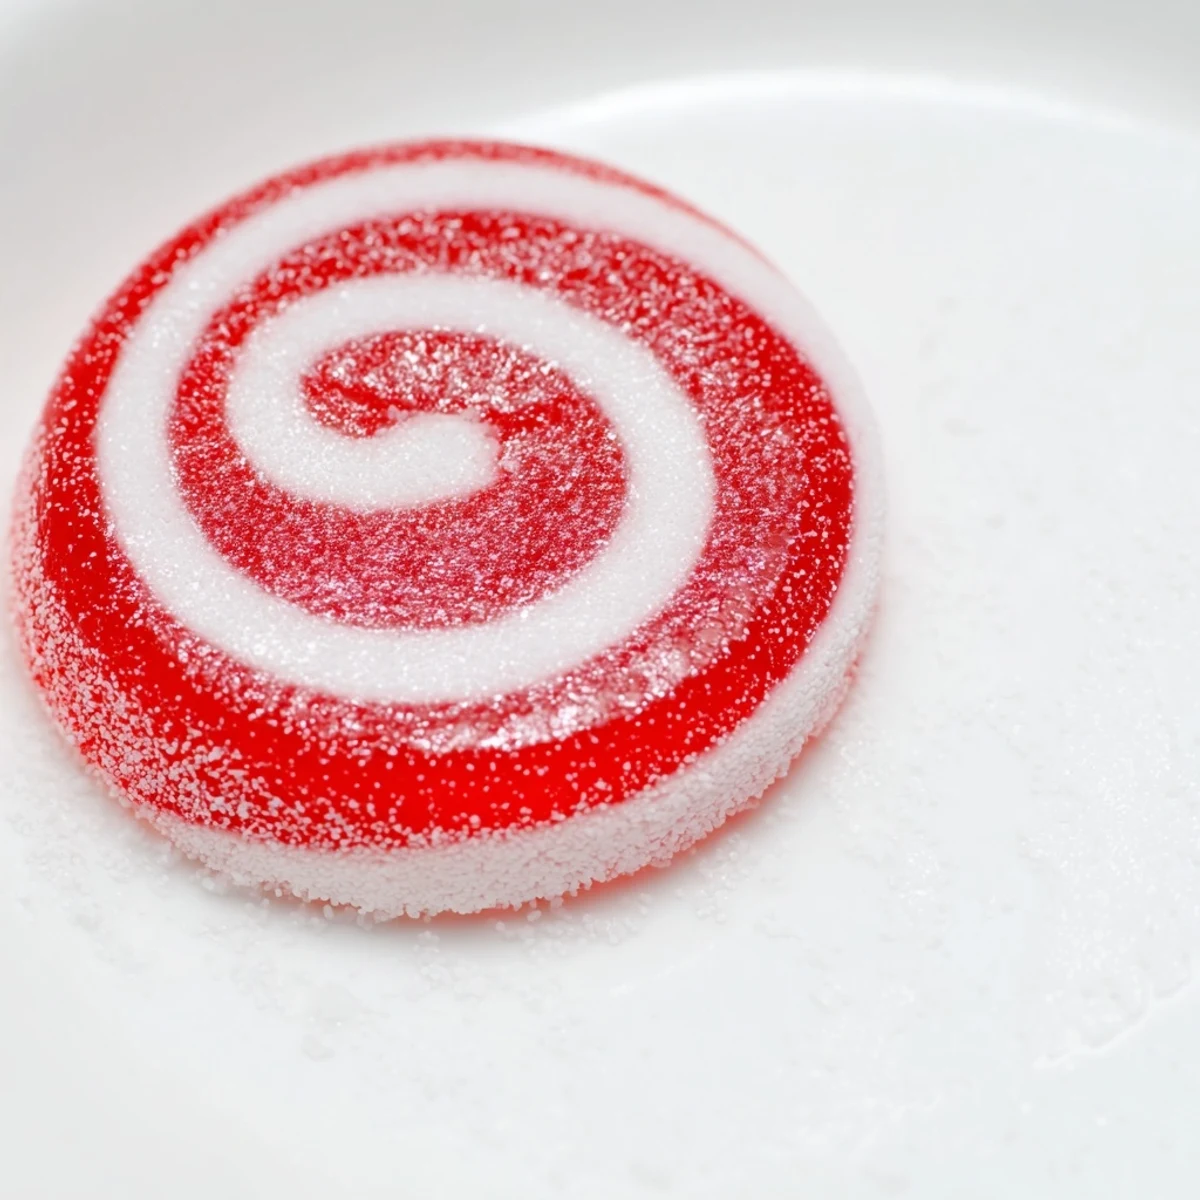
After cooking, the sugar syrup is divided and colored red in one portion. Both colored and uncolored portions are pulled into ropes, then twisted together to form stripes.
- → What tools are needed to make these peppermint candies?
-
A medium saucepan, candy thermometer, heatproof spatula or gloves, baking sheet, parchment paper or silicone mat, and scissors or a sharp knife are used.
- → How can sticking be prevented during preparation?
-
Dusting the baking sheet with powdered sugar and coating the candies lightly after shaping helps prevent sticking.
- → Are there any variations to peppermint flavor?
-
Yes, different extracts such as spearmint can be substituted to alter the flavor while maintaining the candy's texture and appearance.
