 Save
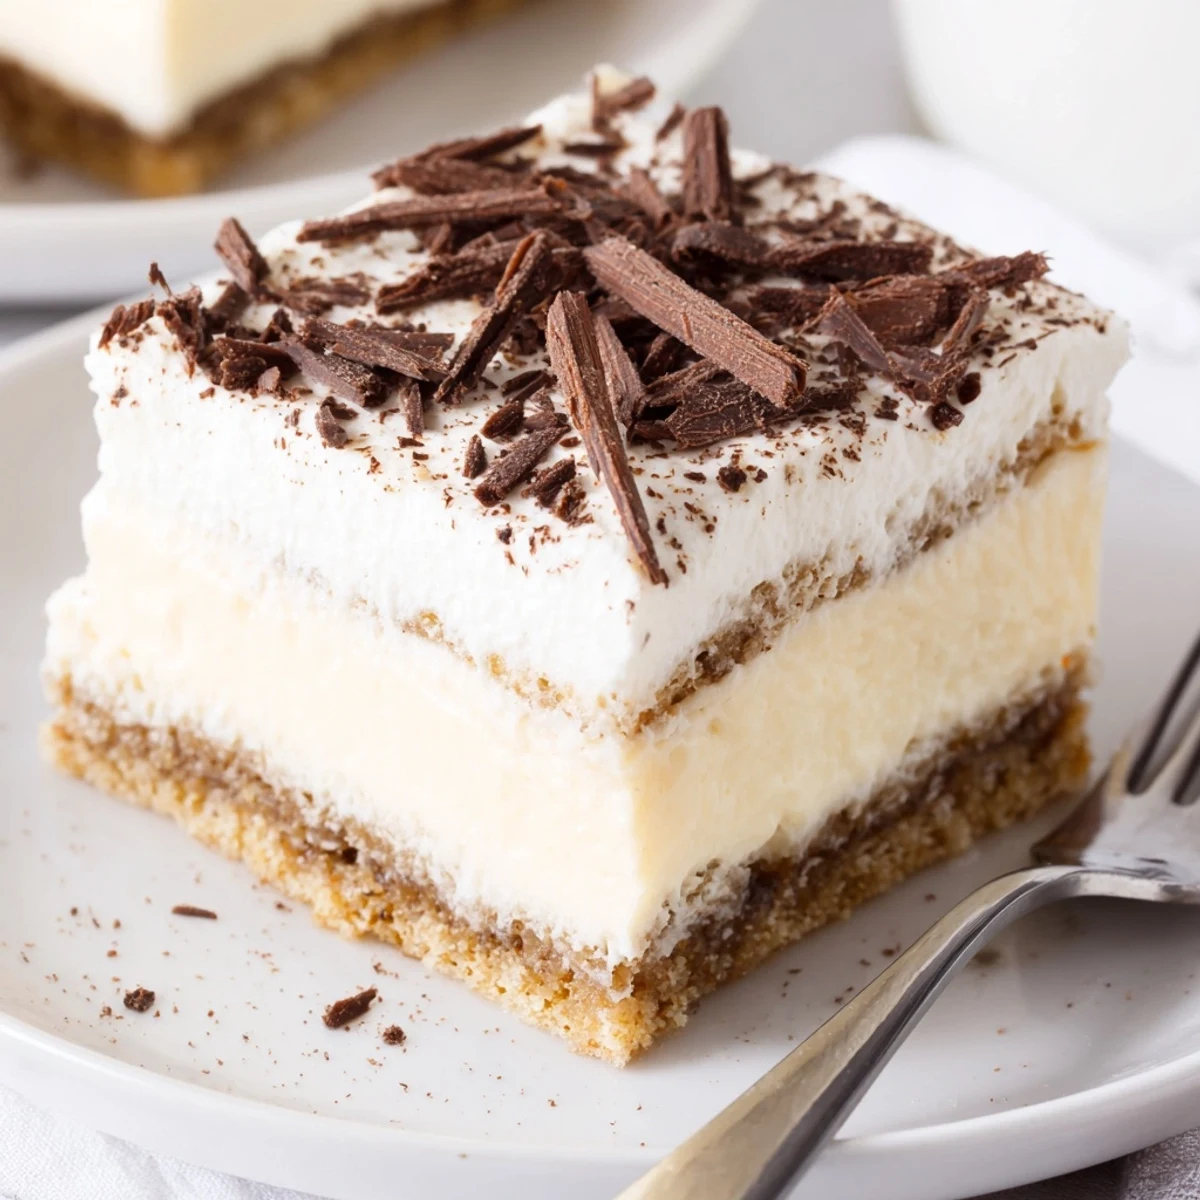
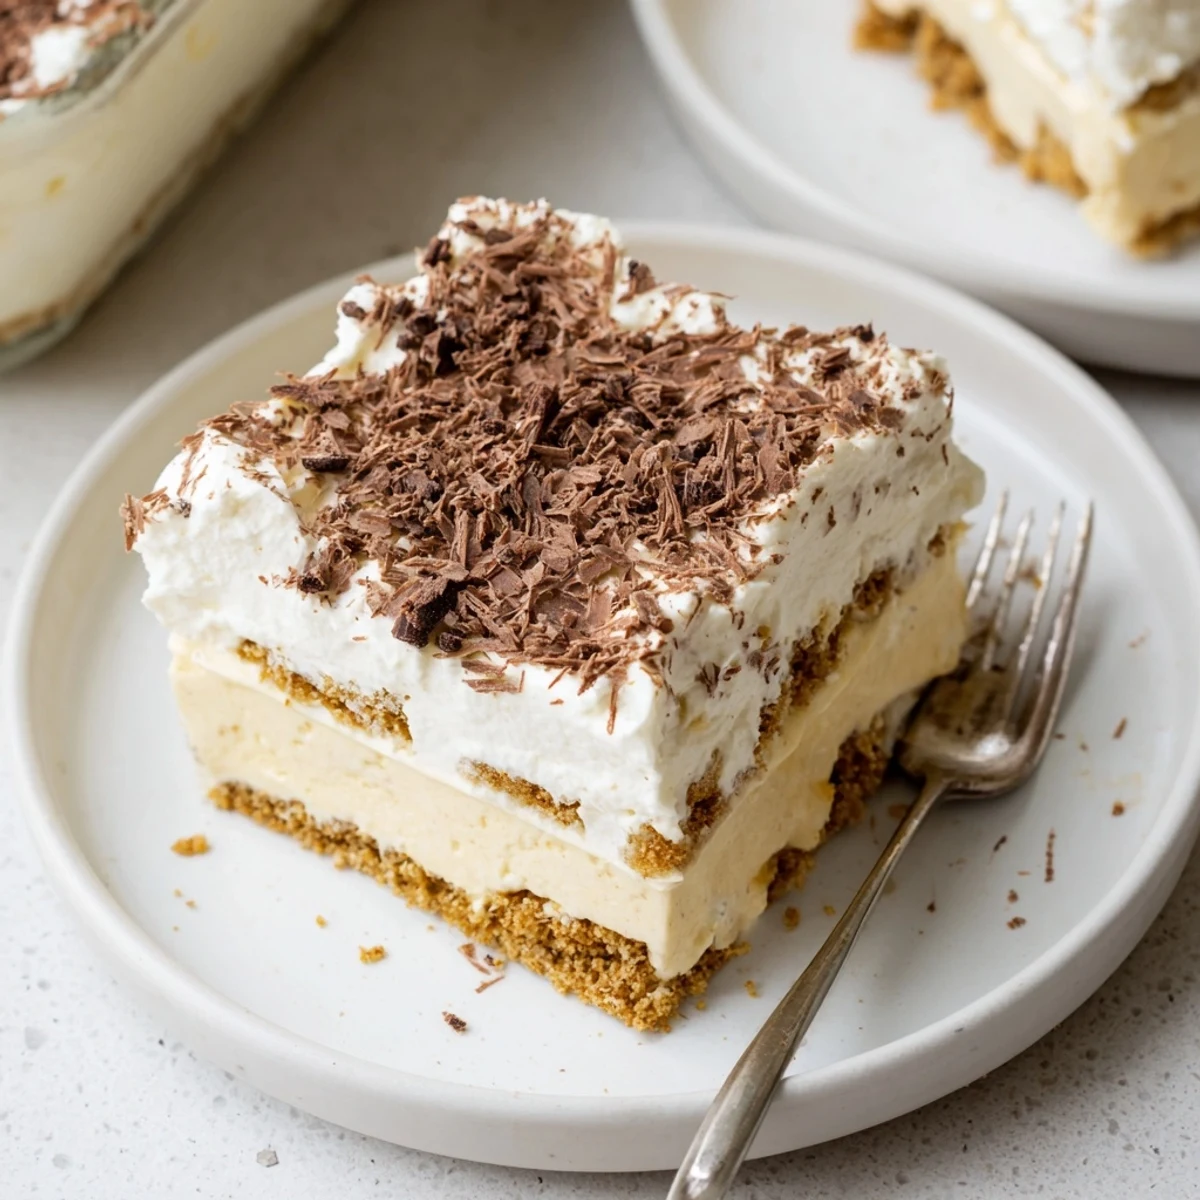
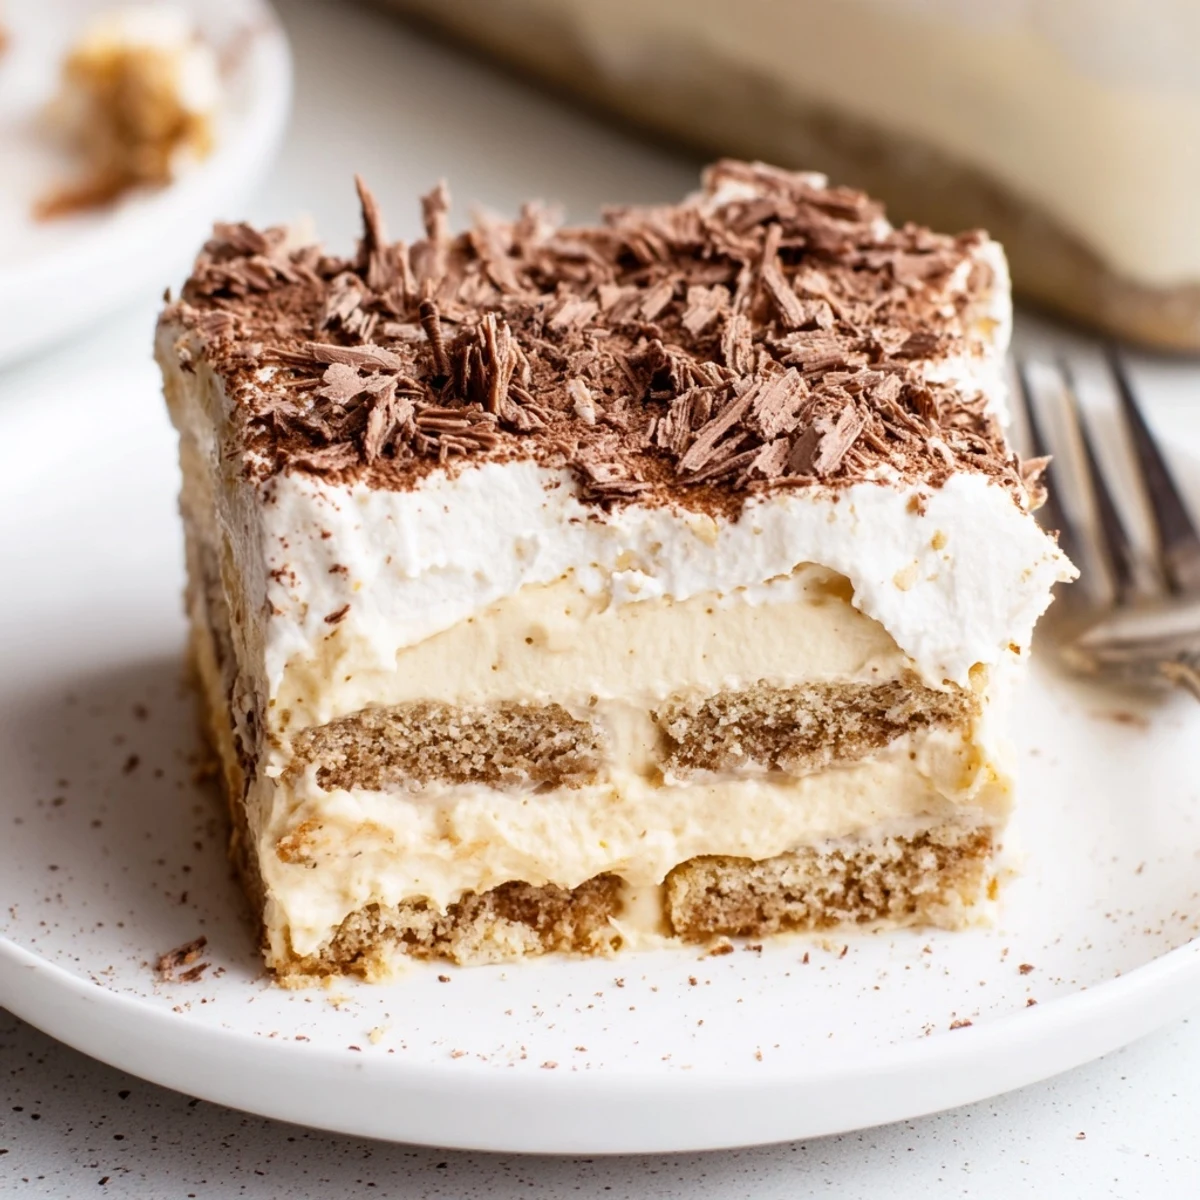
Save This no-bake layered dessert builds a crunchy cookie base, a cloudlike whipped cream layer, and a silky vanilla pudding layer for contrast. Make the base by combining crushed graham crackers and melted butter, whip chilled cream to stiff peaks, whisk instant pudding with cold milk, then layer: half the cream, pudding, remaining cream. Chill at least two hours before slicing. Variations include chocolate pudding, berries, or banana slices.
The first time I assembled this no bake layered dessert, the kitchen was a symphony of crinkling cookie wrappers and humming mixers. As I pressed the crumb base into the dish, my sleeves caught a dusting of graham cracker—proof that some desserts are all about joyful messes. The gentle aroma of melted butter and vanilla mingled in the air, hinting at the indulgence to come. There's a quiet thrill in seeing familiar pantry staples transform into something so show-stopping, with barely any effort or oven heat required.
I once brought this dessert to an impromptu summer potluck, tucked between paper plates and borrowed Tupperware. The laughter that followed as we passed the dish around, carving generous slices with whatever utensil we had on hand, is forever stitched into my memory. Even the friend with an aversion to 'cake' declared it a new favorite. Moments like that always remind me how effortless desserts can spark real connection.
Ingredients
- Graham crackers or digestive biscuits: Crushed into fine crumbs, these create a buttery, solid foundation that holds the cold layers perfectly; I like to pulse them briefly in a food processor for even texture.
- Unsalted butter: Melting this binds the cookie base and infuses a rich, creamy taste; be careful not to overheat it so it stays fragrant without scorching.
- Heavy whipping cream: Cold cream whips up luxuriously thick for that decadent, cloud-like middle; chill your bowl and beaters for the fluffiest result.
- Powdered sugar: This sweetens the whipped cream delicately and dissolves smoothly for an ultra-silky texture—no graininess here.
- Vanilla extract: Just a splash deepens every luscious bite, and I learned that pure extract makes a real difference.
- Instant vanilla pudding mix: Convenience meets flavor—this sets fast and layers beautifully without any stovetop fuss.
- Cold whole milk: The pudding’s secret for a perfectly smooth consistency; keep it extra cold for the fastest thickening.
- Chocolate shavings or cocoa powder (optional): A sprinkle on top adds a touch of elegance and a bittersweet finish; it’s my favorite final flourish.
Instructions
- Make the cookie base:
- Stir the crushed graham crackers and melted butter together in a big bowl, using your hands to really work the crumbs into a wet, sandy paste. Press it evenly into the bottom of your baking dish—you’ll know it’s good when it holds together like damp sand on the beach.
- Whip the cream:
- Pour the cold heavy cream into a chilled bowl, add the powdered sugar and vanilla, then whip with an electric mixer until stiff peaks stand tall—don’t stop too soon, but pause and admire the soft ridges after each beat.
- Prepare the pudding:
- Whisk together the pudding mix and cold milk for a couple of minutes, feeling the whisk thicken as it mixes—let it rest for five minutes and watch it magically set to a gentle wobble.
- Layer and assemble:
- Spread half of your airy whipped cream over the base; it feels almost like frosting a treasure. Spoon on all of the pudding next, smoothing it right to the edges, then finish with the remaining cream for a pillowy top.
- Add the finishing touch:
- Shave chocolate or dust cocoa powder over the surface—little flecks that melt on your tongue. Cover with plastic wrap and chill at least two hours, or overnight for extra-defined layers.
- Slice and serve:
- Cut generous squares and serve them cold—it lifts from the dish clean, each creamy layer distinct and inviting.
 Save
Save One afternoon, my neighbor popped in as I was cutting the first slice, drawn by the sounds of clinking bowls and my off-key humming. Sharing a spoonful by the counter, we grinned over how something so simple could taste genuinely celebratory. Somehow, layered desserts always seem to invite a pause and a smile, even on the busiest days.
Swapping Flavors Is Half the Fun
Don’t be afraid to substitute flavored puddings or different types of cookies for each layer. One rainy weekend, I swapped in chocolate digestives and pistachio pudding—suddenly the usual routine dessert was a whole new experience. Fresh berries or thin-sliced bananas snuggled between the cream and pudding layers bring wonderful pops of brightness, too.
Making It Ahead Means Less Stress
I learned that assembling the day before is not only allowed—it’s encouraged. The rest in the fridge gives the cookies and cream time to mingle and fuse into a sliceable, tidy square. Plus, there’s nothing like opening the refrigerator after a long day and seeing dessert already done.
Serving and Storing Like a Pro
I like to use a large spatula or even a wide butter knife to serve neat portions, and wiping it between slices keeps the layers crisp and clear for each guest.
- This dessert keeps beautifully, covered, for up to three days in the fridge.
- Sprinkle fresh toppings just before serving for best texture.
- For a café-worthy finish, add a coffee liqueur drizzle right before slicing.
 Save
Save There’s just something special about a dessert that invites both ease and celebration. Whether for a weeknight treat or a gathering, this layered miracle always earns a second helping.
Recipe Questions
- → How long should it chill before serving?
-
Chill for a minimum of two hours to allow layers to set fully; overnight yields cleaner slices and firmer texture.
- → How do I prevent a soggy base?
-
Mix crushed cookies with just enough melted butter to hold the crumbs together, press firmly into the dish, and refrigerate the base briefly before layering to help it stay crisp.
- → Can I substitute the dairy components?
-
Use plant-based cream and plant milk compatible with instant pudding to keep similar texture; choose thick non-dairy cream for stable peaks.
- → How do I get stiff peaks when whipping cream?
-
Start with very cold cream and chilled bowl, whip at medium-high speed until peaks hold their shape; avoid overwhipping to prevent graininess.
- → What variations work well with these layers?
-
Try chocolate pudding, cocoa-dusted layers, or add fresh berries or sliced bananas between layers for brightness and contrasting texture.
- → Can this be assembled ahead and stored?
-
Yes, assemble and cover tightly, then refrigerate up to 24 hours for best texture; longer storage may soften the cookie base.
