 Save
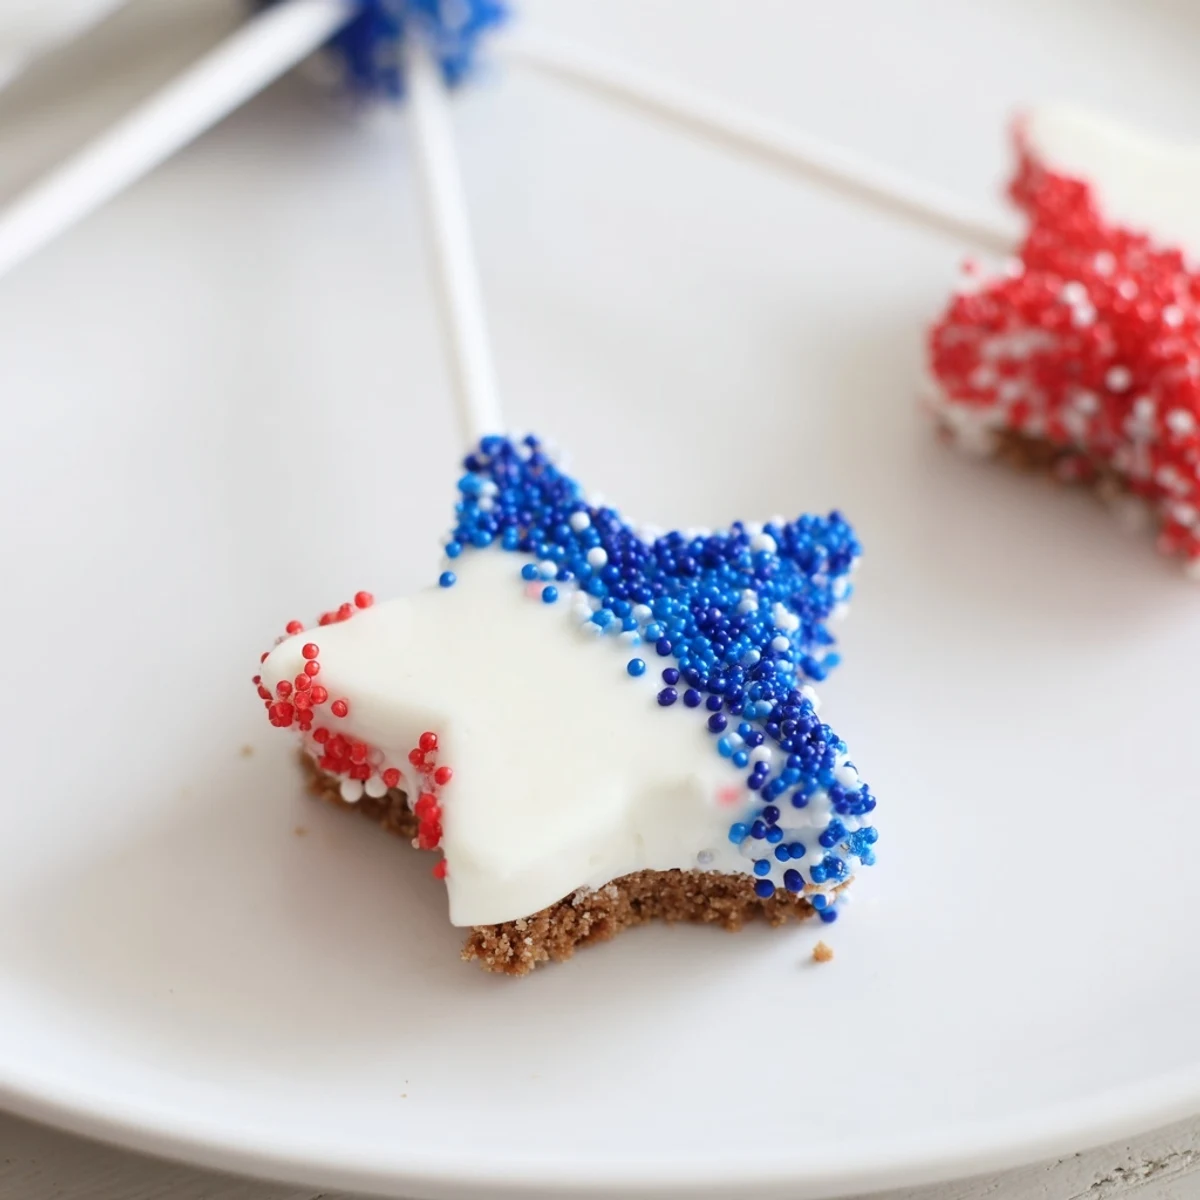
Save These Fourth of July star cheesecake pops start with softened cream cheese whipped with powdered sugar and vanilla, then folded with graham crumbs. Press the mixture into a sheet, freeze until firm, cut stars, insert lollipop sticks and chill again. Dip each star in melted white chocolate tinted red and blue, decorate with sprinkles, and let set. Makes about 16 pops; store chilled up to 4 days.
There was something oddly satisfying about the snap of a lollipop stick against the kitchen counter the first time I tackled these Fourth Of July Star Cheesecake Pops. I remember the hush that fell as the mixer hummed and the pale cheesecake mixture gave off the gentlest whiff of vanilla. My hands grew dusted with graham cracker crumbs, sparks of anticipation swirling as I dreamed up colorful decorations. The best part was watching those plain stars transform with just a dip and a shower of sprinkles.
On a sunny Fourth, I pressed out stars with my little cousin by my side, each of us determined to make the biggest, most dazzling pop. We ended up grinning, competing over who could keep their star on the stick while dunking in melted chocolate—let's just say there were some casual casualties along the way. Decorating together turned into a mini art contest and, happily, a tasting free-for-all before dinner. It’s now an annual excuse for the whole family to crowd the kitchen and get a little messy.
Ingredients
- Cream cheese: Use full-fat, softened cream cheese for the best creamy texture—take it out ahead of time so it blends without lumps.
- Powdered sugar: It dissolves quickly, making the base sweet but still smooth; don’t swap for granulated.
- Vanilla extract: Don’t skip this—it’s the understated magic that lifts the flavor out of ‘plain’ territory.
- Graham cracker crumbs: These bring the classic cheesecake flavor; pulse whole crackers for a fresher crumb.
- White chocolate or candy melts: I melt slowly and stir often so it stays silky and easy to dip—overheating will seize it up fast.
- Red and blue food coloring: Gel colors work better than liquid and keep the chocolate vibrant without seizing.
- Red, white, and blue sprinkles: Go wild—stars, dots, or jimmies all work, and the crunch is half the fun.
- Lollipop sticks: Strong paper sticks hold up best; insert gently so the stars stay intact.
Instructions
- Whip up the cheesecake base:
- In a medium bowl, beat cream cheese, powdered sugar, and vanilla until it feels silky and light under your spatula.
- Add the graham magic:
- Fold in graham cracker crumbs—at first it looks dry, but keep going until it comes together in a soft dough.
- Chill and shape:
- Spread the mixture about half an inch thick on a lined baking sheet; after one hour in the freezer, it'll be ready to cut.
- Cut your stars:
- Press the cookie cutter straight down and wiggle gently—a tiny push from underneath pops each star right out.
- Insert sticks:
- Gently nudge a lollipop stick into each star and return them to the freezer so they hold together for dipping.
- Melt and color chocolate:
- Slowly melt the coating; split into bowls and tint with food coloring for a firework-bright finish.
- Dip and decorate:
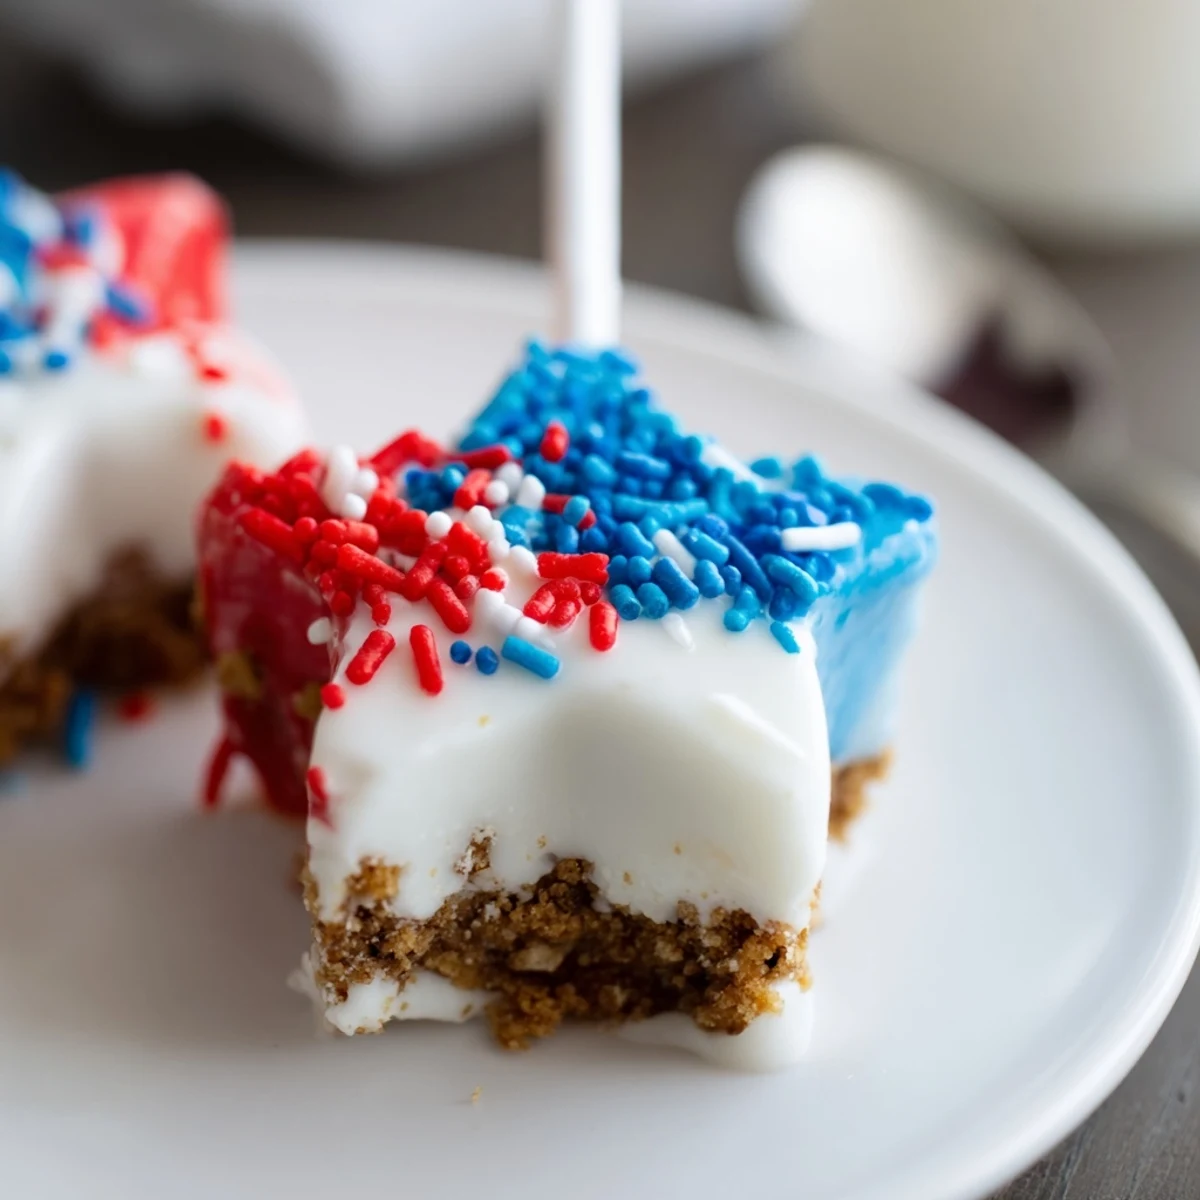
- Swirl each star pop in chocolate, let extra drip away, then pile on sprinkles quickly before the coating sets.
- Let them set:
- Lay finished pops on parchment and chill until the chocolate is crisp and you can barely wait to bite in.
 Save
Save Everyone took a pop outside, fireworks starting as the sun set, stars in hand and stars overhead. Funny how a creamy cheesecake treat and a few sprinkles can turn an ordinary evening into a shared celebration.
Making Pops That Stay on the Stick
I learned (the sticky way) that pressing the lollipop stick in slowly, with a slight twist, keeps the stars from splitting. If the base feels too soft, pop the shapes back in the freezer for a few minutes before adding sticks. A cool base is much less likely to crumble, even for clumsier little helpers.
Choosing the Right Coating
There’s a world of difference between temperamental chocolate and easy-to-use candy melts, especially on a humid July day. White chocolate gives a rich finish, but candy melts harden quicker and can take more color, making vibrant red and blue pops pop even more. Either way, stirring often and keeping an eye on the temperature will save you from the headache of grainy, lumpy coating.
Festive Touches for Special Occasions
The best kitchen moment is when everyone gets to decorate their own pop, making each treat a tiny declaration of summer spirit. Sprinkles add crunch and a little whimsy, and kids especially love creating ‘firework’ designs with zigzags of colored chocolate. If you’re prepping ahead, lay the pops on a tray—covered and chilled, they hold together beautifully for the big reveal.
- Add extra nonpareils for sparkle.
- Chill pops right after decorating for the neatest finish.
- Store in a shallow container to keep the decorations perfect.
 Save
Save These cheesecake pops always bring smiles—and a little sweet chaos—to any summer table. Here’s hoping your kitchen is filled with laughter, color, and more stars than you can count!
Recipe Questions
- → How long should I freeze the base before cutting stars?
-
Freeze the pressed cheesecake mixture at least 1 hour until firm, then cut shapes. After inserting sticks, return the stars to the freezer for another 30 minutes to ensure they hold while dipping.
- → Can I use a different crumb for the base?
-
Yes. Substitute graham cracker crumbs with gluten-free biscuit crumbs or crushed digestive biscuits. Press until evenly combined so the mixture holds its shape when frozen.
- → How do I prevent the chocolate coating from cracking?
-
Make sure the stars are very cold before dipping and allow excess chocolate to drip off. Work at room temperature or slightly cooler and let the coating set slowly in the fridge to reduce stress that causes cracking.
- → Is tempering the chocolate necessary?
-
Tempering isn’t required for candy melts or if you plan to refrigerate immediately, but gently melting and cooling the chocolate improves sheen and snap. Use short bursts in the microwave or a double boiler and stir frequently.
- → What are good decorating tips for a tidy finish?
-
Place sprinkles on immediately after dipping while the coating is wet, work over parchment to catch drips, and rotate the pop to remove excess chocolate. Use separate bowls for each color to avoid muddied hues.
- → How should I store the finished pops and how long do they last?
-
Store finished pops in a single layer in an airtight container in the refrigerator for up to 4 days. Allow to come slightly toward room temperature before serving for best texture.
