 Save
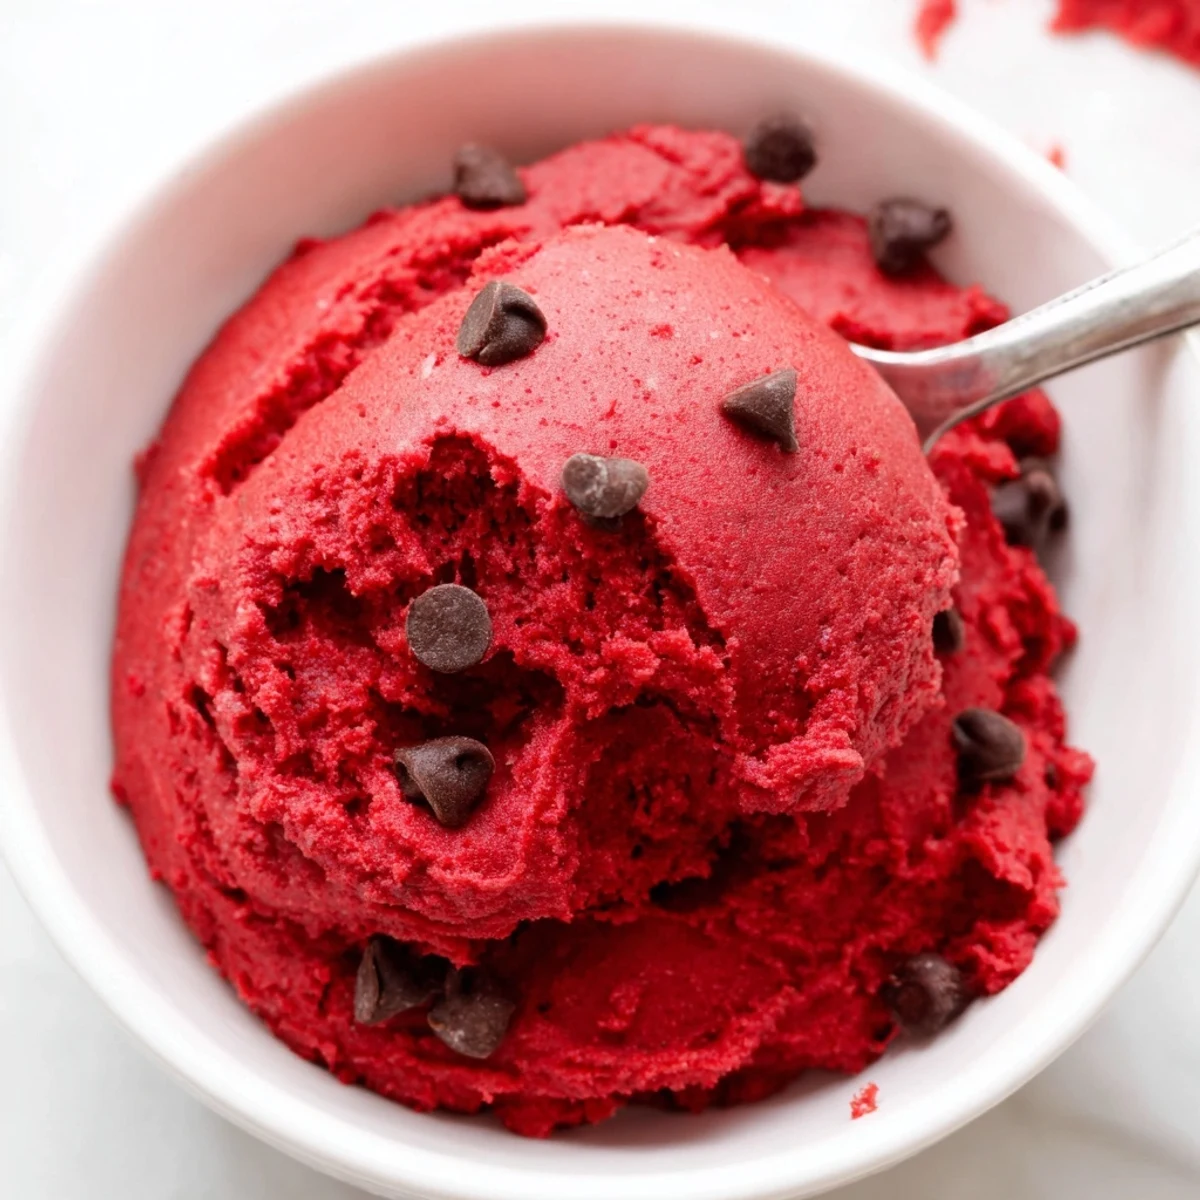
Save This edible red velvet cookie dough delivers all the indulgent flavor of classic red velvet in a safe-to-eat-raw treat. Made with heat-treated flour, cream cheese, cocoa powder, and a splash of vanilla, it comes together in just 15 minutes with zero baking required.
Perfect for festive snacking, party dips, or a quick sweet craving, the dough can be customized with mini chocolate chips and adjusted color intensity to suit your preference. Store it in the fridge for up to three days.
My kitchen counter was a disaster of red smears and cocoa dust the afternoon this recipe truly came together, and honestly I would not have it any other way. I had been chasing that red velvet flavor in edible form for weeks, tossing failed batches that tasted either too flat or oddly metallic. Then cream cheese entered the picture and everything clicked into place. This dough captures everything I love about red velvet without ever turning on the oven for the cookies themselves.
I set out a bowl of this at a holiday party last December and watched three adults hover over it with spoons until it vanished. My friend Elena texted me the next morning asking if it was acceptable to eat cookie dough for breakfast, and I told her absolutely yes.
Ingredients
- All purpose flour (1 1/4 cups, 150 g): You must heat treat this first since raw flour can carry harmful bacteria, and the process only takes five minutes.
- Unsalted butter, softened (1/2 cup, 115 g): Let it sit out until it yields easily to your finger because cold butter will leave you with lumpy dough.
- Granulated sugar (3/4 cup, 150 g): Standard white sugar gives the right sweetness level without making the dough grainy.
- Cream cheese, softened (1/4 cup, 56 g): This is the secret weapon that adds richness and that signature red velvet tang.
- Milk (2 tbsp, 15 ml): Any milk works here, just enough to bring everything to a scoopable consistency.
- Pure vanilla extract (1 1/2 tsp): Do not skimp on this because good vanilla is carrying a lot of the flavor.
- Unsweetened cocoa powder (1 tbsp): Just a small amount provides the chocolate depth that makes red velvet distinct from plain vanilla.
- Salt (1/4 tsp): A little salt balances the sweetness and wakes up the cocoa.
- Red food coloring, gel preferred (1 to 2 tsp): Gel coloring gives you that vivid red without adding excess liquid that would ruin the texture.
- Mini chocolate chips (1/3 cup, 60 g, optional): Fold these in at the end for little pockets of chocolate throughout.
Instructions
- Heat treat the flour:
- Spread your flour across a baking sheet and pop it into a 350 degree oven for five minutes, then let it cool completely before moving forward. This step is nonnegotiable if you want safe to eat dough.
- Beat the base:
- Combine the softened butter, cream cheese, and sugar in a bowl and beat until the mixture looks pale and fluffy, roughly two to three minutes. You want it light and cloudlike.
- Add the liquids:
- Pour in the milk and vanilla extract, then mix until everything is smoothly incorporated. The batter might look slightly curdled at first but keep beating and it will come together.
- Incorporate the dry ingredients:
- Sift in your cooled heat treated flour along with the cocoa powder and salt, mixing until just combined. Stop as soon as you no longer see dry streaks.
- Color it red:
- Add one teaspoon of gel food coloring to start, mixing thoroughly and adding more until you reach that deep crimson you are after. The color will deepen slightly as it sits.
- Fold in the chips:
- Gently stir in the mini chocolate chips with a spatula so you do not overwork the dough. Distribute them evenly but handle the dough gently.
- Chill or serve:
- You can dive in immediately with a spoon, or refrigerate for fifteen minutes if you prefer a firmer scoopable texture. Both ways are completely correct.
 Save
Save The moment my niece dipped a pretzel rod into a bowl of this and declared it the best thing she ever tasted, I knew this recipe had earned a permanent spot in my rotation.
Tools That Make This Easier
A hand mixer does the heavy lifting here but a sturdy whisk and some arm power will get you there too. You will also need a rimmed baking sheet for the flour treatment and a rubber spatula for folding in those chocolate chips without overmixing.
Storing Your Dough
Keep whatever you do not finish in an airtight container in the refrigerator and it will stay good for up to three days, though it rarely lasts that long in my house. The texture actually improves after a short chill because the flavors meld and the dough firms up beautifully.
A Few Things to Keep in Mind
This dough is meant for eating raw, not for baking into cookies, so resist the urge to pop scoops in the oven. The texture and proportions are specifically calibrated for safe raw consumption.
- If you need a vegan version, swap in plant based butter and dairy free cream cheese and you are set.
- Always check your chocolate chip labels for allergen traces if sensitivity is a concern.
- Remember that gel coloring goes further than you think, so start small.
 Save
Save Keep a batch in the fridge during the holidays and you will always have something sweet ready when unexpected guests drop by. It is the simplest kind of hospitality, just a bowl and some spoons.
Recipe Questions
- → Why do I need to heat-treat the flour?
-
Raw flour can harbor harmful bacteria like E. coli. Heat-treating at 350°F for 5 minutes eliminates this risk, making the flour safe to consume without baking.
- → Can I bake this dough into cookies?
-
No, this dough is specifically formulated for raw consumption. It lacks eggs and leavening agents needed for baking, so the texture and rise would not work properly in an oven.
- → What type of food coloring works best?
-
Gel food coloring is recommended because it provides vibrant red color without adding excess liquid that would thin out the dough. Liquid coloring can be used but may require adjustments.
- → How should I store leftover cookie dough?
-
Transfer the dough to an airtight container and refrigerate for up to 3 days. Let it sit at room temperature for a few minutes before serving to soften slightly for the best texture.
- → Can I make this dairy-free or vegan?
-
Yes, substitute vegan butter and dairy-free cream cheese for the butter and cream cheese. Use a plant-based milk as well. The flavor and texture will be slightly different but still delicious.
- → Can I skip the cream cheese?
-
The cream cheese adds tanginess and contributes to the creamy texture. You can omit it, but the dough will be less rich and lose some of that signature red velvet flavor profile.
