 Save
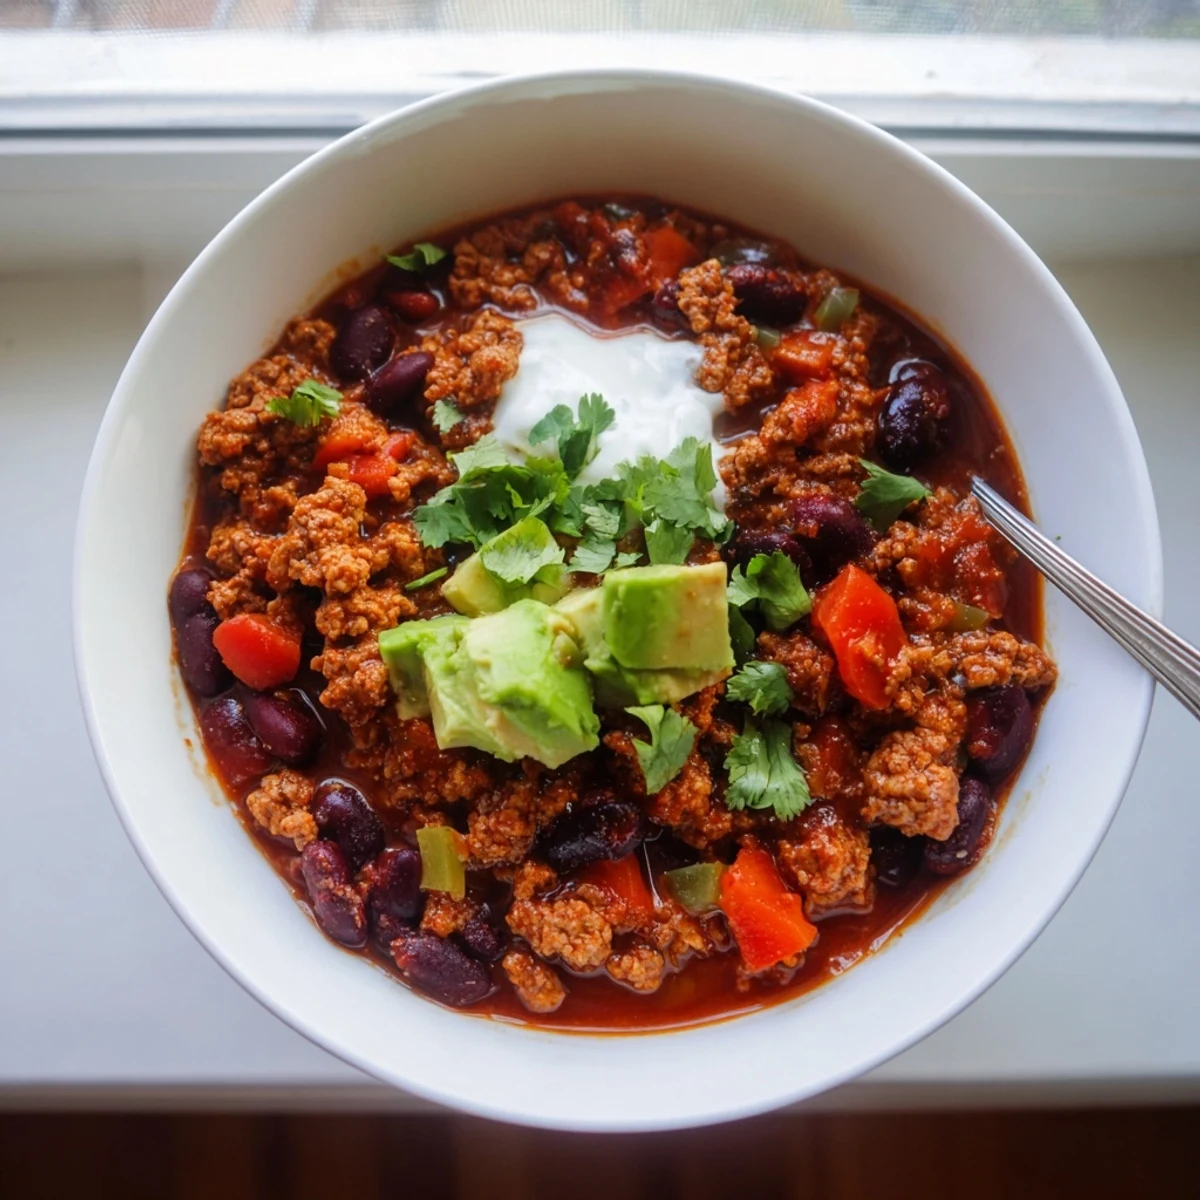
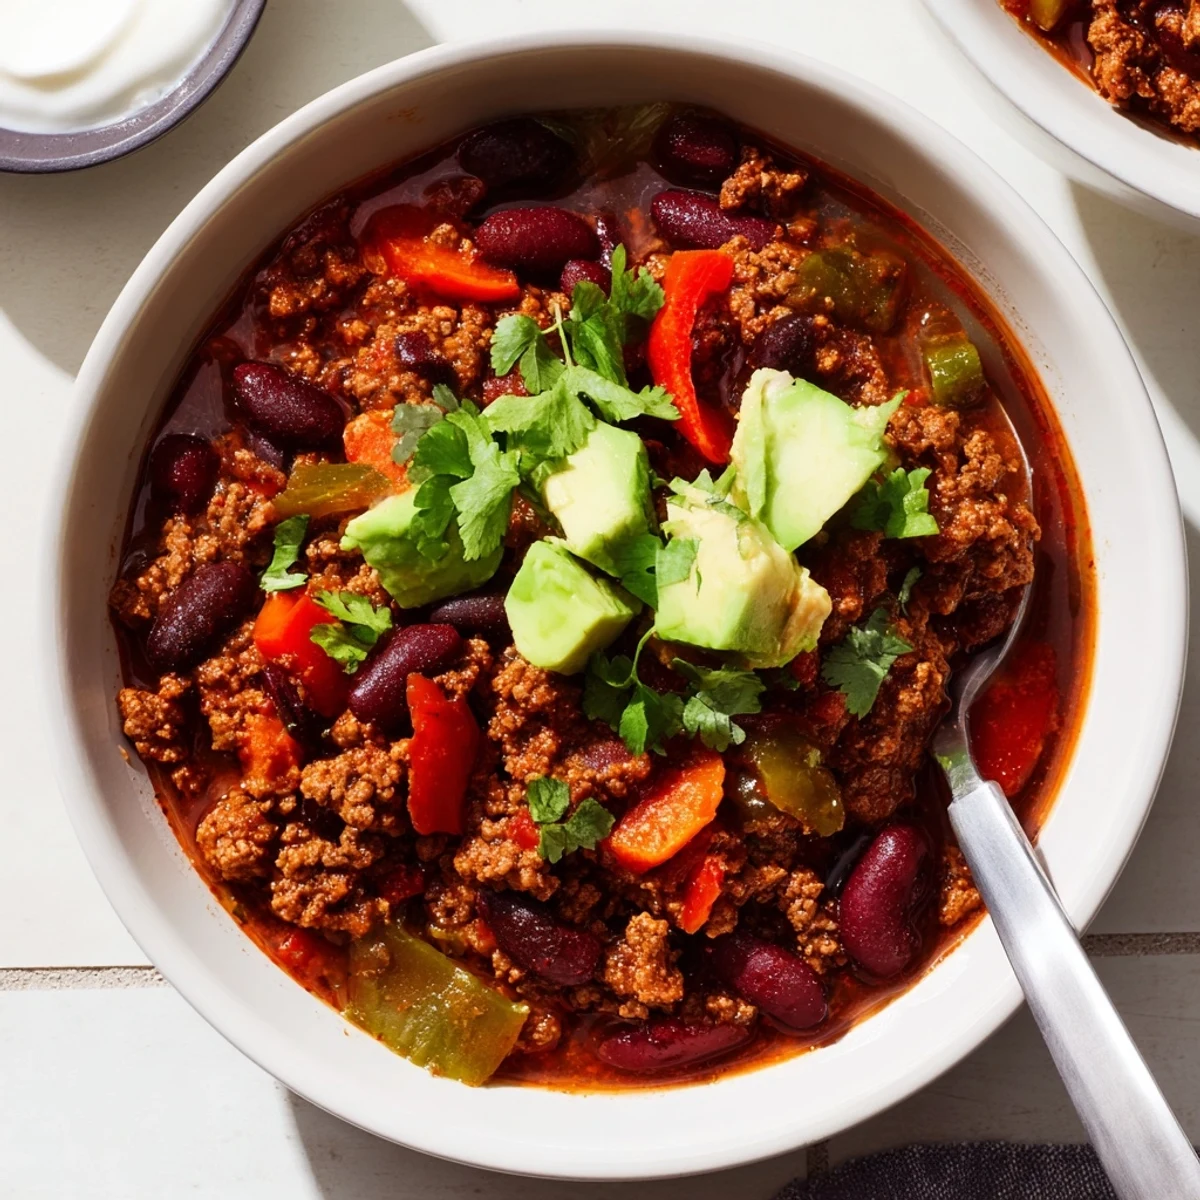
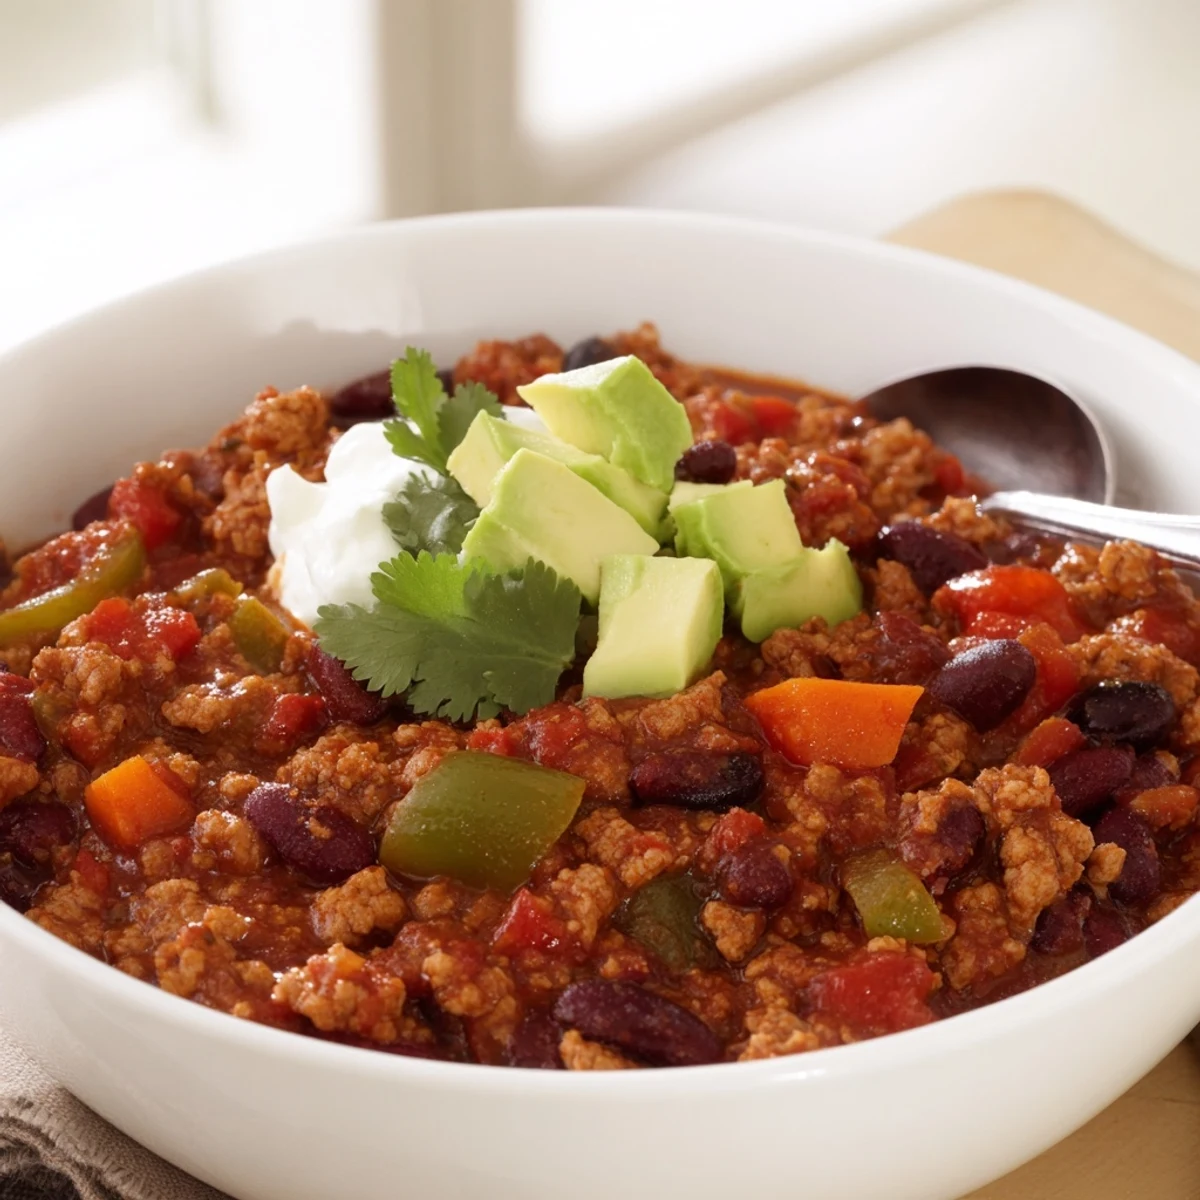
Save This hearty diabetic chili brings together lean ground turkey, kidney beans, black beans, and a colorful mix of bell peppers, celery, and carrots in a rich, spiced tomato base.
Seasoned with chili powder, cumin, and smoked paprika, every spoonful delivers bold flavor without relying on added sugars.
Ready in about an hour, it makes six generous servings and freezes beautifully for easy weeknight dinners.
The rain was hammering against the kitchen window the afternoon my doctor told me I needed to rethink my relationship with sugar, and all I wanted was a bowl of something warm and forgiving. Chili had always been my cold weather comfort, but the canned versions I grew up on were loaded with hidden sugars that spiked my blood sugar every single time. I stood in my kitchen that evening, surrounded by cans of no sugar added tomatoes and bags of dried spices, determined to build a chili that would not betray me. That pot changed everything about how I cook.
My friend Marcus came over for a football Sunday a few weeks after I perfected this recipe, and he polished off two bowls before asking if it was healthy. When I told him it was diabetic friendly, he stared at me like I had performed a magic trick. He now texts me every fall asking for the recipe, and I send him the same photo of my scribbled recipe card every time.
Ingredients
- 500 g lean ground turkey or lean ground beef: Turkey keeps it lighter, but a lean beef works beautifully if that is what you have on hand.
- 1 medium onion, diced: The aromatic backbone that mellows and sweetens as it cooks down into the broth.
- 2 cloves garlic, minced: Fresh garlic smashed and minced right before adding makes a noticeable difference in warmth.
- 1 medium green bell pepper and 1 medium red bell pepper, diced: Using both colors adds visual appeal and a slightly sweeter edge without adding sugar.
- 2 sticks celery and 1 medium carrot, diced: These two quietly thicken the chili and contribute natural sweetness that balances the spices.
- 1 can diced tomatoes, no added sugar: Always check the label, because many brands sneak sugar in without advertising it.
- 1 can kidney beans and 1 can black beans, rinsed and drained: Rinsing removes excess starch and sodium, and the combination gives you varied texture in every bite.
- 500 ml low sodium chicken or vegetable broth: Low sodium puts you in control of the salt level, which matters more than most people realize.
- 2 tbsp chili powder, no added salt or sugar: Some commercial chili powders contain fillers, so read the ingredient list carefully.
- 1 tsp ground cumin: This is the earthy note that makes chili taste like chili, so do not skip it.
- 1 tsp smoked paprika: It adds a subtle campfire depth that makes people ask what your secret ingredient is.
- 1/2 tsp each ground black pepper and dried oregano: Black pepper brings gentle heat while oregano adds a faintly herbal layer.
- 1/4 tsp cayenne pepper, optional: A small amount goes a long way, so start here and adjust next time if you want more fire.
- 1/2 tsp salt, or to taste: Add this at the end after tasting, because the broth and tomatoes already contribute sodium.
- Optional toppings: chopped cilantro, diced avocado, plain Greek yogurt: Greek yogurt is a brilliant sour cream swap that adds protein instead of saturated fat.
Instructions
- Brown the meat:
- Set a large pot or Dutch oven over medium heat and add the ground turkey or beef, breaking it apart with a wooden spoon as it cooks until no pink remains, about 5 to 6 minutes. If you are using beef and notice excess fat pooling, drain it off before moving forward.
- Build the vegetable base:
- Toss in the onion, garlic, both bell peppers, celery, and carrot, then stir everything together and let it sauté for 5 to 6 minutes until the vegetables soften and the kitchen starts to smell incredible.
- Toast the spices:
- Sprinkle in the chili powder, cumin, smoked paprika, black pepper, oregano, cayenne, and salt, then stir constantly for about a minute until the spices are fragrant and lightly toasted against the meat and vegetables.
- Combine everything:
- Pour in the diced tomatoes with their juices, both cans of rinsed beans, and the broth, then give it a thorough stir so nothing sticks to the bottom and the flavors begin to mingle.
- Simmer and develop:
- Bring the pot to a gentle boil, then turn the heat down to low and let it simmer uncovered for 30 minutes, stirring every so often, until the liquid reduces slightly and the chili thickens into something rich and spoonable.
- Serve with love:
- Taste for seasoning and adjust the salt if needed, then ladle into bowls and finish with whatever toppings make you happiest, whether that is a shower of cilantro, creamy avocado chunks, or a generous dollop of Greek yogurt.
 Save
Save The second time I made this chili was for my mother, who has managed type 2 diabetes for over a decade and had mostly given up on enjoying hearty meals. She sat quietly at my table, tasting slowly, and then looked up and said it was the first chili in years that did not make her feel unwell afterward.
Making It Your Own
This recipe is flexible by design, and I have tossed in handfuls of chopped kale or spinach during the last ten minutes of simmering when I wanted extra greens. Ground chicken works if you prefer a milder protein, and plant based mince turns it into a satisfying vegetarian meal without changing the spice profile at all.
What to Serve Alongside
A simple leafy green salad with a tangy vinaigrette cuts through the richness of the chili beautifully and keeps the entire meal balanced. I have also served it with roasted sweet potato wedges on the side, which add a satisfying starch without the blood sugar spike of bread or crackers.
Storing and Reheating
Chili is one of those rare dishes that tastes better the next day, because the spices continue to deepen and the vegetables soften further into the broth. It keeps in an airtight container in the refrigerator for up to four days, and it freezes beautifully for up to three months.
- Let the chili cool completely before transferring it to storage containers to prevent condensation from watering it down.
- Reheat gently on the stove over medium low heat, adding a splash of broth if it has thickened too much overnight.
- Always give it a taste before serving leftovers, because a pinch of salt or a squeeze of lime can revive flavors that have muted in the fridge.
 Save
Save Food that loves you back is not a myth, and this chili proves it every single time I make it. Pass the bowl and do not be surprised when nobody asks about the sugar.
Recipe Questions
- → Can I use ground beef instead of turkey?
-
Yes, lean ground beef works well. Just drain excess fat after browning to keep the dish lighter and lower in saturated fat.
- → How should I store leftover chili?
-
Let the chili cool completely, then transfer to an airtight container. Refrigerate for up to 4 days or freeze for up to 3 months.
- → Is this chili gluten-free?
-
Yes, all ingredients listed are naturally gluten-free. Be sure to check broth and spice blend labels to confirm no hidden gluten-containing additives.
- → What can I serve with this chili?
-
A fresh leafy green salad pairs wonderfully. You can also serve it alongside steamed cauliflower rice or roasted vegetables for a complete meal.
- → Can I make this vegetarian?
-
Absolutely. Swap the ground turkey for plant-based mince and use vegetable broth instead of chicken broth. The beans and vegetables provide plenty of protein and fiber.
- → How can I add more fiber to this dish?
-
Stir in a handful of chopped spinach or kale during the last 10 minutes of simmering. This boosts fiber and adds extra nutrients without altering the flavor significantly.
