 Save
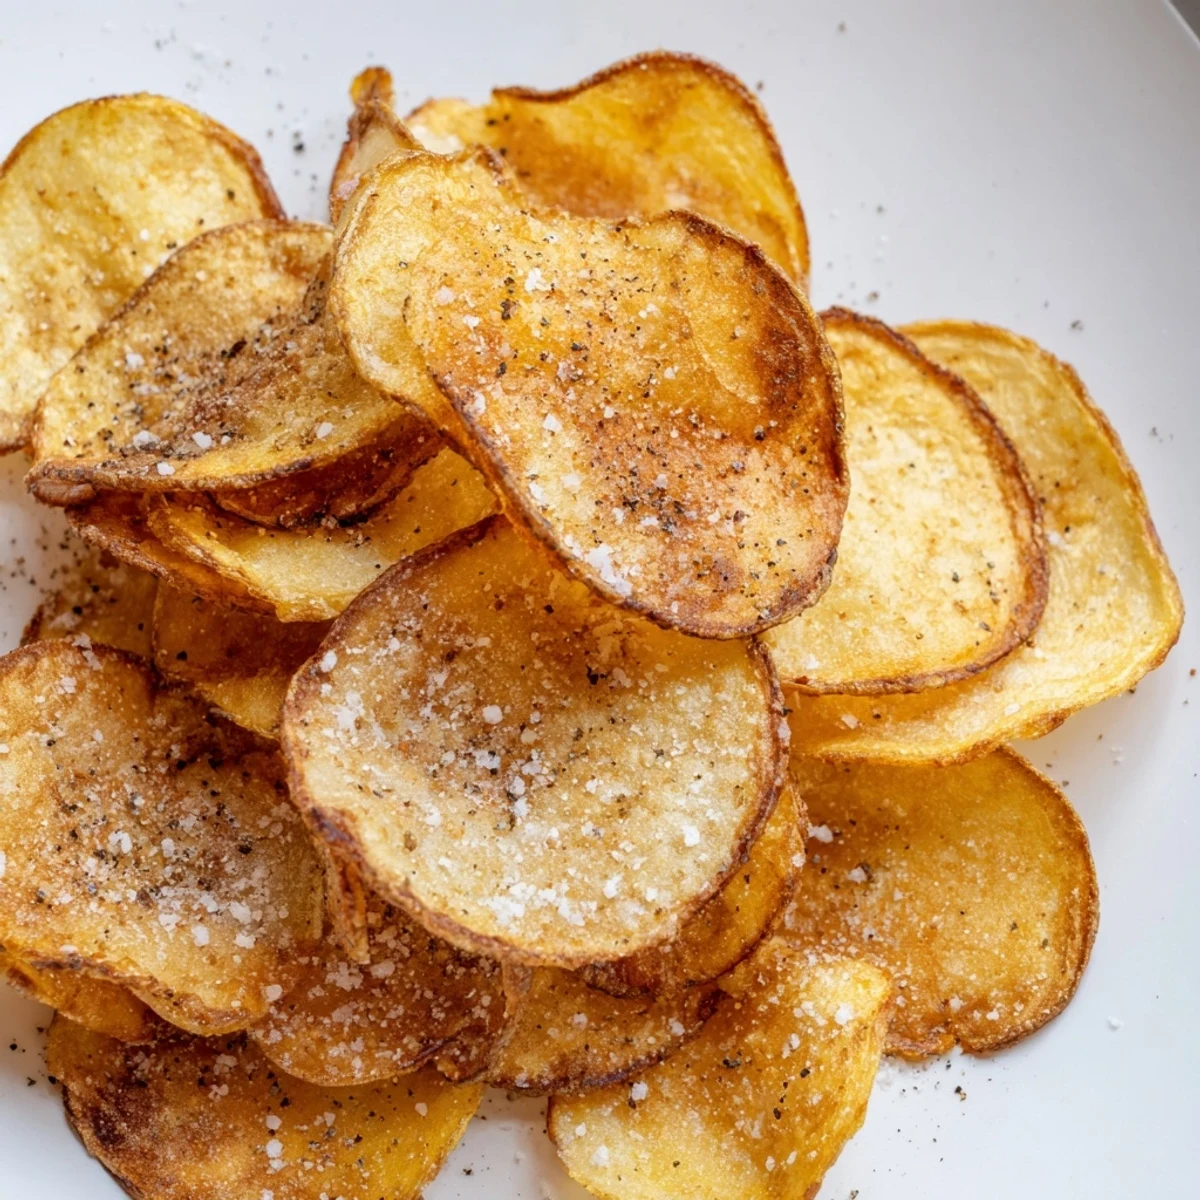
Save Transform simple russet potatoes into golden, ultra-crispy chips that rival your favorite snack shop. The secret lies in slicing thinly, removing excess starch through rinsing, and frying at the right temperature until perfectly crisp.
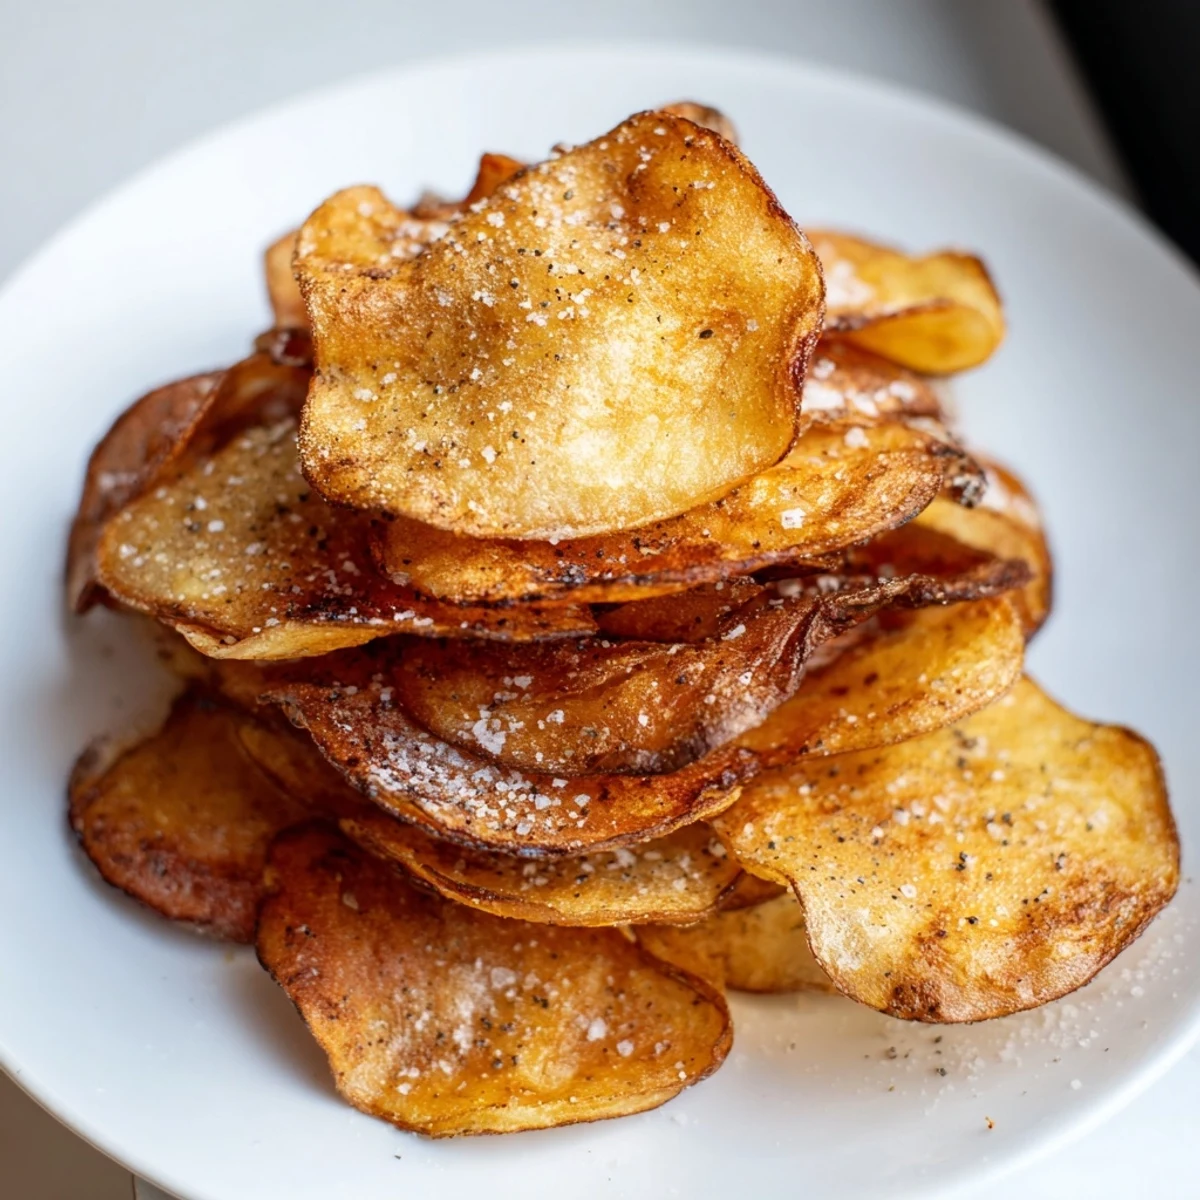
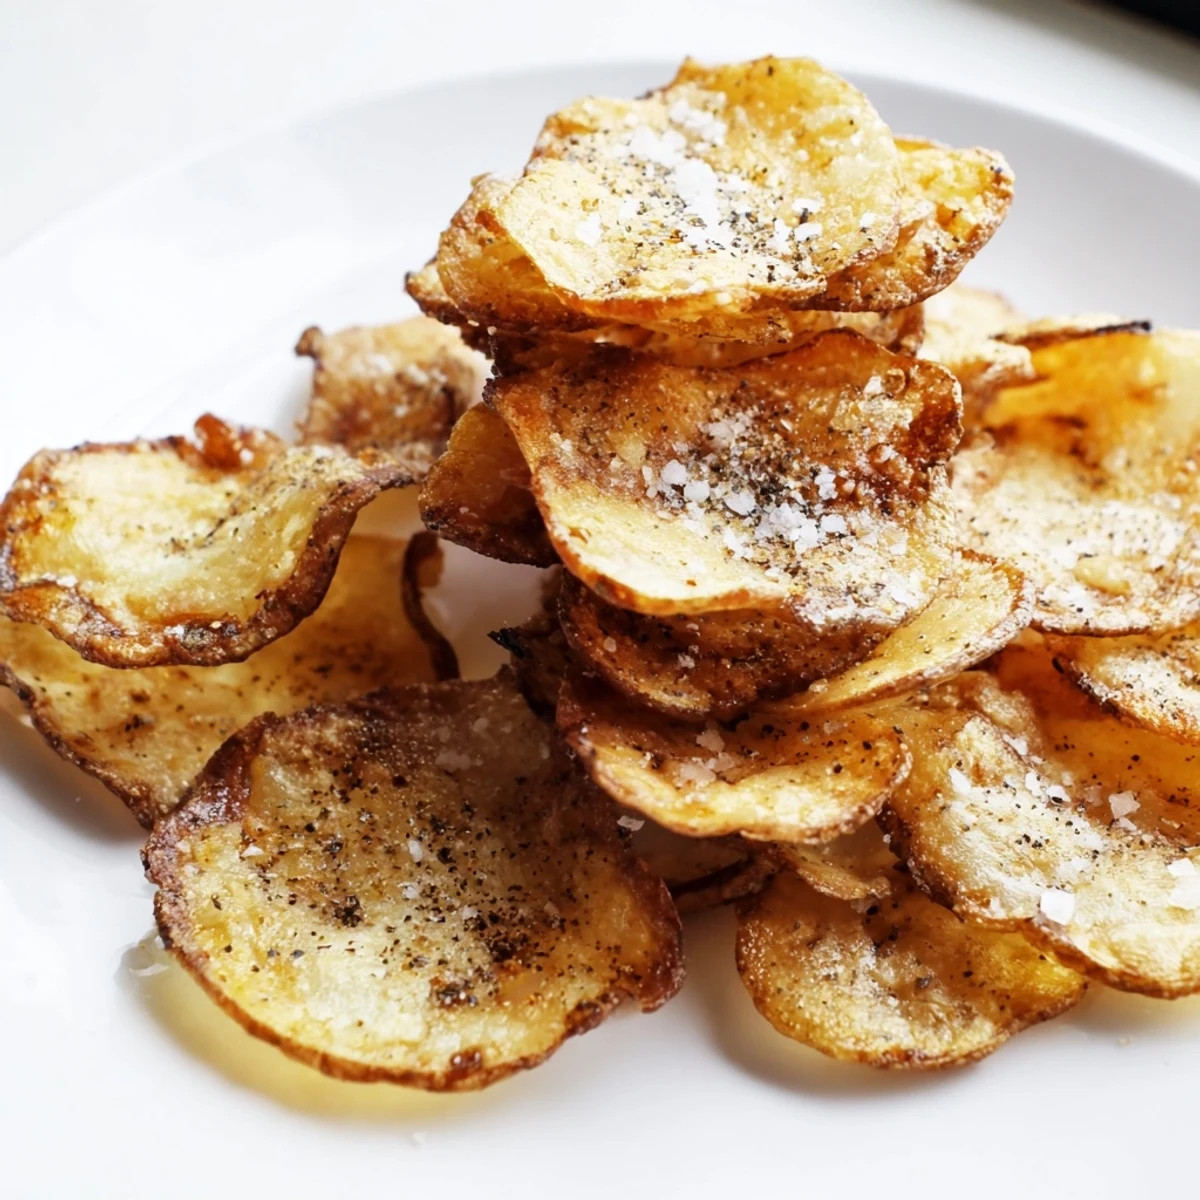
These homemade chips emerge from hot vegetable oil with a satisfying crunch and beautiful golden color. Season immediately with fine sea salt while warm for maximum flavor absorption, though black pepper, smoked paprika, or garlic powder make excellent additions.
The entire process takes just 35 minutes, yielding four generous servings. For even crispier results, soak slices in ice water for 30 minutes before frying. Store cooled chips in an airtight container to maintain that irresistible crunch.
The smell of hot oil and potatoes always pulls me back to my first apartment, where I learned that store-bought chips could not compete with homemade ones. I made these on a rainy Sunday with friends coming over, skeptical about the effort but curious. After that first golden batch emerged from the oil, nobody reached for the bagged stuff again.
My friend Sarah stayed late that evening, picking through the bowl while we talked about everything and nothing. The chips kept disappearing faster than I could make them, each batch vanishing while the next one sizzled in the pot. Sometimes the simplest foods create the best gatherings.
Ingredients
- Russet potatoes: Their high starch content and low moisture create the crispiest chips, and four medium ones yield just enough for sharing
- Fine sea salt: Sprinkle immediately while hot so it adheres perfectly, and keep extra within reach for adjusting to taste
- Vegetable oil: Sunflower, canola, or peanut oil all work beautifully because their neutral flavors let the potato shine through
Instructions
- Slice the potatoes thin:
- A mandoline saves time and creates uniform slices, but a sharp knife and steady hands work perfectly fine
- Rinse and dry completely:
- Cold water removes surface starch that prevents crispiness, and thorough drying eliminates dangerous oil splatters
- Heat the oil properly:
- 170°C creates that perfect golden crunch without burning, so use a thermometer if you are unsure
- Fry in small batches:
- Crowding the pan drops the temperature and creates soggy chips, so give each slice room to crisp up beautifully
- Season immediately:
- That window while they are hot and slightly oily is when salt actually sticks, so do not wait until they cool
- Let them cool completely:
- The final crisp happens during cooling, so resist snacking until they have reached their maximum crunch potential
 Save
Save These became my go-to contribution to game nights and potlucks, always arriving in a brown paper bag that crinkled enticingly. Watching people is face light up when they realize these are homemade never gets old.
Getting Creative With Seasonings
Once you have mastered the basic chip, whole worlds of flavor open up before you. Smoked paprika creates a barbecue vibe, while garlic powder makes them irresistible. A pinch of chili powder adds just enough heat to keep everyone reaching back into the bowl.
Making Them Your Own
Sweet potatoes create a gorgeous orange chip with natural sweetness that pairs beautifully with sea salt. Mixing root vegetables like parsnips or beets adds color and variety that makes the bowl look stunning. The frying technique remains exactly the same, so do not be afraid to experiment.
Serving And Storing
These chips are at their absolute best within an hour of frying, when the crunch is still fresh and vibrant. If you somehow have leftovers, store them in an airtight container to maintain that perfect crispness for the next day.
- Room temperature storage keeps them crispy longer than refrigeration ever could
- A paper towel at the bottom of the container absorbs any lingering oil
- They make an incredible base for nachos when you are ready to level up your snack game
 Save
Save There is something deeply satisfying about making something so delicious from such humble ingredients. Once you taste that first homemade chip, store-bought just will not hit the same way again.
Recipe Questions
- → What type of potatoes work best?
-
Russet potatoes are ideal due to their high starch content and low moisture, which yields the crispiest results. Their firm texture also holds up well during slicing and frying.
- → How thin should I slice the potatoes?
-
Aim for slices between 1–2 mm thick—about the thickness of a coin. A mandoline slicer ensures consistent thickness, leading to evenly cooked chips that crisp uniformly.
- → Why rinse the potato slices before frying?
-
Rinsing removes surface starch, preventing chips from sticking together during frying and promoting better crisping. Thoroughly drying slices afterward is crucial to avoid splattering and ensure crunchiness.
- → What oil temperature is optimal?
-
Maintain oil at 170°C (340°F). Too cool, and chips absorb excess grease; too hot, and they may burn before cooking through. A thermometer helps monitor temperature accurately.
- → How do I store leftover chips?
-
Once completely cooled, place chips in an airtight container or sealed bag. Proper storage maintains crispness for 2–3 days. Avoid storing while warm, as condensation makes them soggy.
- → Can I bake these instead of frying?
-
Baking yields lighter but less crispy results. Arrange slices on parchment-lined sheets, brush lightly with oil, and bake at 200°C (400°F) for 15–20 minutes, flipping halfway, until golden.
