 Save
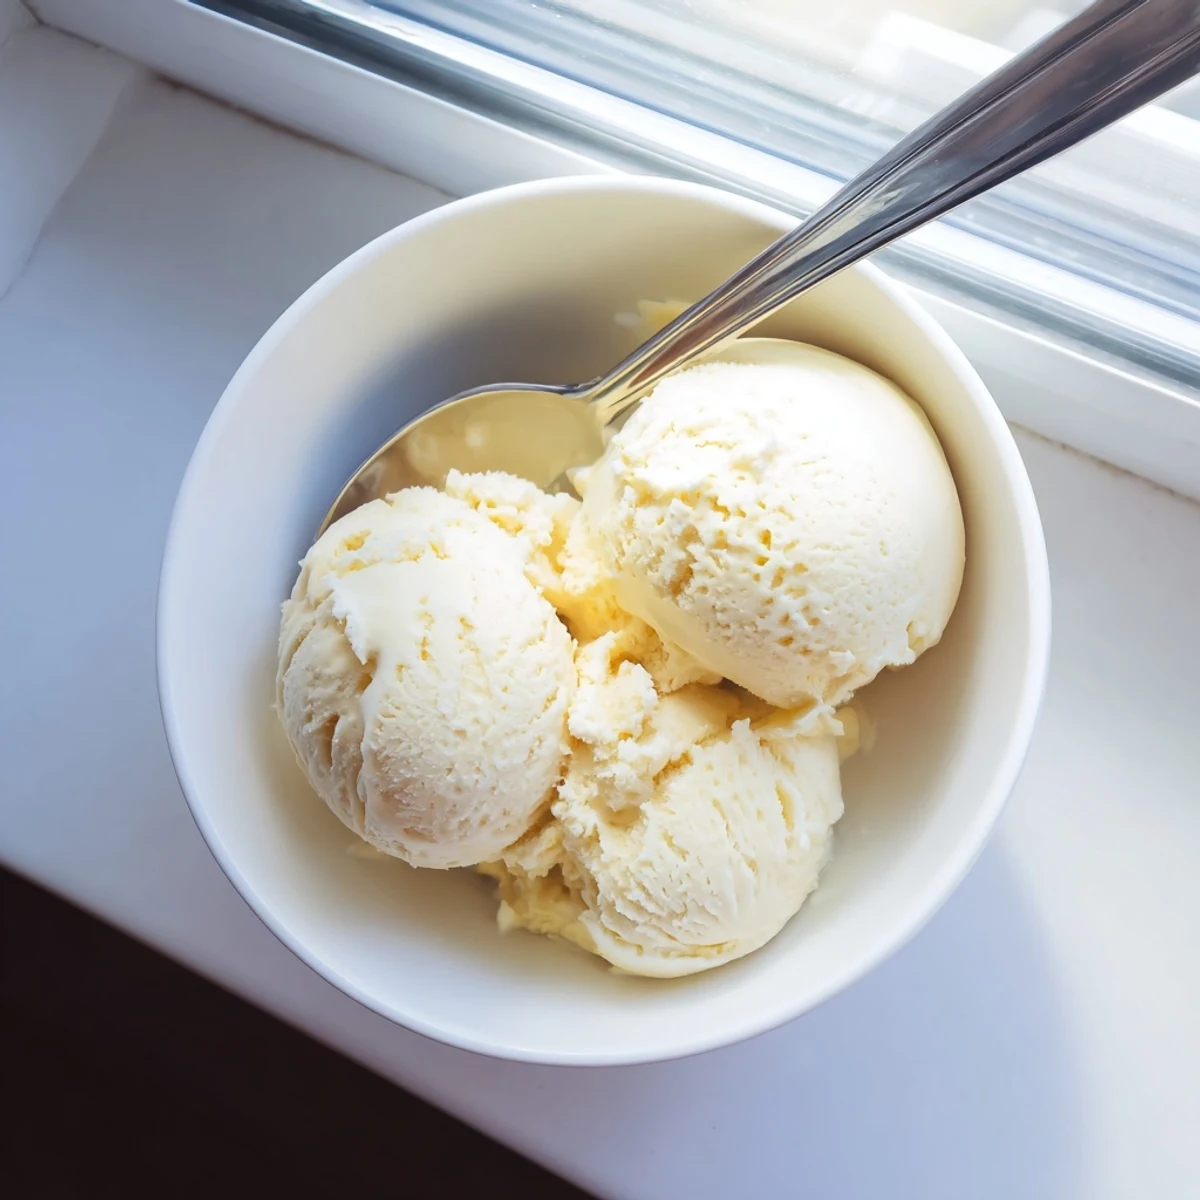
Save Create an indulgent frozen dessert that rivals artisanal brands. This classic vanilla custard-based treat combines heavy cream, whole milk, and fresh egg yolks for an incredibly smooth texture. The process involves tempering eggs with warm dairy, cooking to a silky custard, then churning until perfectly thick. After freezing for several hours, you'll scoop out creamy perfection that's ideal for warm weather gatherings or elegant dinner parties.
There is something hypnotic about watching a machine turn liquid cream into a frozen cloud. I used to stand by the freezer door as a kid just waiting for that first click of the timer. Now making it myself brings that same simple joy to my own kitchen. This vanilla version is the ultimate comfort food.
I once served this at a July barbecue before it had fully firmed up. It turned into soup in the bowls almost immediately yet my friends licked every drop. It taught me that flavor matters more than perfection. We laughed about the soup course for years.
Ingredients
- Heavy cream: This high fat content is essential for a rich texture.
- Whole milk: It balances the richness so the final scoop is not too heavy.
- Granulated sugar: This sweetens the mix and keeps the ice cream soft.
- Pure vanilla extract: High quality extract makes a huge difference here.
- Fine sea salt: A pinch helps to pop the sweetness.
- Large egg yolks: These are the thickening agents for a luxurious custard.
Instructions
- Warm the Dairy:
- Combine milk cream and half the sugar in a saucepan over medium heat. Watch for steam to rise but do not let it boil.
- Whisk the Yolks:
- In a separate bowl whisk yolks with the rest of the sugar and salt. Keep going until the mixture looks pale and slightly thick.
- Temper the Eggs:
- Slowly pour about a cup of the hot milk into the yolks while whisking rapidly. This prevents the eggs from scrambling when added to the heat.
- Cook the Custard:
- Pour everything back into the saucepan and cook on low. Stir constantly with a wooden spoon until it coats the back of the spoon.
- Add Vanilla:
- Remove the pan from the heat immediately. Stir in the vanilla extract to infuse the flavor.
- Chill the Base:
- Strain the custard through a fine mesh sieve into a clean bowl. Let it reach room temperature before covering and chilling for several hours.
- Churn It Up:
- Pour the cold base into your ice cream maker and follow the machine instructions. Spin until it looks like soft serve.
- Freeze Firm:
- Transfer the churned ice cream to a lidded container. Freeze for at least four hours to set.
- Scoop and Enjoy:
- Let the tub sit on the counter for a few minutes before serving. This ensures you get perfect scoopable rounds.
 Save
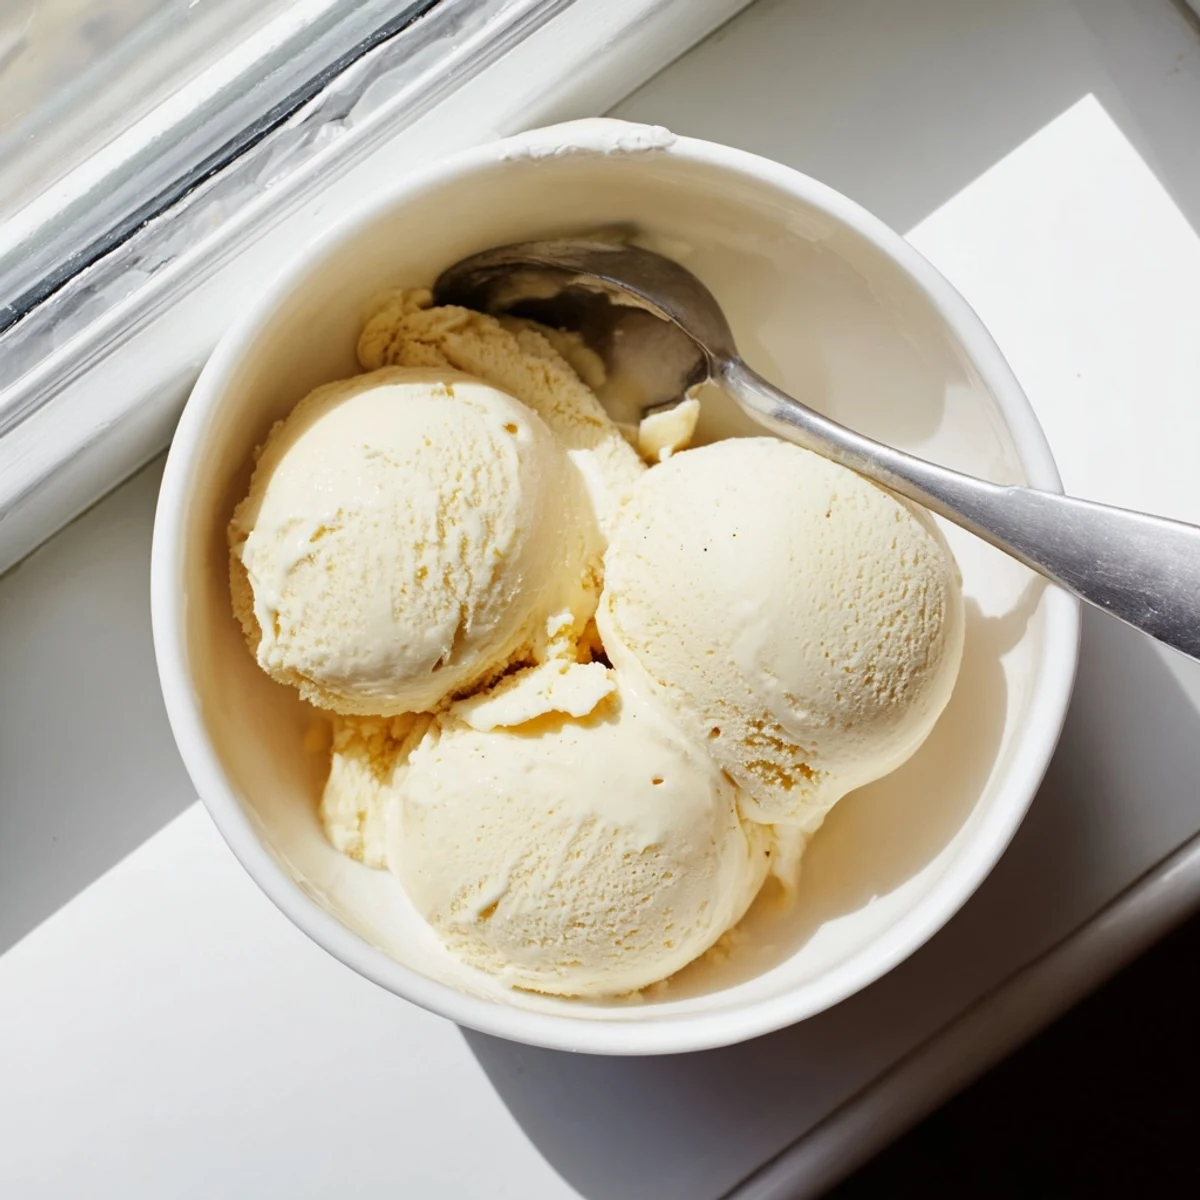
Save Sunday afternoons became special when we started making our own sundaes. Everyone would rush to the freezer to claim the first scoop. It turned a regular weekend into a mini celebration.
Mastering the Custard Base
Cooking the custard is the most technical part of this process. You need to watch the pot like a hawk.
Getting the Perfect Texture
The freezing time is just as important as the cooking time. Rushing this step usually results in icy crystals.
Serving Suggestions
This vanilla base is a blank canvas for your favorite toppings.
- Top with fresh berries for a tart contrast.
- Drizzle with warm fudge sauce for pure indulgence.
- Serve in a waffle cone for a nostalgic touch.
 Save
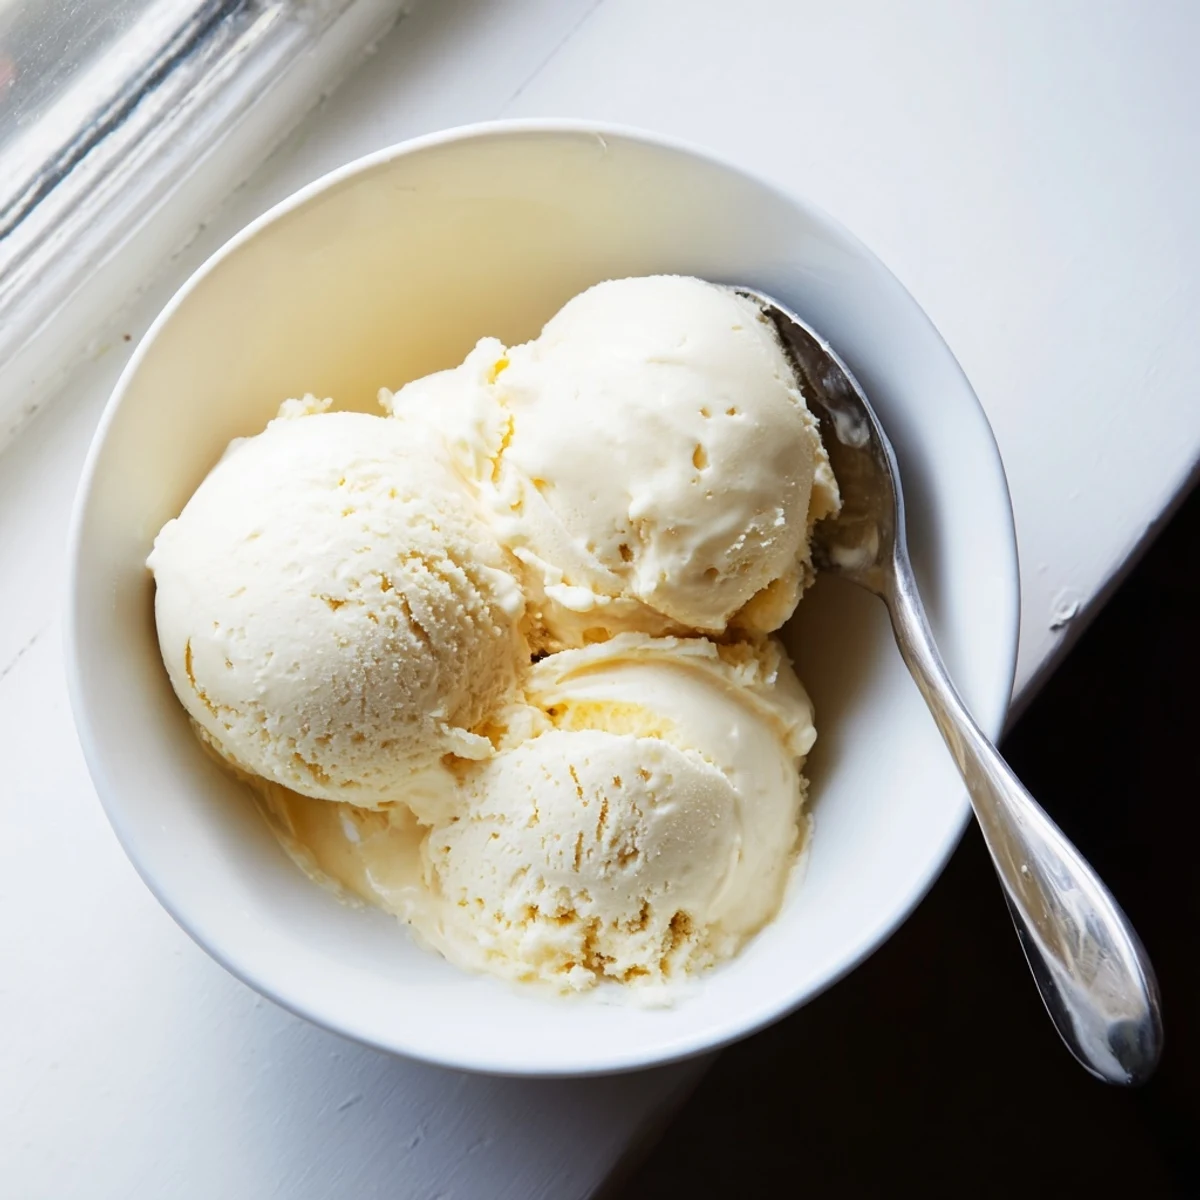
Save There is nothing quite like the taste of homemade ice cream on a warm afternoon. I hope this recipe brings a little cool joy to your kitchen.
Recipe Questions
- → What makes vanilla ice cream homemade taste better?
-
Homemade vanilla cream tastes superior because you control the quality of ingredients. Fresh vanilla extract, premium dairy, and real egg yolks create depth and richness that store-bought versions lack. The custard base develops complex flavors during the chilling process.
- → How do I know when custard is thick enough?
-
The custard is ready when it coats the back of a wooden spoon and leaves a clear line when you run your finger through it. This typically happens at 170–175°F. Avoid boiling, which can cause curdling and ruin the silky texture.
- → Can I make this without an ice cream maker?
-
Yes, pour the chilled custard into a shallow freezer-safe dish. Place in the freezer and stir vigorously every 30 minutes for about 3 hours. This breaks up ice crystals and helps achieve a creamy consistency, though the texture may be slightly less smooth than machine-churned versions.
- → Why does my homemade ice cream turn icy?
-
Icy texture usually results from insufficient churning, inadequate fat content, or not chilling the custard long enough. Using proper ratios of heavy cream to milk ensures enough fat prevents large ice crystals from forming. Always chill the base thoroughly before freezing.
- → How long can I store homemade vanilla cream?
-
Properly stored in an airtight container, homemade vanilla cream stays fresh for 1-2 weeks in the freezer. For best texture and flavor, enjoy within the first week. Place a piece of parchment paper directly on the surface before sealing to prevent ice crystal formation.
- → What mix-ins work well with vanilla base?
-
The vanilla base pairs beautifully with crushed cookies, chocolate chips, fresh berries, caramel swirls, toasted nuts, or fruit preserves. Add mix-ins during the last 2 minutes of churning so they distribute evenly without breaking apart too much.
