 Save
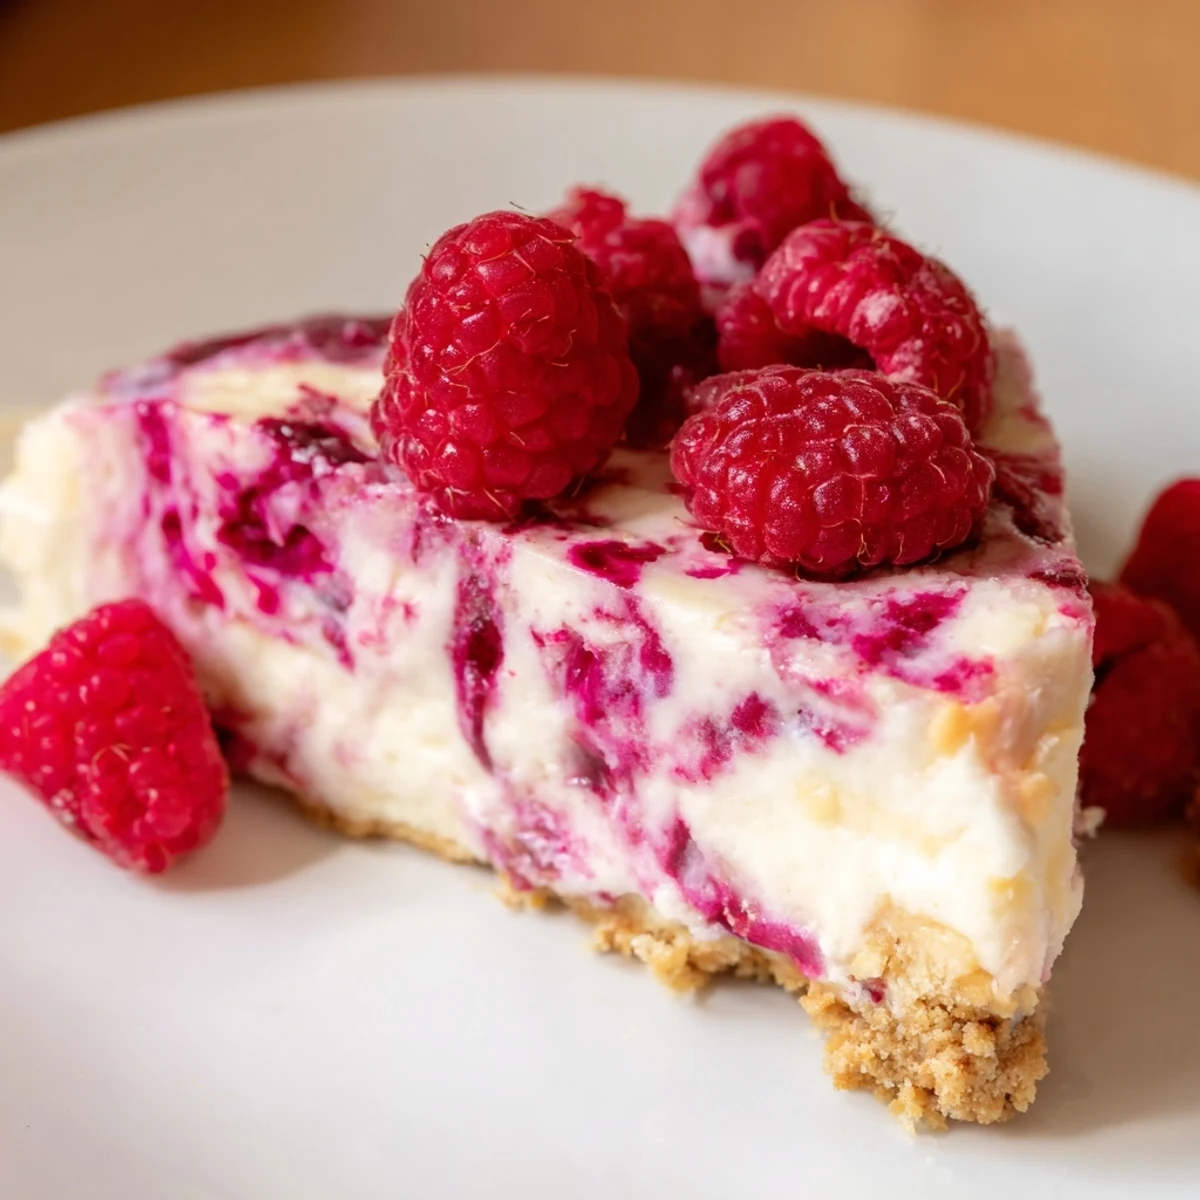
Save This indulgent dessert features a rich, velvety cream cheese filling swirled with tart fresh raspberry sauce, all resting on a buttery graham cracker base. The water bath baking method ensures a silky smooth texture while preventing cracks. After baking, the cheesecake requires several hours of chilling to set properly, developing its signature dense yet creamy consistency. The vibrant raspberry swirl creates a stunning presentation while adding bright fruit notes that beautifully complement the sweet, tangy filling.
The way my grandmother used to hover over the oven door, watching through the glass as the cheesecake baked, is something I can still see clearly. She taught me that patience isn't just about waiting—it's about trusting the process. That slightly wobbly center used to panic me until she grabbed my shoulders and said, "That's exactly how it should look." Now I catch myself doing the same thing, standing there in my sock feet, watching the edges set while the center dances just a little.
I made this for my sister's bridal shower, nervous about everything that could go wrong, and ended up with the most gorgeous marble pattern that looked entirely intentional. Someone asked what bakery I'd ordered it from, and I nearly cried laughing. The best part wasn't even the compliments—it was watching my grandmother sneak a slice before the party officially started, winking at me like we were co conspirators in something delicious.
Ingredients
- Graham cracker crumbs: These form the foundation and pressing them into the pan firmly means you won't have that dreaded crumble when you slice
- Unsalted butter: Melted properly it binds the crust together—don't rush this step or you'll have a sandy mess instead of a solid base
- Cream cheese: Room temperature is non negotiable here—cold cream cheese creates lumps that no amount of mixing will fix
- Sour cream: This adds that slight tang that keeps the cheesecake from being cloyingly sweet
- Raspberries: Fresh ones break down beautifully into that vibrant swirl but frozen will work in a pinch—just thaw them first
Instructions
- Prepare your pan and warm the oven:
- Greasing that springform pan like your life depends on it and lining the bottom with parchment means you'll actually get the cheesecake out in one piece. Preheating to 160°C (325°F) gives you the gentle, even heat that cheesecakes crave.
- Build the buttery crust:
- Mixing those crumbs with melted butter and a touch of sugar creates something that tastes like childhood. Press it firmly into the pan bottom—really use your fingers and the back of a measuring cup—and bake for just 10 minutes until fragrant.
- Craft the raspberry swirl:
- Cooking down fresh raspberries with sugar and lemon juice until they're thick and jammy fills your kitchen with the most incredible smell. Pushing it through a sieve takes patience but those seed free ribbons are worth every second of effort.
- Make the velvety filling:
- Beating room temperature cream cheese and sugar until you can't see any granules is the moment everything transforms. Adding eggs one at a time prevents overworking the batter, which is the secret to avoiding cracks later.
- Layer and swirl like an artist:
- Pouring half the filling, drizzling raspberry sauce, and gently swirling with a skewer creates those gorgeous marble patterns that look impossibly professional. Repeat with the remaining filling and sauce—don't overthink the swirling, imperfect is beautiful here.
- Bake in a water bath:
- Placing your springform inside a roasting pan and filling it halfway with hot water creates gentle steam that protects the cheesecake from harsh heat. Bake for 50 to 60 minutes until edges are set but that center still wobbles slightly when you gently shake the pan.
- Cool slowly and completely:
- Turning off the oven and cracking the door lets the cheesecake acclimate to room temperature gradually, which prevents those dramatic cracks we all fear. Chilling for at least 4 hours or overnight feels impossible but it's what transforms it into something sliceable and perfect.
 Save
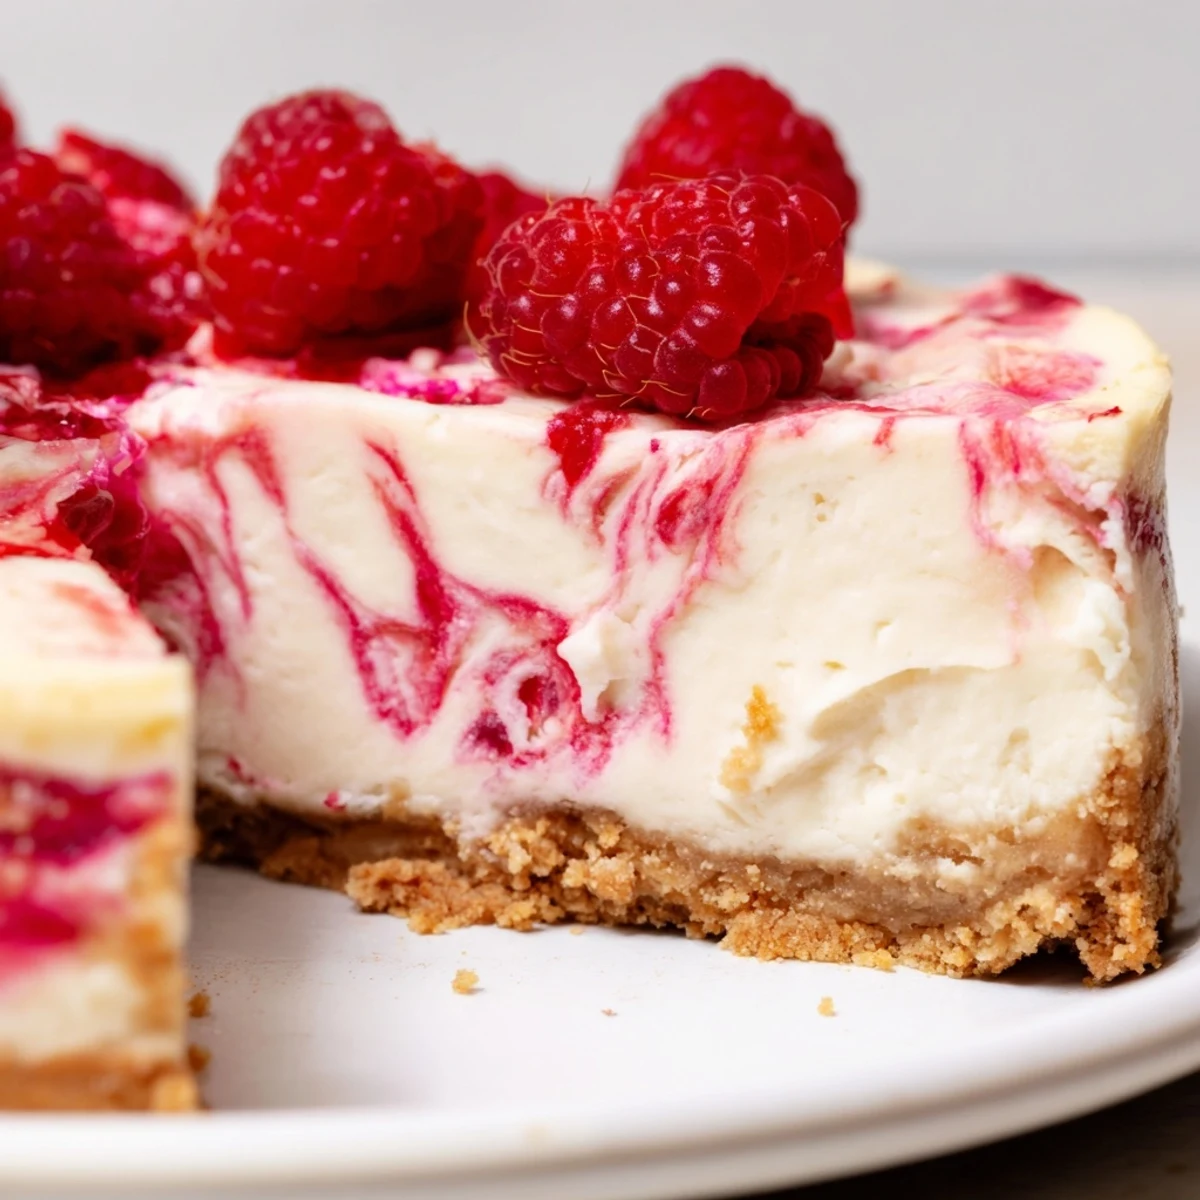
Save This cheesecake has become my default for celebrations because it never fails to make people pause before taking that first bite. Watching someone's eyes close when they taste that combination of creamy filling and bright raspberry swirl is honestly better than any compliment they could put into words.
Making It Your Own
Once you've mastered this version, try swapping graham crackers for crushed ginger snaps or vanilla wafers—each brings its own personality to the crust. Blueberry or blackberry swirls work just as beautifully, and I've even made a mango version that felt like sunshine on a plate.
Serving Suggestions
A dollop of lightly sweetened whipped cream on top feels luxurious but not overdone. Fresh raspberries scattered around the platter make it look like something from a bakery window, and that first slice should be served with pride—this is a dessert that announces itself.
Storage and Make Ahead Magic
This cheesecake actually improves after a day in the refrigerator, making it perfect for preparing ahead of dinner parties or celebrations. The flavors meld together and the texture becomes even more luxurious.
- Wrap the fully chilled cheesecake tightly and freeze for up to a month—just thaw overnight in the refrigerator
- Individual slices freeze beautifully if you want portion controlled treats for later
- Always store leftovers in the refrigerator, covered loosely so the crust doesn't get soggy
 Save
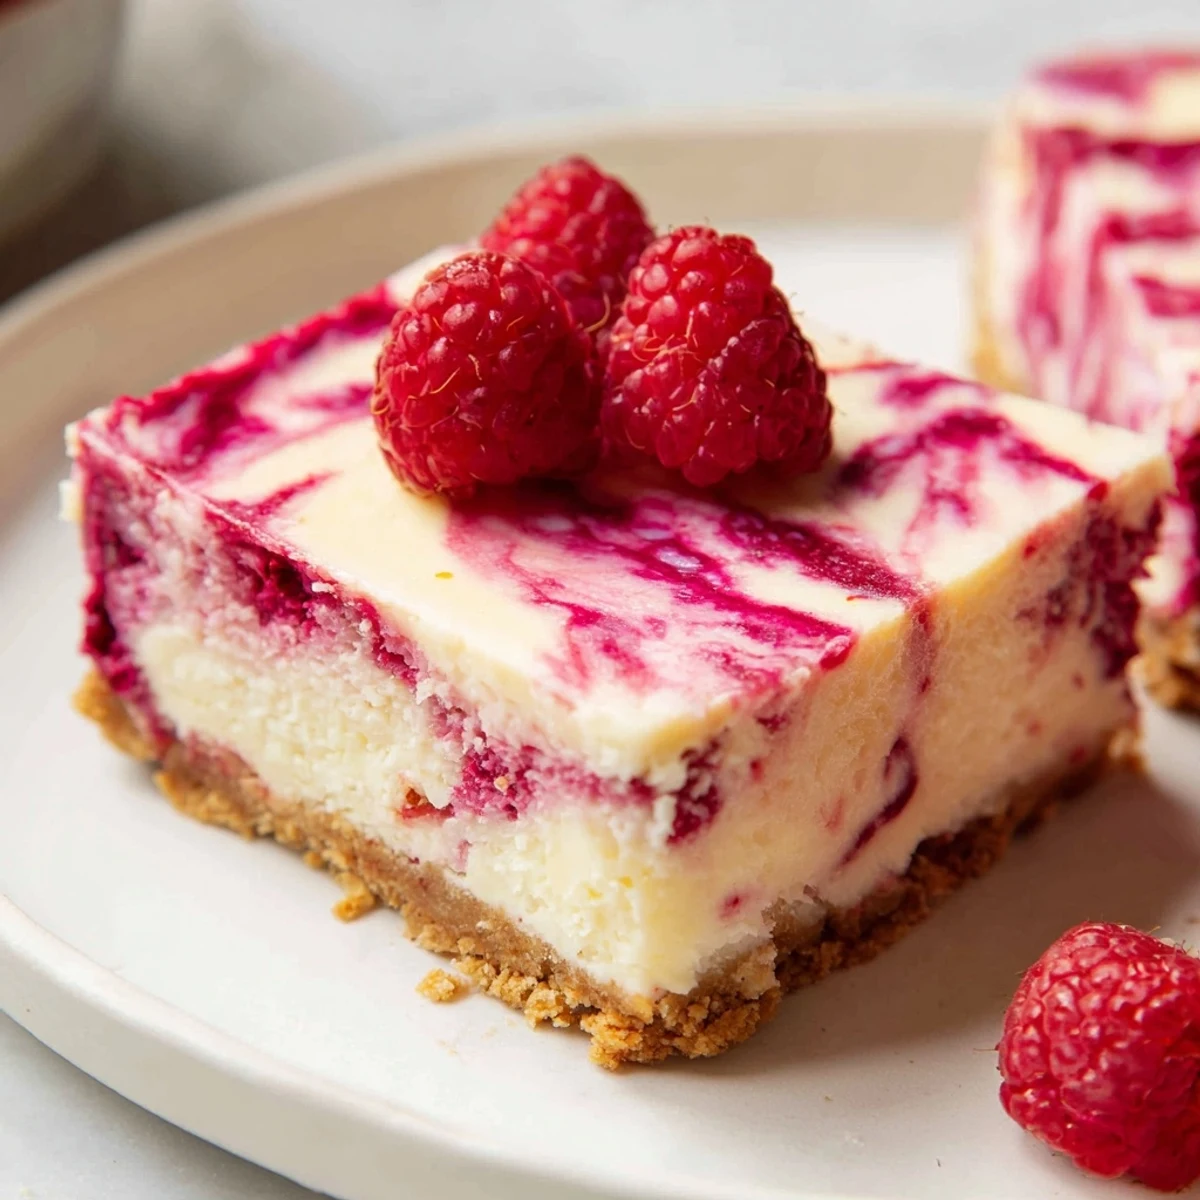
Save There's something deeply satisfying about cutting into that first slice and seeing those raspberry ribbons ribboned through the creamy filling. Every time I serve this, I think about how many memories are being made around that dessert plate.
Recipe Questions
- → How long should I chill the cheesecake before serving?
-
Refrigerate for at least 4 hours, though overnight chilling is ideal for the best texture and flavor development. This allows the filling to fully set and become easier to slice cleanly.
- → Can I use frozen raspberries instead of fresh?
-
Yes, frozen raspberries work well for the swirl. Thaw them completely and drain excess liquid before cooking. The cooking process may take slightly longer due to the extra moisture content.
- → Why is my cheesecake cracking on top?
-
Cracks usually occur from overbaking or cooling too quickly. Using a water bath helps regulate temperature, and letting it cool gradually in the oven with the door cracked prevents sudden temperature changes that cause cracking.
- → How do I know when the cheesecake is done baking?
-
The edges should be set and slightly puffy, while the center should still have a slight wobble like gelatin when gently shaken. It will continue to firm up as it cools.
- → Can I make this cheesecake ahead of time?
-
Absolutely. This cheesecake actually tastes better when made a day ahead, allowing flavors to meld. It can be refrigerated for up to 5 days when tightly covered, or frozen for up to 3 months.
- → What can I use instead of graham crackers for the crust?
-
Digestive biscuits, vanilla wafers, or even gluten-free cookies make excellent substitutes. For a gluten-free version, ensure your cookie choice and flour are certified gluten-free.
