 Save
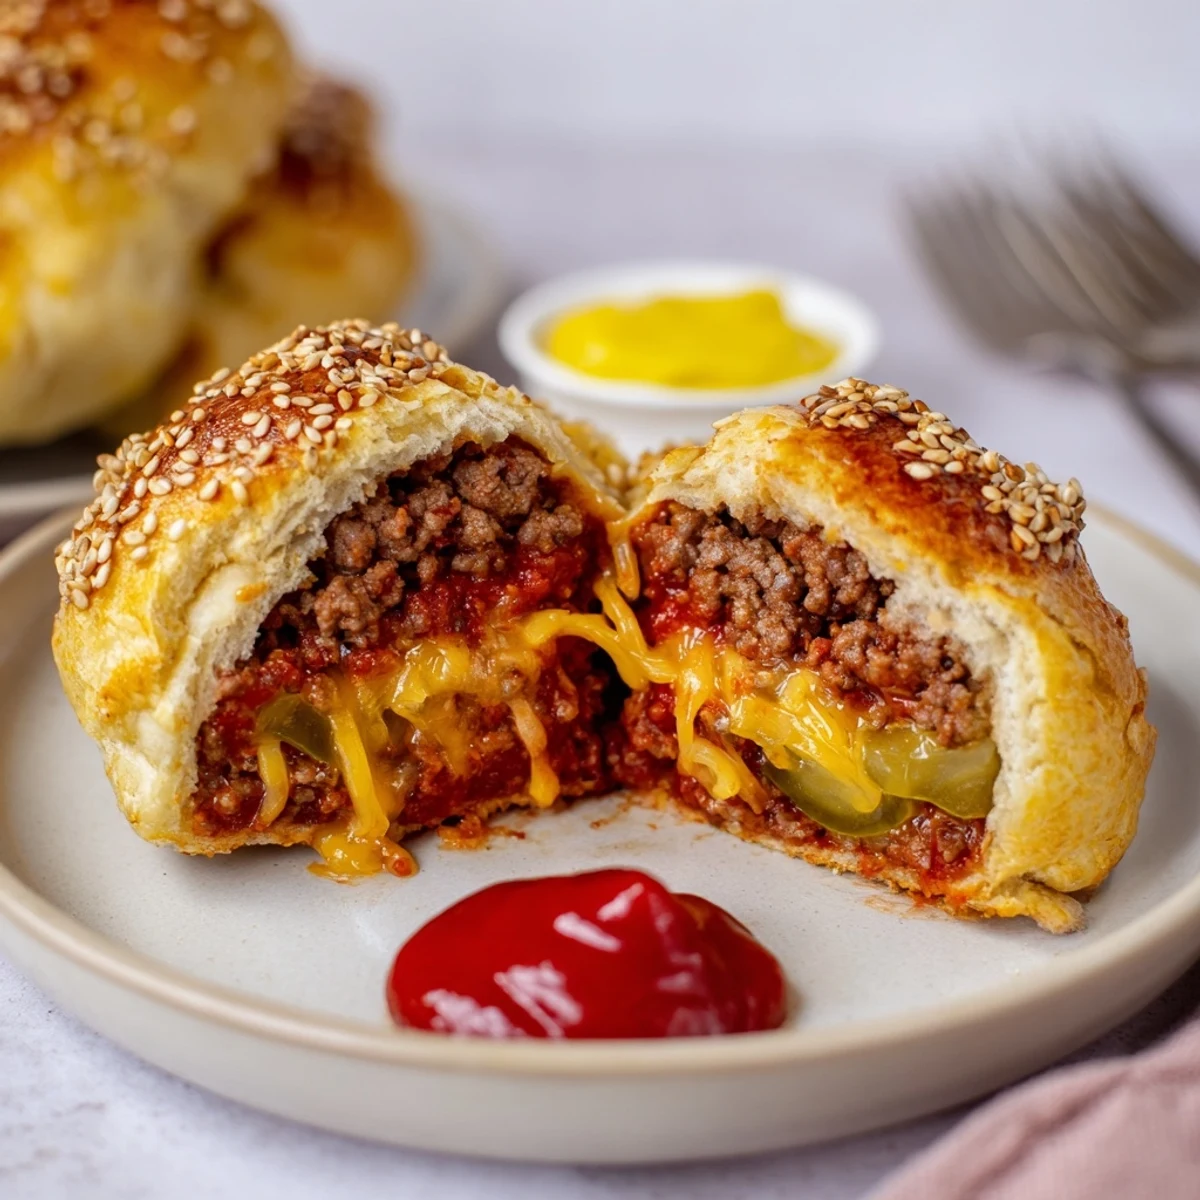
Save These cheesy cheeseburger bombs are biscuit-wrapped beef patties loaded with shredded cheddar and a gooey mozzarella cube, seasoned with ketchup, mustard, Worcestershire, garlic powder, salt and pepper. Sauté onion, brown the beef, mix condiments, fill flattened biscuit rounds, seal and brush with egg wash, sprinkle sesame seeds and bake at 200°C until golden. Makes 8; about 50 minutes total.
If you've ever heard the sizzle of beef blending with melting cheese while the kitchen fills with laughter, you may understand why these Cheesy Cheeseburger Bombs have a special place in my heart. It all started on a chilly evening when my friends challenged me to 'make something fun and finger-friendly.' The sound of the biscuit dough popping, followed by the first whiff of warm bread and sharp cheddar, still makes me smile. There's a playfulness to them you only realize the first time someone bites in and that cheese just keeps stretching.
I remember bringing these out for a last-minute game night, everyone still munching on popcorn, when the first batch came out of the oven. Someone blurted out, ‘Wait, was that a cheeseburger I just ate with my hands?’ That night, they became my unofficial potluck signature, purely by accident after a friend dropped his and the cheese oozed onto the coffee table. We still tease him about that ‘cheese trail’ every time I make them.
Ingredients
- Ground beef: Fatty beef adds juiciness, but drain well or the biscuits might get soggy.
- Shredded cheddar cheese: Go for sharp cheddar—its tang balances the richness inside.
- Small mozzarella cubes: Cutting them fresh gives that epic cheese pull moment when you open the bombs.
- Small onion: Dice fine so every bite gets sweetness; sauté gently for best flavor.
- Small pickle (optional): Adds brightness and tang—you’ll know if you’re missing it.
- Refrigerated biscuit dough: I’ve tried homemade, but the store-bought tubes are foolproof for weeknights.
- Ketchup: Adds that classic burger taste; swap for BBQ for smoky variation.
- Yellow mustard: You only need a touch to cut through the richness—don’t skip.
- Worcestershire sauce: Umami boost that makes the beef pop, but a little goes a long way.
- Garlic powder, salt, black pepper: Classic flavor trio—don't be shy with the seasoning in the beef mix.
- Egg (for wash): Gives you that bakery-style shine on top.
- Sesame seeds: Just a sprinkle makes them look and taste like true mini burgers.
Instructions
- Fire up the oven:
- Preheat your oven to 200°C (400°F) and lay out parchment paper on your baking sheet so nothing sticks.
- Sauté and brown:
- Toss onions in a skillet over medium heat and listen until they’re soft and almost sweet, about 3 minutes; then crumble in beef, scatter on garlic powder, salt, and pepper, and cook till browned, draining off any extra fat.
- The saucy mix-up:
- Stir in ketchup, mustard, Worcestershire, and (if you like crunch) those pickles; the sizzle and smell are your cue to take it off the heat and let it cool down for a few minutes.
- Shape the bombs:
- Flatten each biscuit into a little circle on your palm, scoop a tablespoon of beef mixture in the center, pile on cheddar, then nuzzle a mozzarella cube right in the middle.
- Seal the deal:
- Wrap the dough around the filling, pinching it shut—make sure there are no gaps, or the cheese will escape; set seam-side down on the lined tray.
- Dress them up:
- Brush each bomb with beaten egg for gloss and scatter on sesame seeds until they look bakery-ready.
- Bake and wait:
- Bake for 15 to 18 minutes until golden brown—the aroma will tell you they're ready before the timer does.
- Serve and savor:
- Let them cool just a few moments so the cheese stays molten but doesn’t burn eager fingers; serve with extra burger sauces for that final flourish.
 Save
Save One summer evening, I made these for my nephew’s birthday, and the real magic was the sight of six kids huddled at the table waiting, noses nearly pressed against the baking sheet. The grownups managed to snag a bomb or two, but I realized then that in the right hands, finger food brings every generation together quicker than any formal meal could.
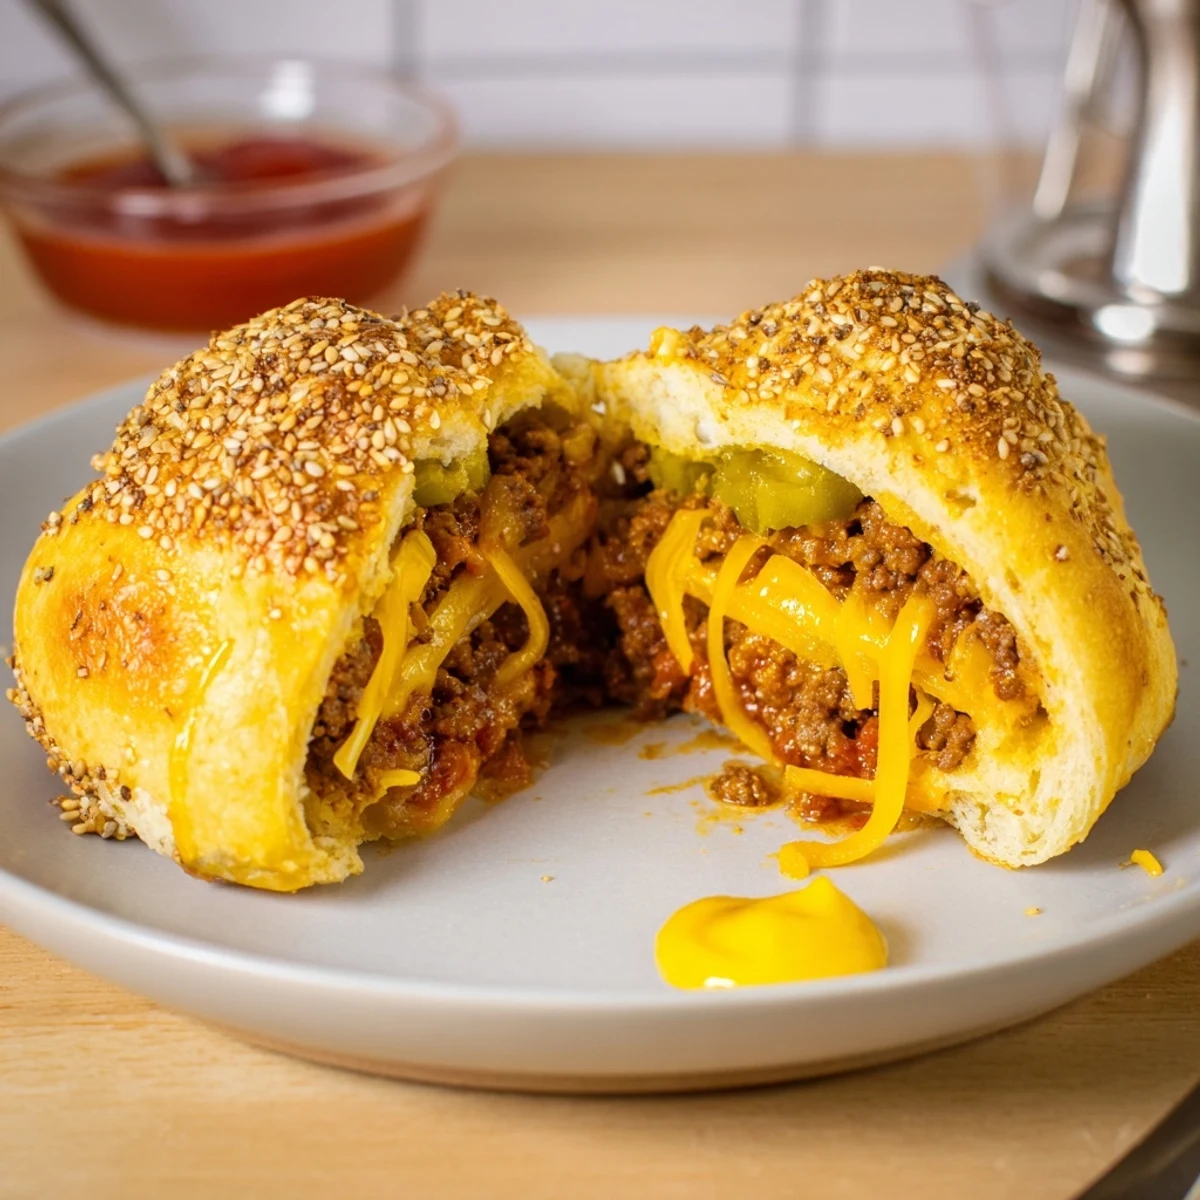
Secrets to That Flawless Cheese Pull
I've learned that the cheese's stretchiness depends on a quick bake and a few minutes of rest. If you break them open straight out of the oven, you’ll get lava-hot cheese, but wait three minutes and you’ll see that movie-worthy string. Cutting the mozzarella into slightly bigger cubes allows even more drama when you pull the bombs apart. My family has started expecting 'cheese pull photos' before anyone is allowed to eat.
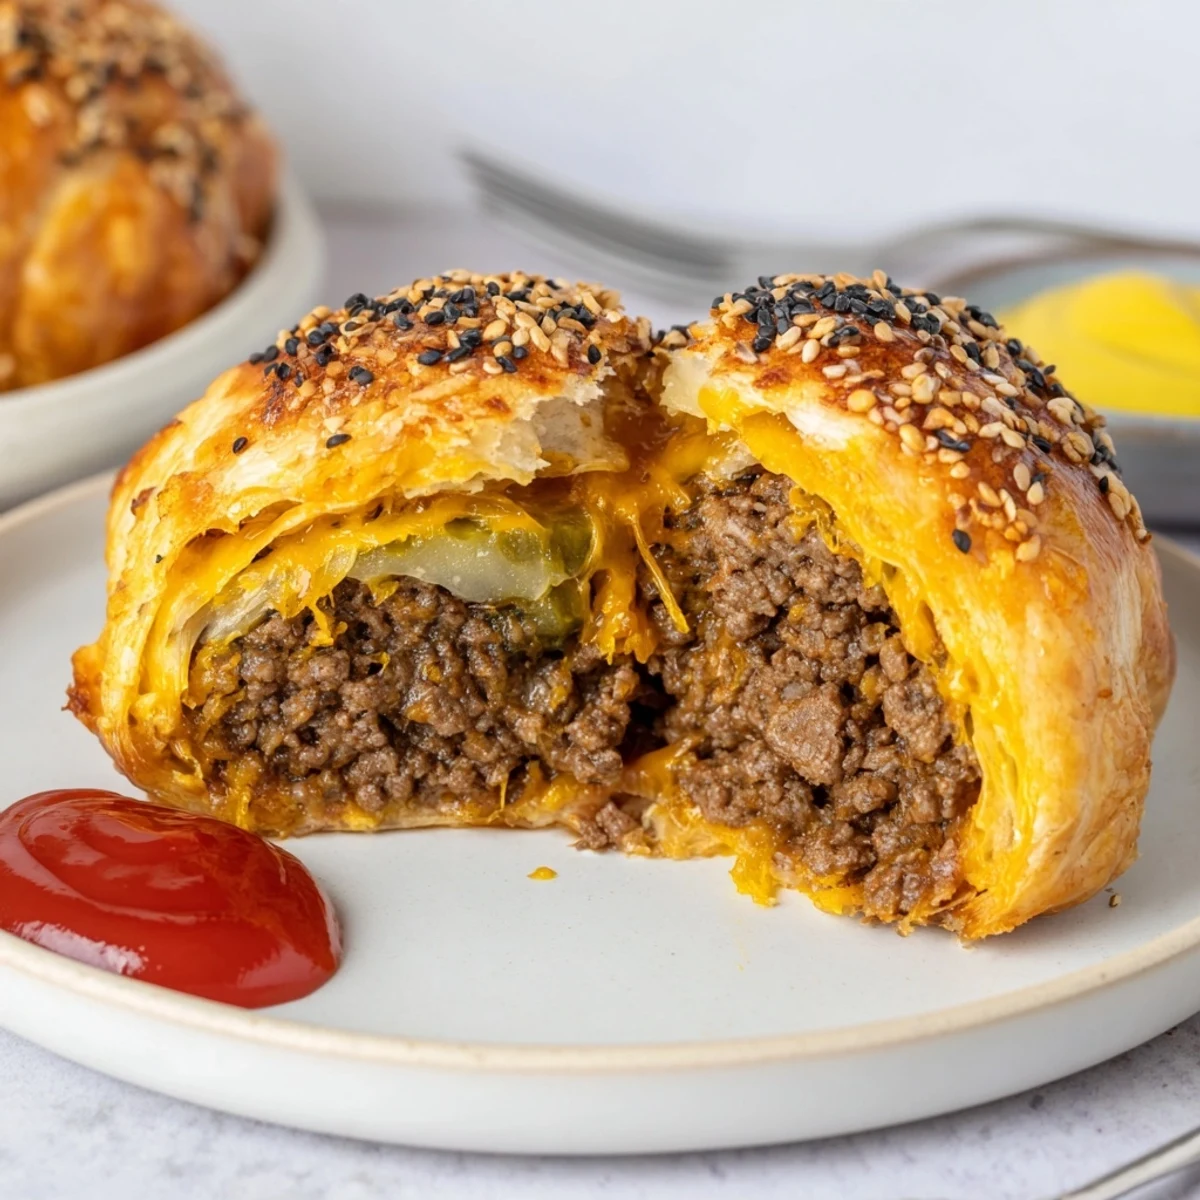
Messy Fingers Are All Part of the Fun
This isn't a utensils kind of dish—the biscuit gets golden and flaky, but expect a little cheese or beef to sneak out. I keep a stack of napkins nearby and a line of dipping sauces on the counter, and somehow half the fun becomes comparing which sauce pairs best. My cousin claims spicy ketchup mixed with mayo is unbeatable, but there’s always room for a new favorite.
What to Do When You Have Leftovers
Leftover bombs reheat in the oven at 180°C (350°F) for about 7 minutes; the cheese melts again, and the biscuit crisps right back up—microwaving isn’t as magical but does the trick in a pinch. They also freeze well after baking just let them cool and wrap tightly. If you're packing them for lunch, wrap them in foil to keep warm and satisfyingly gooey.
- Always let them cool before freezing, or ice crystals will ruin the texture.
- If your bombs look pale, a minute or two more in the oven brings out that golden hue.
- Don’t skip parchment paper—it’s what makes cleanup a breeze.
 Save
Save May your next batch of cheeseburger bombs create memories (and maybe stories of their own) at your table. Here’s to easy comfort food with a bit of silly, cheesy joy.
Recipe Questions
- → Can I prepare these ahead and freeze them?
-
Yes. Assemble the filled and sealed rounds, place them on a tray to freeze until firm, then transfer to a freezer bag. Bake from frozen, adding a few extra minutes to the bake time, or thaw overnight in the fridge before baking.
- → How can I prevent the cheese from leaking out while baking?
-
Don’t overfill the dough rounds and press edges firmly to seal. Chill assembled balls for 10–15 minutes before egg-washing and baking to help the seams hold. Using shredded cheddar with a firm mozzarella cube in the center helps control oozing.
- → What are good substitutions for the cheeses?
-
Swap cheddar for pepper jack for heat, Swiss for a nuttier note, or provolone for mild meltiness. Keep one firmer cube (like mozzarella) inside for a gooey center while shredded cheese adds overall creaminess.
- → Can I make a gluten-free version?
-
Yes. Use a gluten-free biscuit or pastry dough suitable for baking. Check labels for binders and adjust handling—GF dough can be more fragile, so handle gently and seal seams well.
- → How do I make them spicier?
-
Add diced pickled jalapeños or swap cheddar for pepper jack, mix a dash of hot sauce into the beef filling, or include chopped pickled banana peppers for tangy heat.
- → Can I use leaner meats like turkey or chicken?
-
Yes, but lean meats may need a splash of oil when browning to prevent dryness and to boost flavor. Taste and adjust seasoning—turkey or chicken benefit from a bit more salt, Worcestershire, or a touch of smoked paprika.
